Summary
Most people that are familiar with cloud and virtualization have heard of VMware. However, many are not familiar with the VMware bare-metal hypervisor ESXi nor it's vSphere/vCenter management interfaces. This blog entry will help describe how to start using and learning about it.
The terms ESXi and vSphere are used interchangably (like the VMware webpage), however, they are differnt things. The term vSphere refers to the various management interfaces of the ESXi bare-metal hypervisor.
Fun Fact: ESX, the predecessor of ESXi, used a Linux kernel.
Background
This is written based on some experience attempting to learn about vSphere and ESXi. An important thing to note at the beginning is that the latest version of ESXi will NOT run on MOST hardware. It's strictly limited to drivers that support the latest and greatest hardware available. That limits what VMware has to support and potentially makes ESXi better from the standpoint of not requiring too much old hardware backward compatibility. It does make it a real pain to play with for a home user. However, it runs perfectly fine in a Qemu virtual machine. And Qemu runs on Linux which can be installed on just about any hardware you have.
:) Linux :)
Also, you can get started right away with the free version of ESXi and even use the 60-day trial vSphere and vCenter products. If you are lucky enough to have hardware that will run ESXi directly, you likely don't want to keep re-installing it every 60 days. Assuming you're using it for personal use, you can get a complete set of VMware licenses for ~$200/yr by joining VMUG VMware User's Group.
This How To is using examples running on a machine with an Intel Core i7 and 32GB RAM. If you have less than 12GB RAM, you won't be running the vCenter virtual machine as that VM requires 10GB. You can try using a very large swap partition, but expect it to be PAINFULLY SLOW.
Lab
ESXi is the hypervisor and you might think the first step is to install it. You would be wrong. The VMware ecosystem expects an enterprise environment where there is DNS, DHCP and NTP servers running. It integrates really well in a Windows Server environment, but this makes it a bit of a pain for a home user to start using it.
I chose to spin up a base Debian server with BIND, DHCP and NTP running on it and then serving these to my local VMs. Using QS (Qemu Script) it is currently taking up 2% of one CPU core and 360MB RAM on my laptop. There's many ways to do this, such as using dns-masq, /etc/hosts, and so forth. Your first mission will be to supply these services to your lab environment.
This example will walk through installing the vCenter Server Appliance VCSA (a VM), on top of an ESXi hypervisor, along with three more ESXi virtual machines. Decide on how many instances of ESXi you would like to run as well as vCenter. Each will need an IP address and should be resolvable. The vCenter VM will need 10GB RAM and the ESXi will be allocated 12GB (including the 10GB for the underlying VCSA VM). Further down we will make four ESXi instances, two with 12GB and two with 4GB RAM. This in the end required also using swap space on my machine that has 32GB memory.
I've found that using ZFS with LZ4 compression to make my virtual machine life significantly better. If you don't have some method of using a compressed filesystem, expect you will be using a tremendous amount of space. I allocated 500GB for ESXi 1 and 100GB for ESXi 2 through ESXi 4 for a total of 800GB. This will work for the examples below, but will severely limit how many VMs you can load. Using ZFS with LZ4 compression, the amount of underlying disk space I used is 28GB total. Using compressed disk space is likely one reason it took ~1 hour to let vCenter install.
Installing ESXi
Make the underlying storage for the first ESXi instance ESXi1.
qemu-img create -f raw esxi1.raw 500GBCreate the QS definition for esxi1
${HOME}/.qs/esxi1.conf
vm esxi1
     cores 2
     mem 12
     internet 10.1.1.155
     image /rpool1/vm/esxi1.raw
     raw
     cpu host
You will need to specify the actual path to the storage file you created in step 1 as my /rpool1/vm path is
unlikely to be yours. If you made a qcow2 image, do not include raw. You will have to include cpu host
otherwise ESXi won't install. You could also include vnc <password> if you want to run headless normally and
just connect using VNC (for example using tightvnc). Also mute true would disable the ALSA audio for this VM
which would be appropriate in this case.
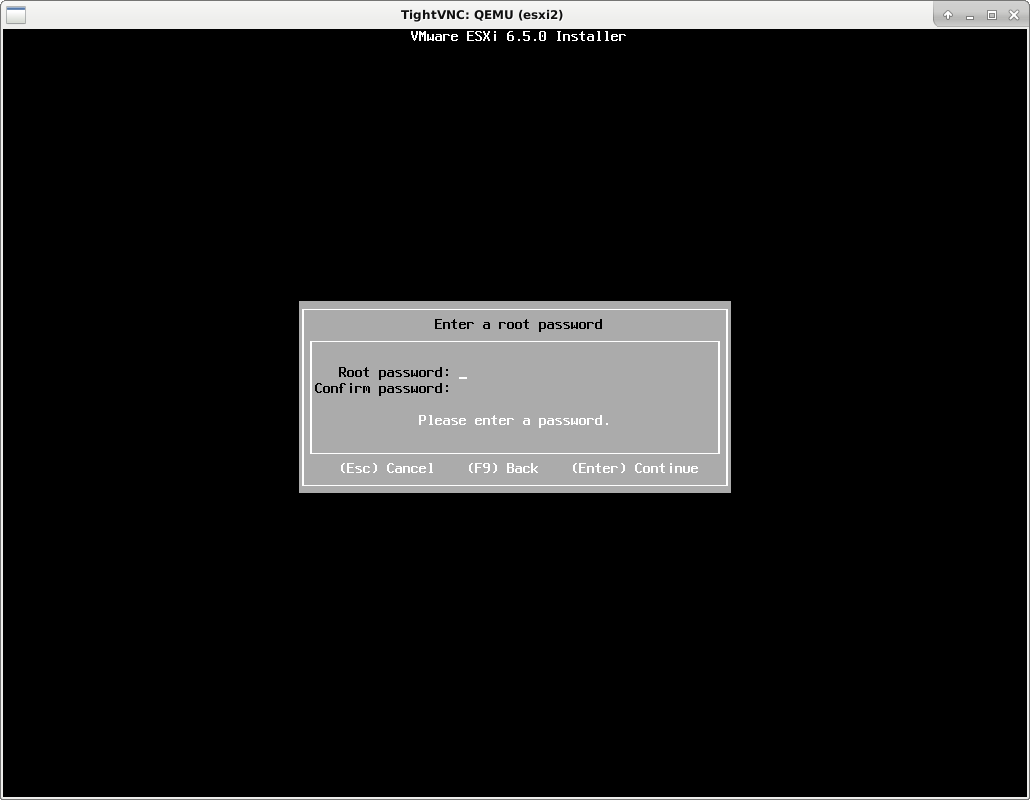
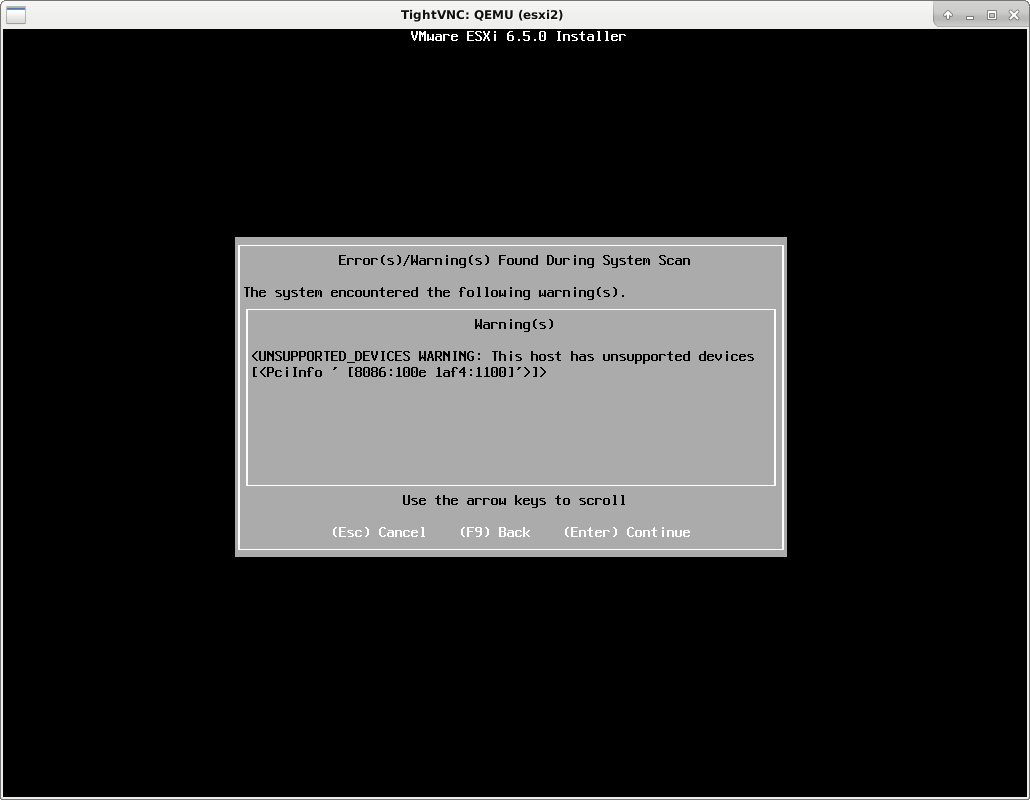
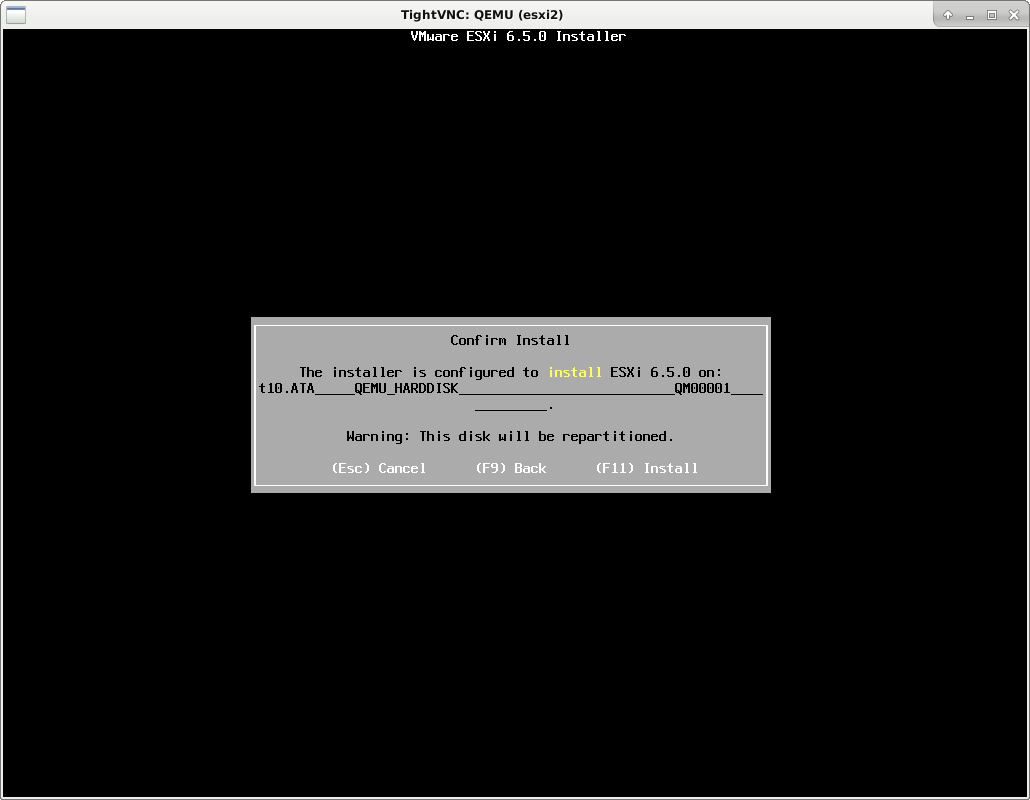
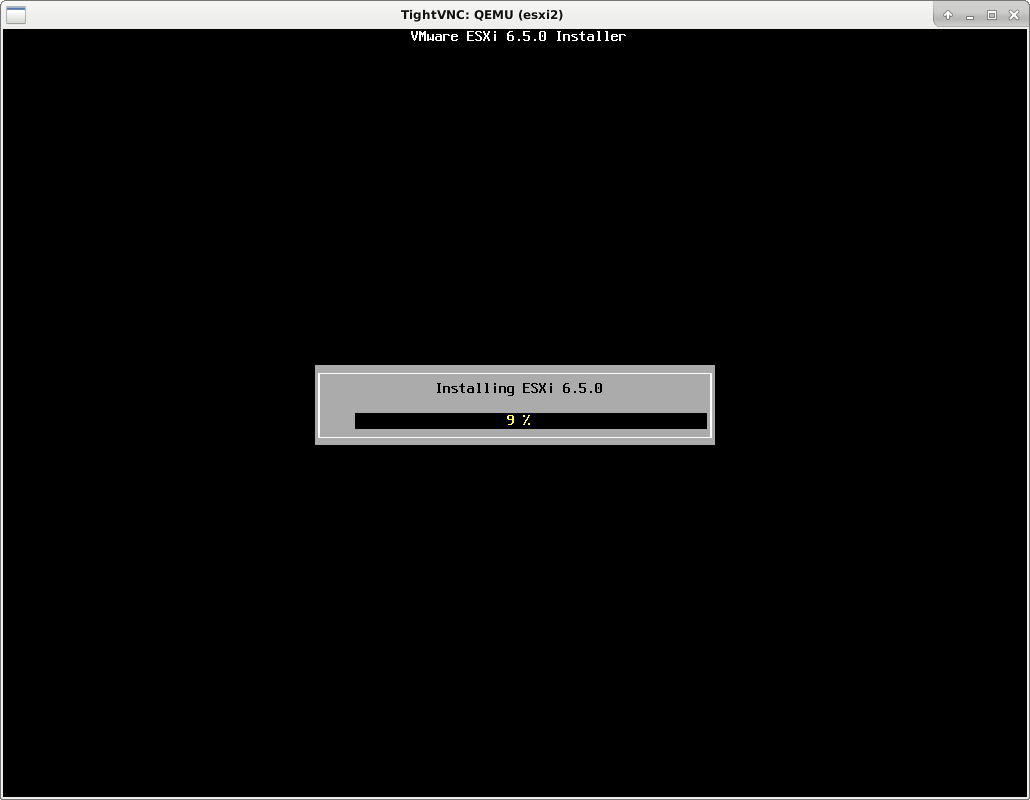
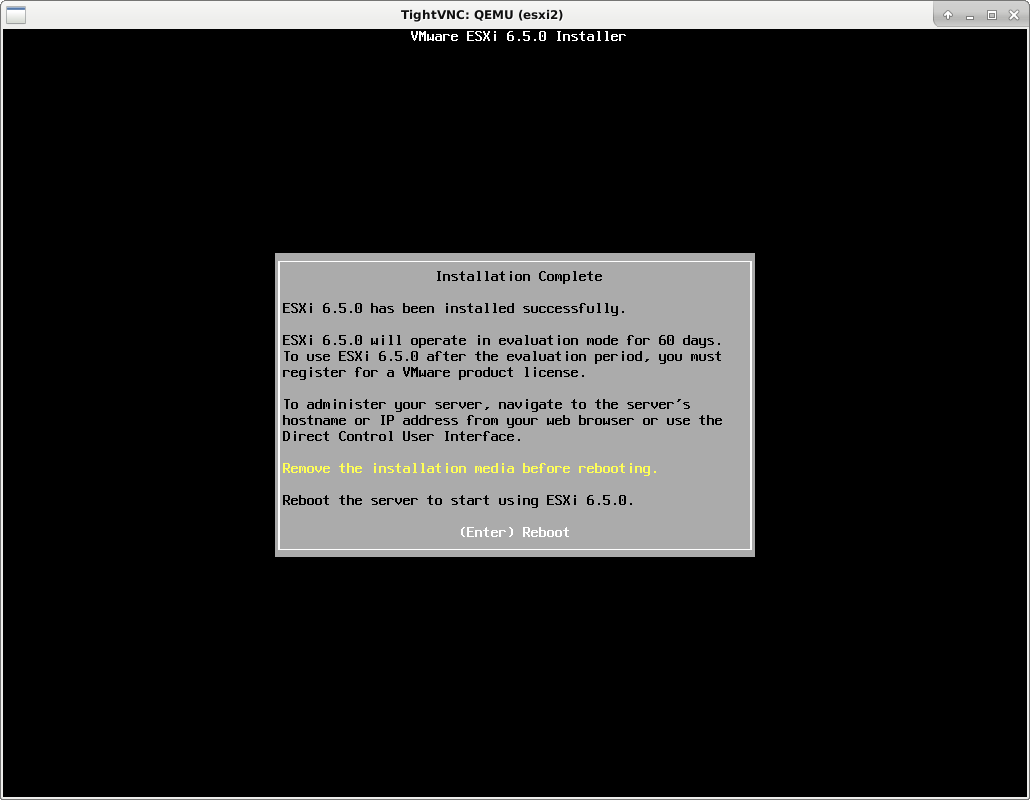
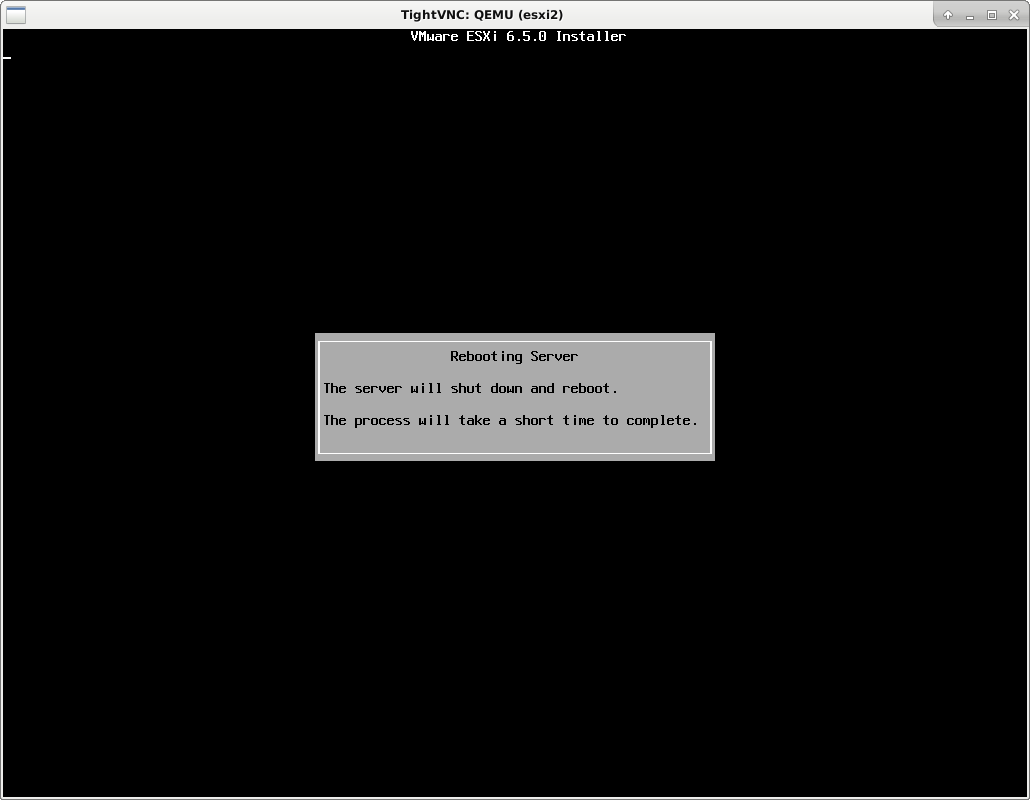
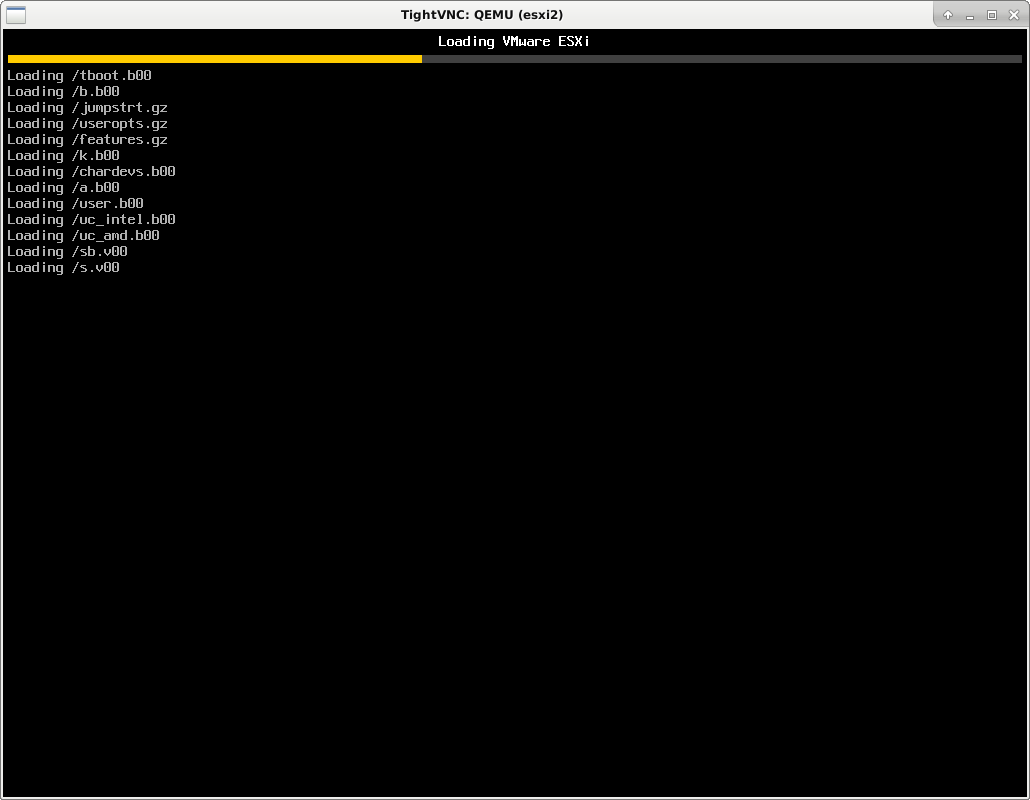
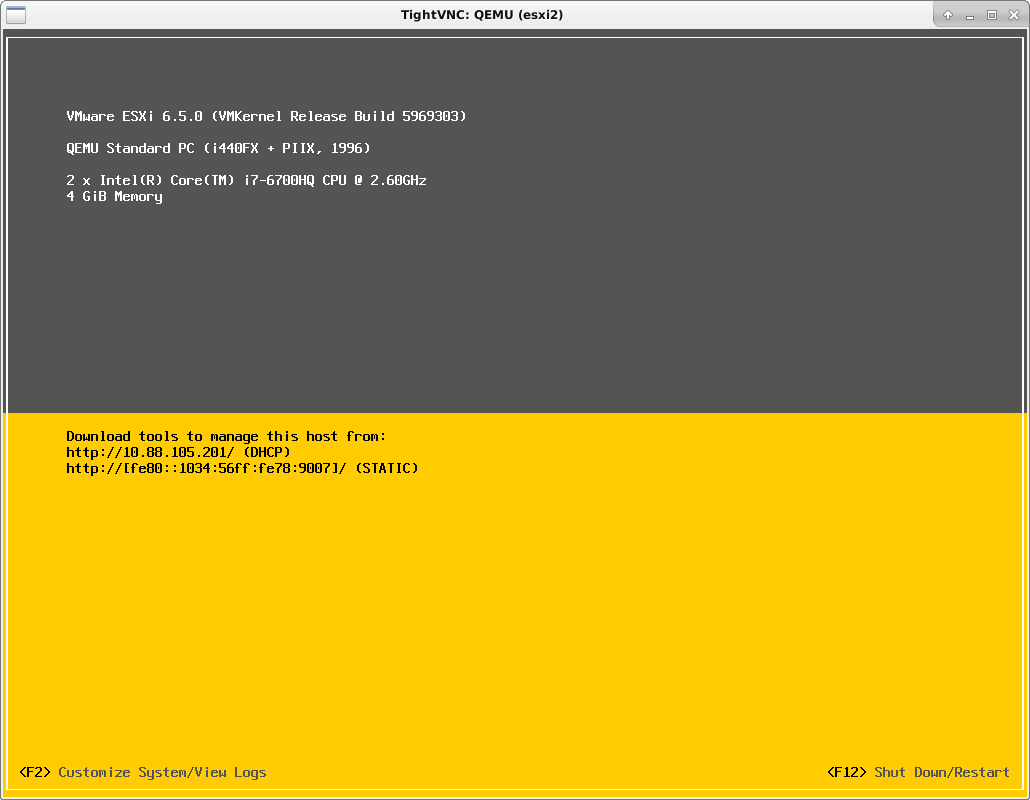
Install the hypervisor using
qs up esxi1 bootonce /var/iso/VMware-VMvisor-Installer-6.5.0.update01-5969303.x86_64.isoYou will need to interact with the VM and choose appropriate options as you go.
Initial screens as the ISO boots.
First screen of nineteen when installing ESXi.
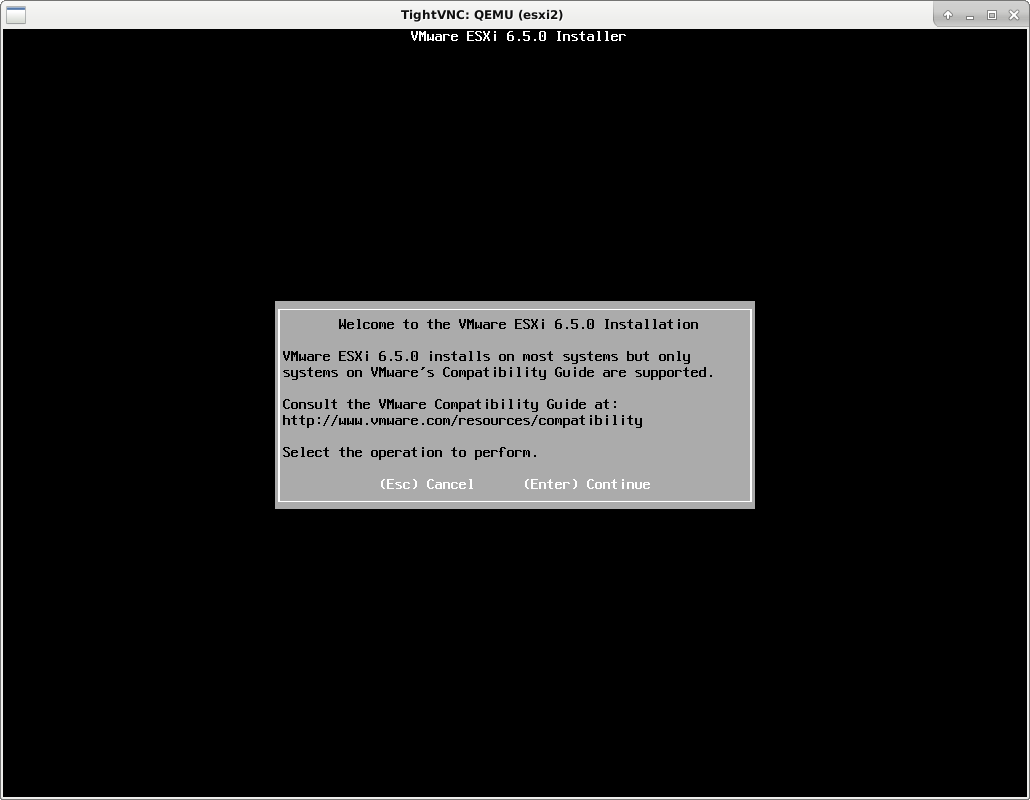
2/22
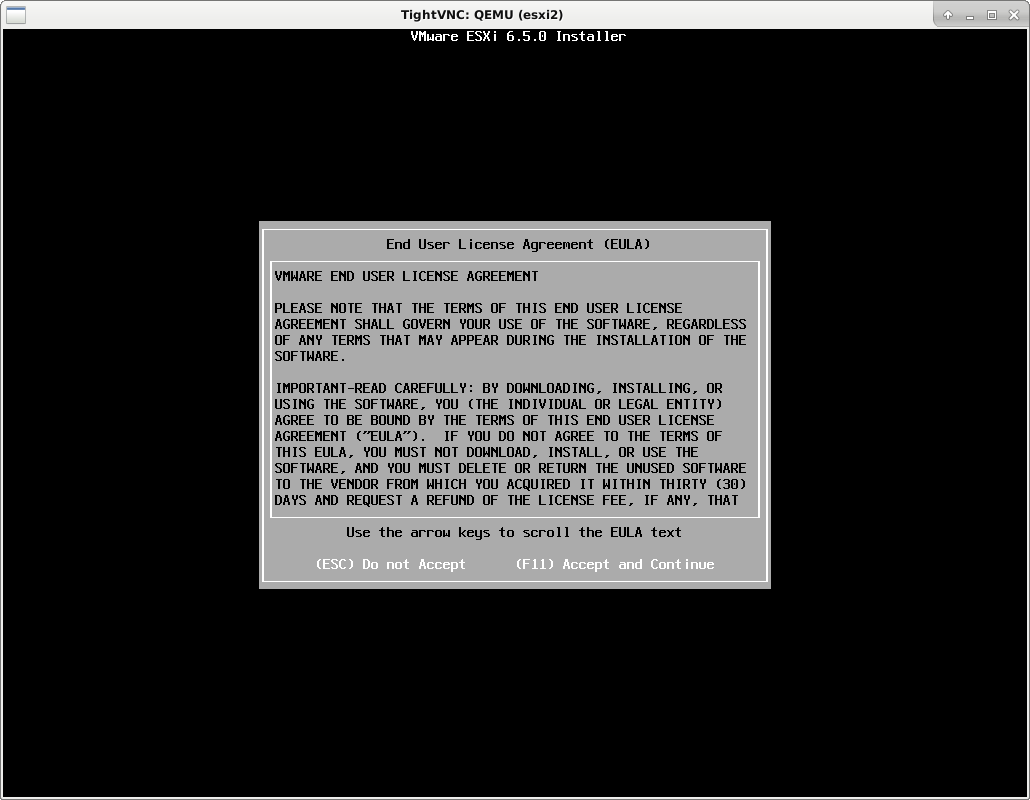
3/22
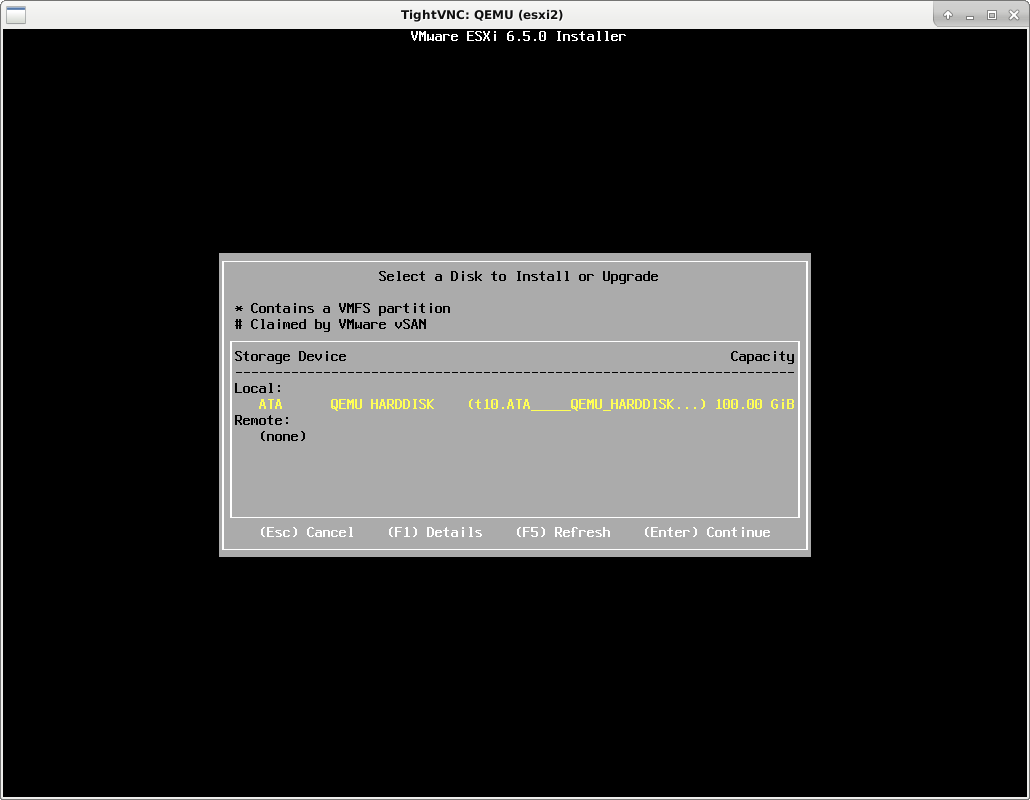
4/22
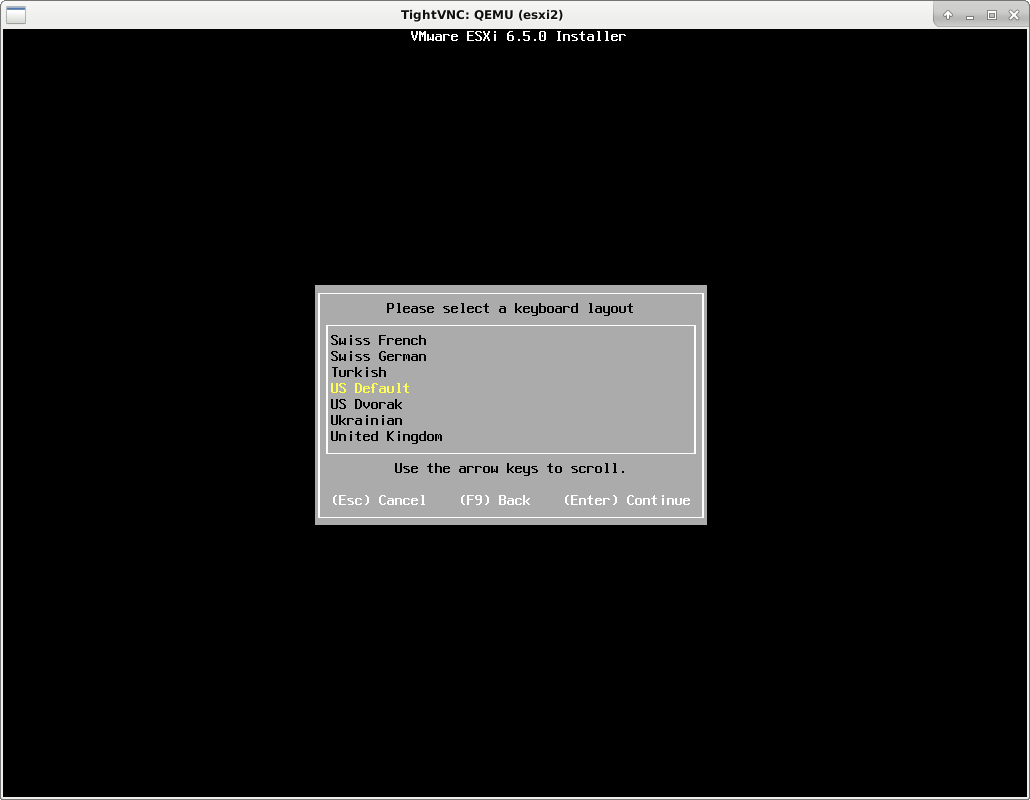
5/22
6/22
7/22
8/22
9/22
10/22
11/22
12/22
13/22
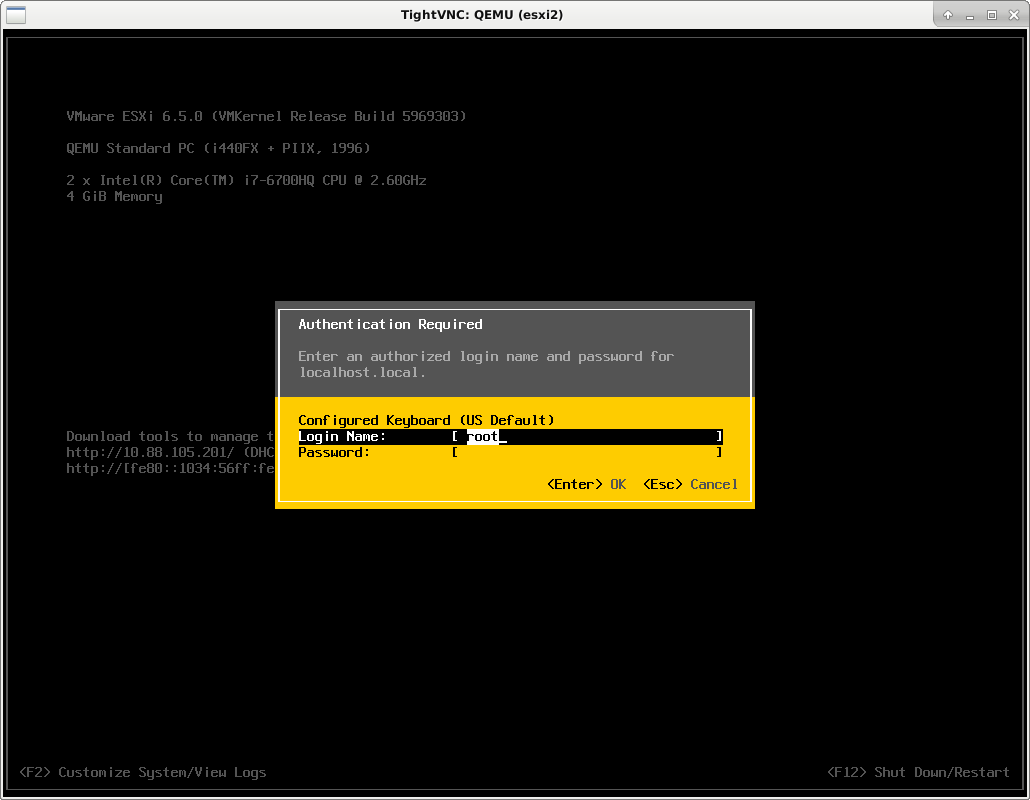
14/22
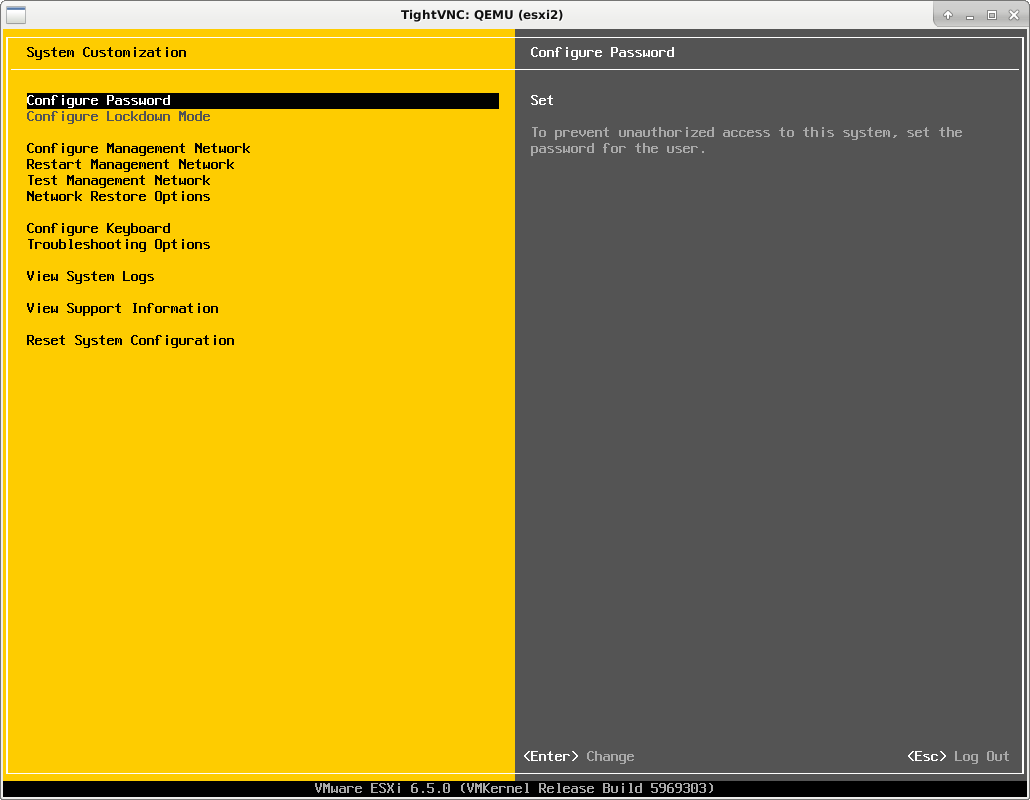
15/22
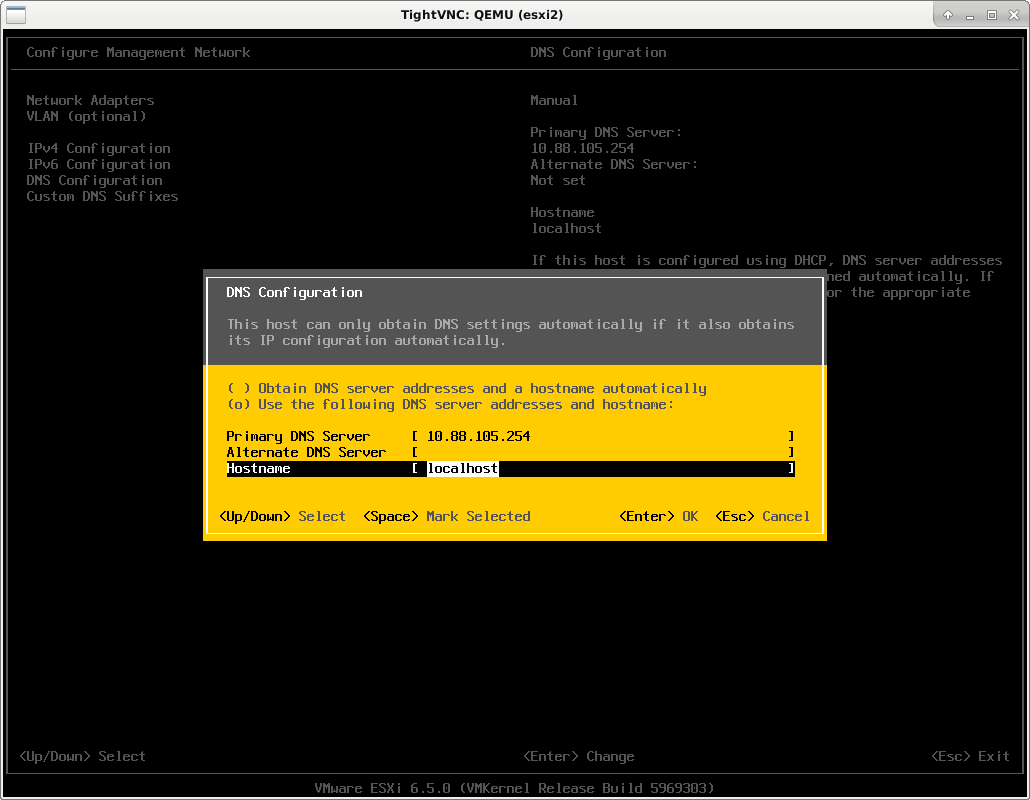
16/22
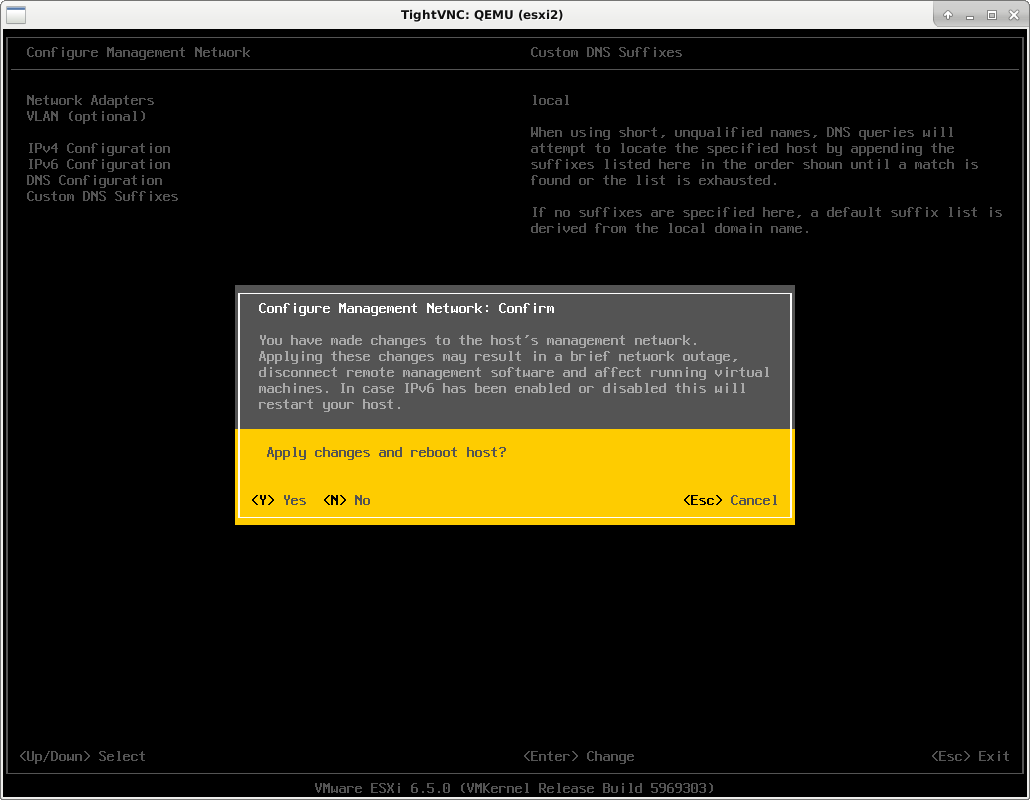
17/22
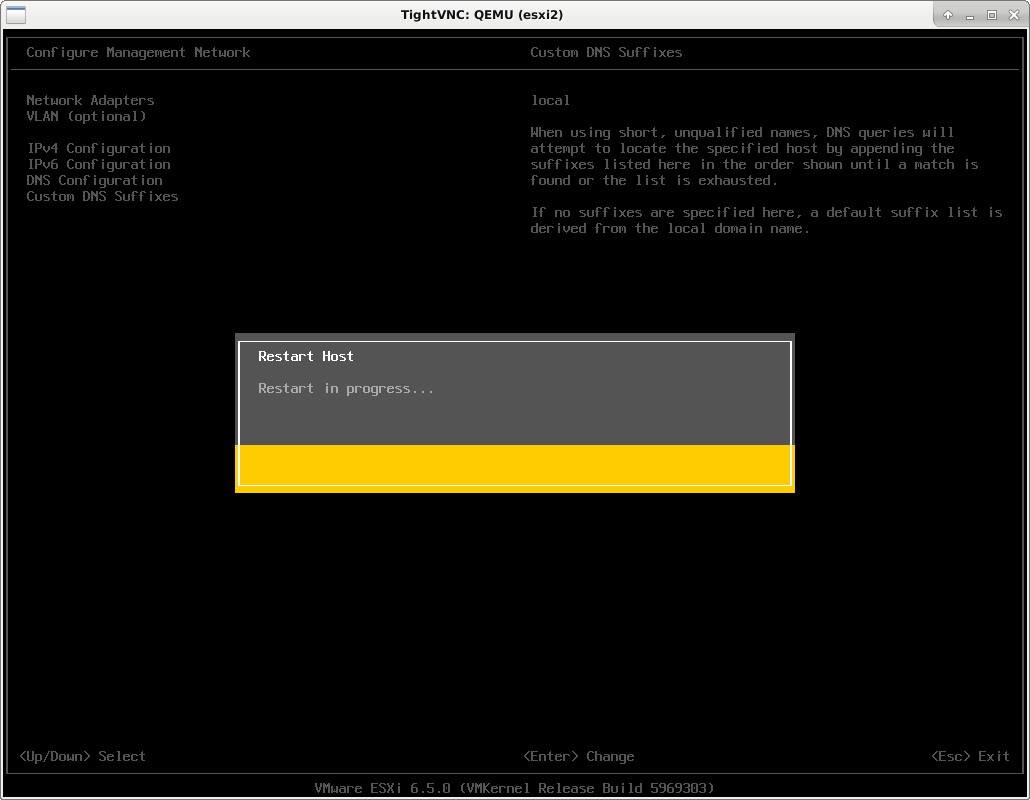
18/22
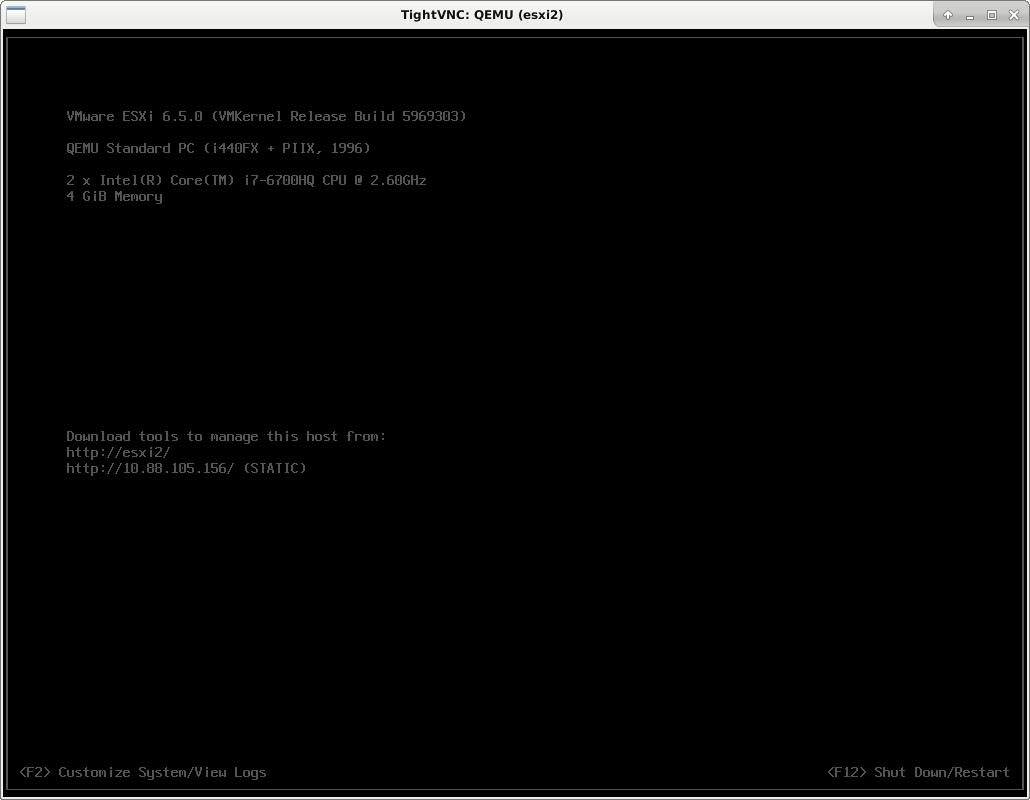
19/22
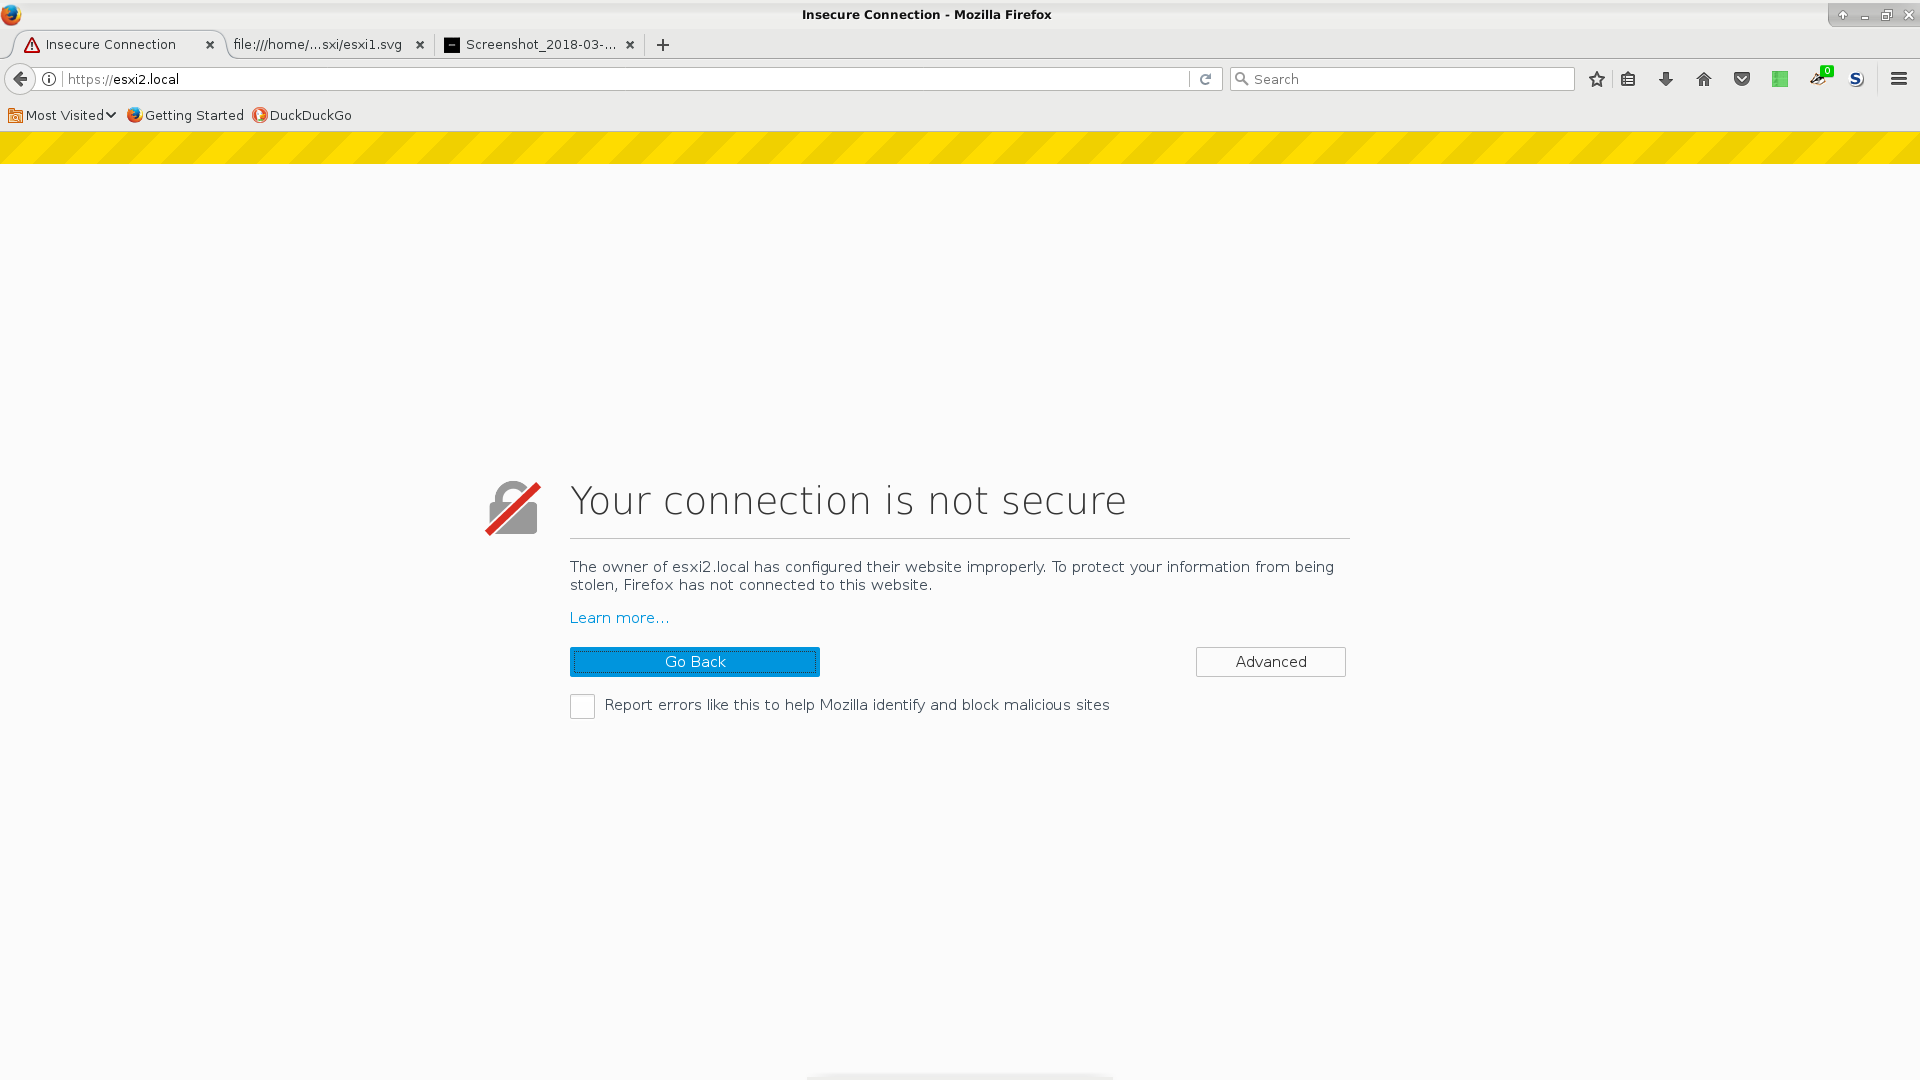
20/22
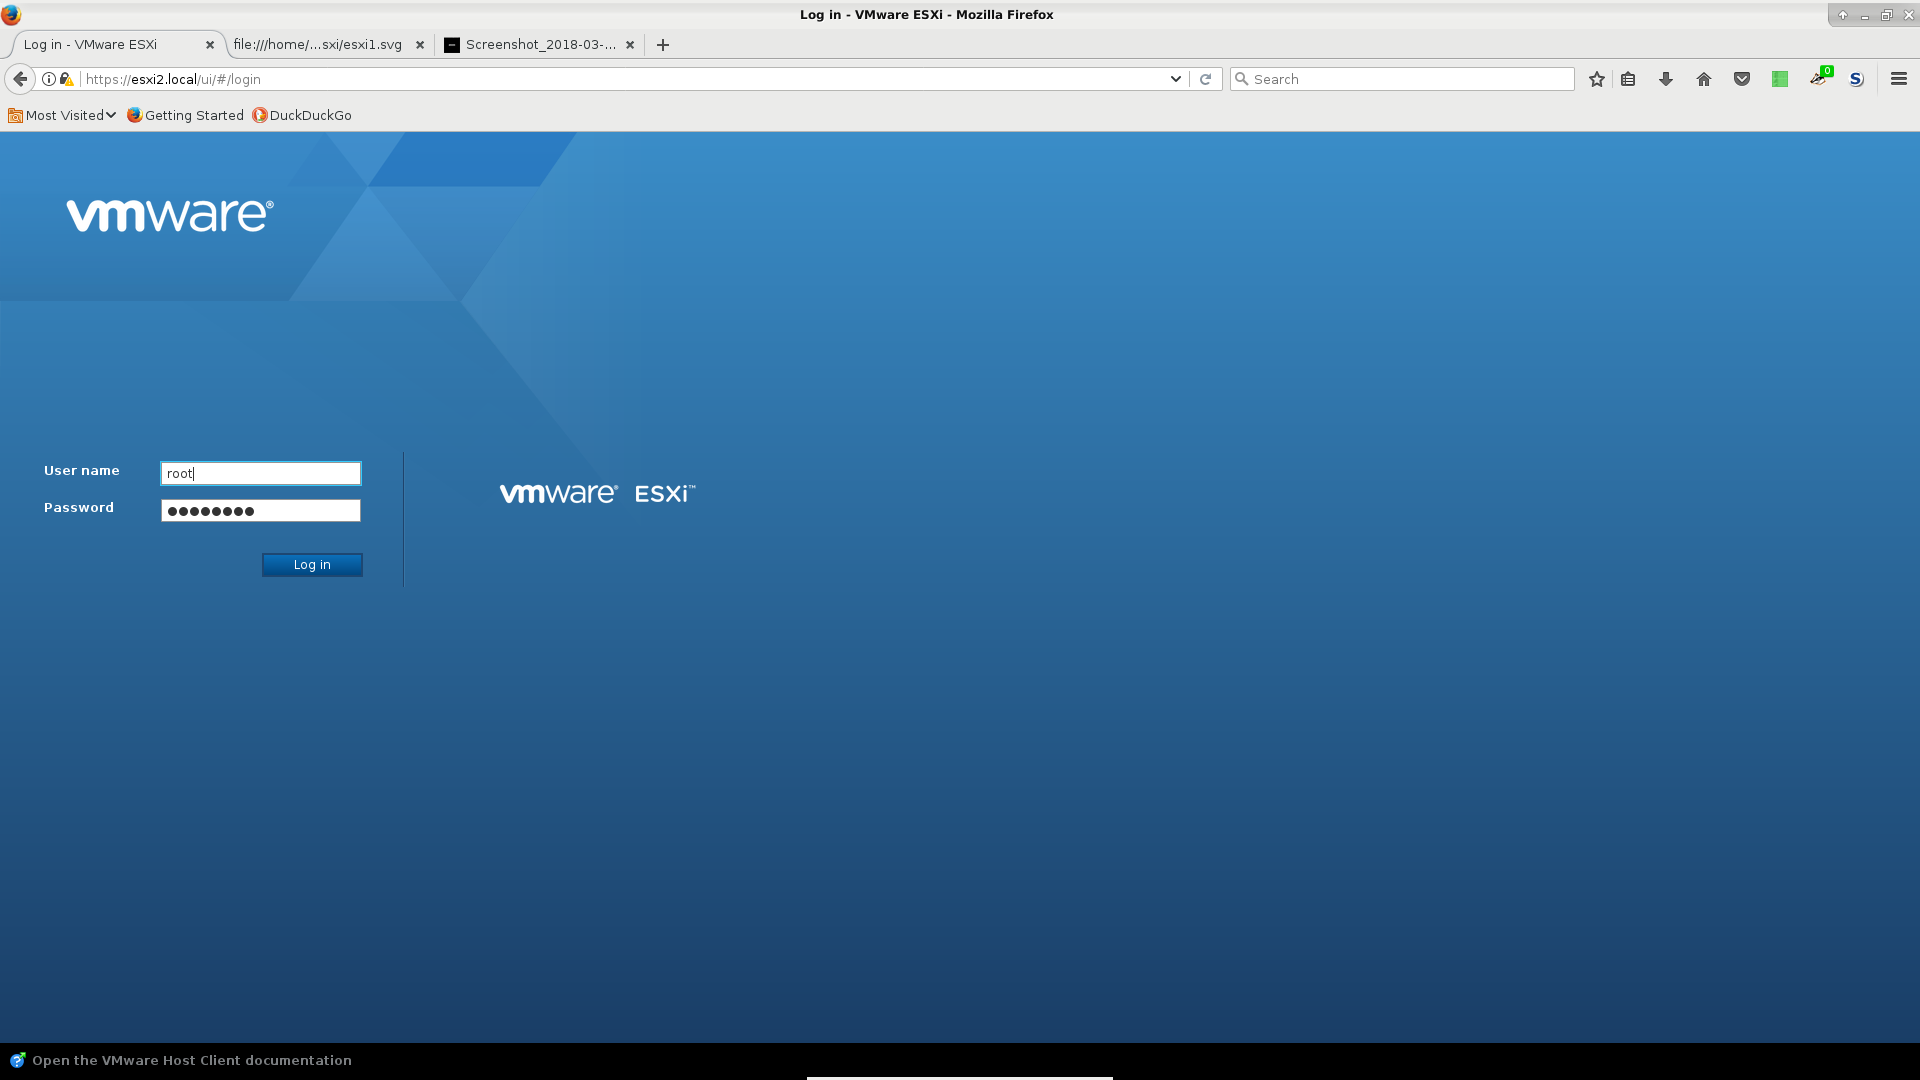
21/22
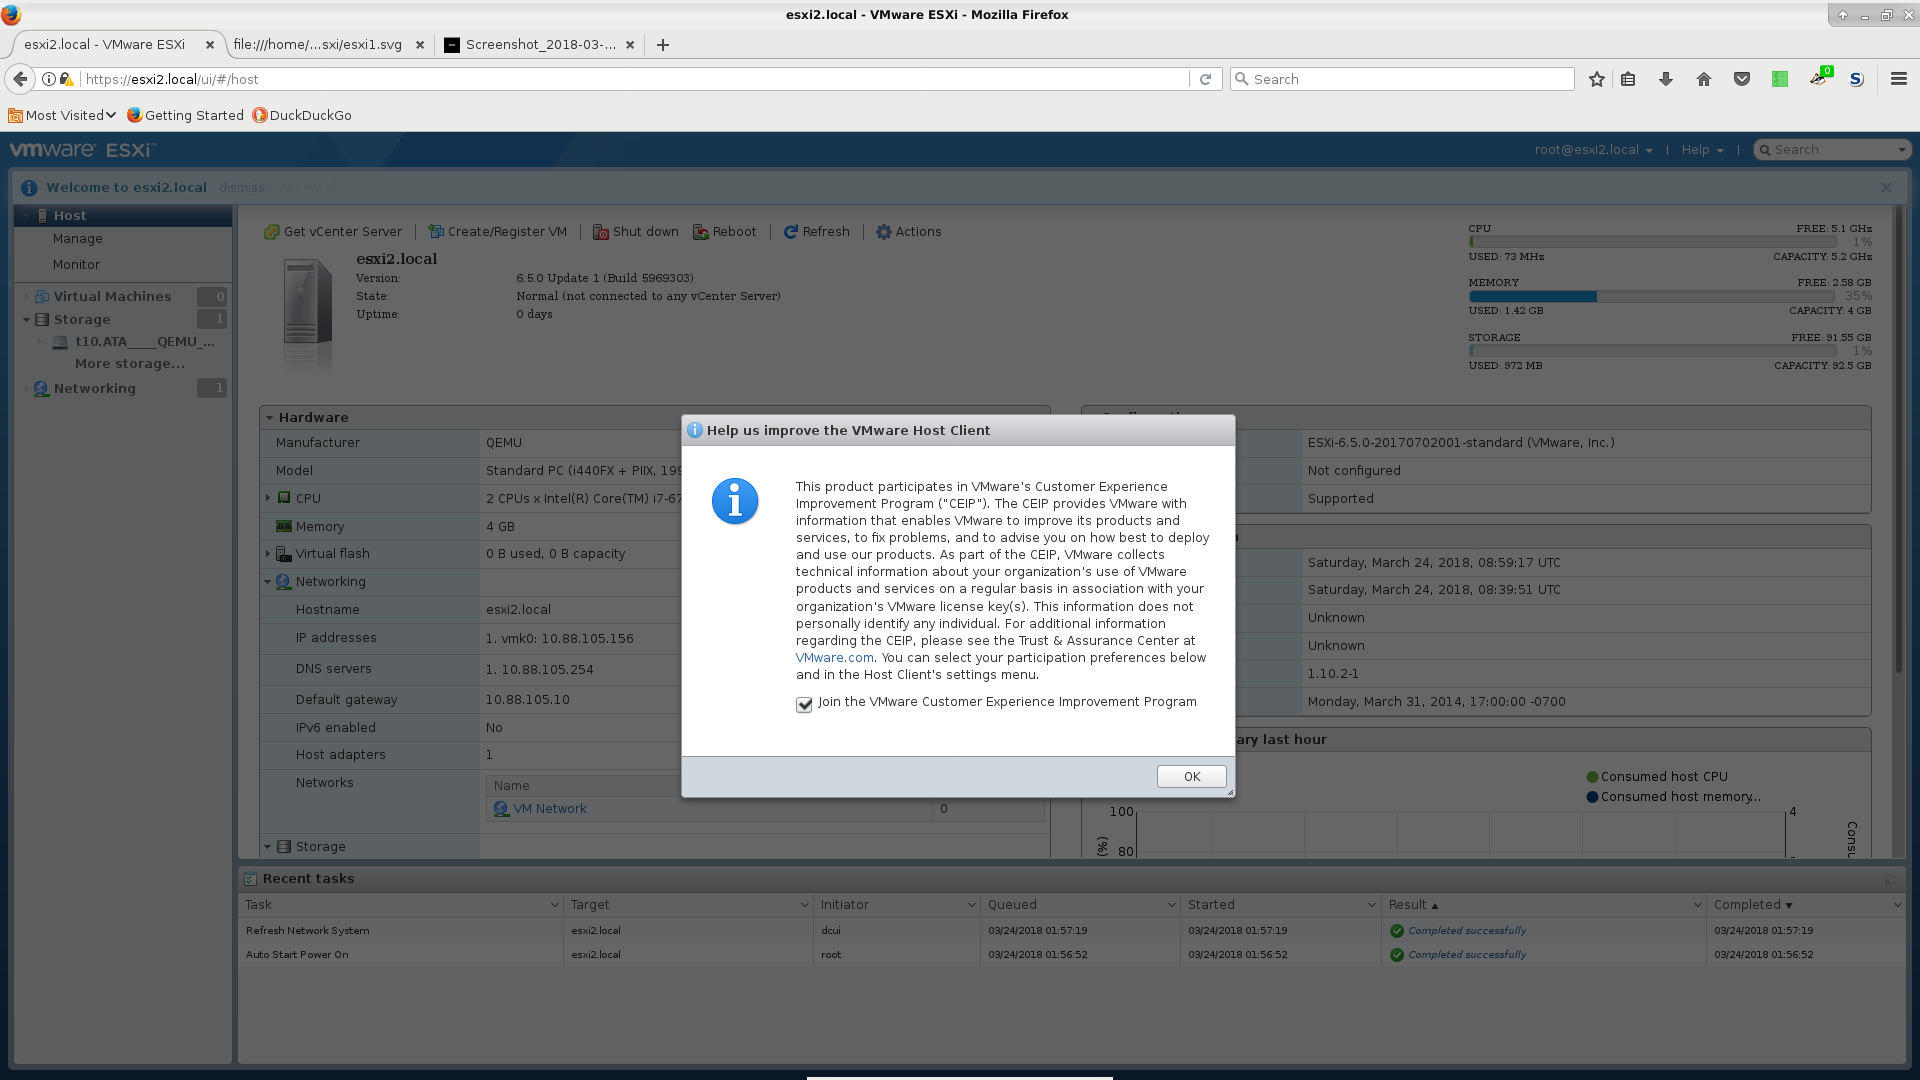
22/22
Multiple ESXi
Go ahead and make copies of the storage file you just created for esxi1. Alternately you can create smaller files in the 100GB range and install again. If you make copies, be prepared to:
Delete and re-create your storage in each VM. You can select VMFS6 instead of the default VMFS5. This is necessary if you want to connect this ESXi to vCenter. Otherwise the storage on each ESXi will have the same UUID and will conflict as you add it to vCenter.
Assign a unique IP address to each ESXi. I chose to use static IP addresses. If you want to use DHCP, you'll need to apply a uniquely defined ethernet MAC to each QS vm description
ether 11:22:33:44:55:66Also specify the IP to be assigned by your DHCP server such that the name is resolved correctly. I chose to use esxi1.local, esxi2.local, esxi3.local and esxi4.local.
... start over? There's at least one gotcha where even though you change the IP using the web UI, it doesn't change everywhere.
Installing vCenter
Remember: BE PATIENT
If you interrupt the installation process of the VM, it will not work and you will need to delete it and start over.
- I hate running executables from other companies when I shouldn't have to. So I refused to use the executable with the VCSA ISO.
I extracted
VMware-vCenter-Server-Appliance-6.5.0.10000-5973321_OVF10.ovafrom the installation ISO and then imported that into ESXi 1. - BE PATIENT. You'll see a number of different changes in the console as VCSA is being booted and running its never-ending installation scripts. DO NOT MESS WITH IT. IF YOU MESS WITH IT YOU WILL BE DELETING IT AND STARTING OVER.
Initial console view inside the vSphere Web UI showing the VCSA installation beginning. (1/5)
Next vCenter installation screen. (2/5)
(3/5)
(4/5)
(5/5)
When you see this screen showing it was assigned a DHCP address (even if you manually chose an IP address to assign it), you are ready to log into it. You'll need to log in on the console the first time to set the root password. It will not require a default at this point but step you through a 2-step verification of a new root password.
If you want to be sporty and see what the heck it is doing before this screen, you can log in using the pre-default 'vmware' password for root. But be warned, you will probably mess something up and have to re-install again. I installed this thing a million times.
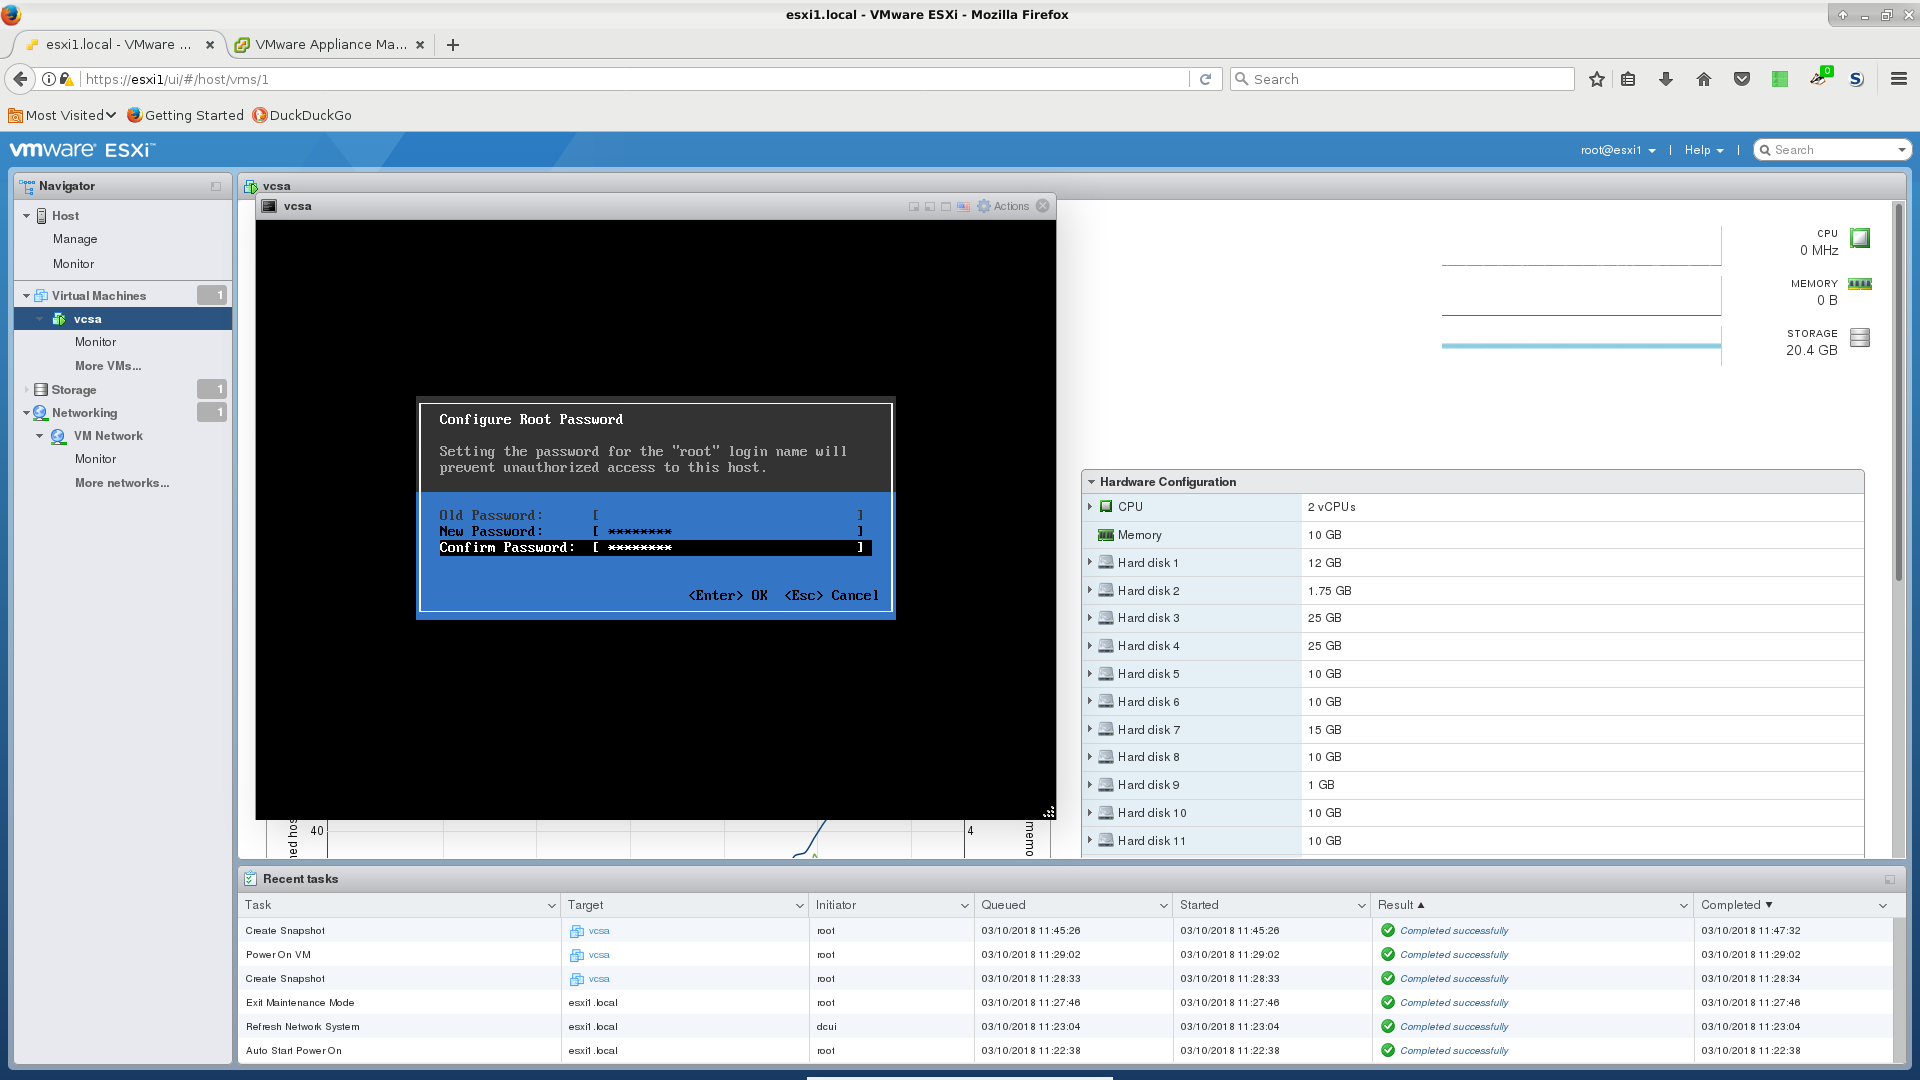
- When you are at this point, you can finally open the web interface of the VCSA VM. If you're using QS, be warned, you will need to add the IP or IP range that this VCSA VM has to the NFTables trusted_ip set. If you don't then it will block this IP and you won't be happy. You will be :( or at best :|
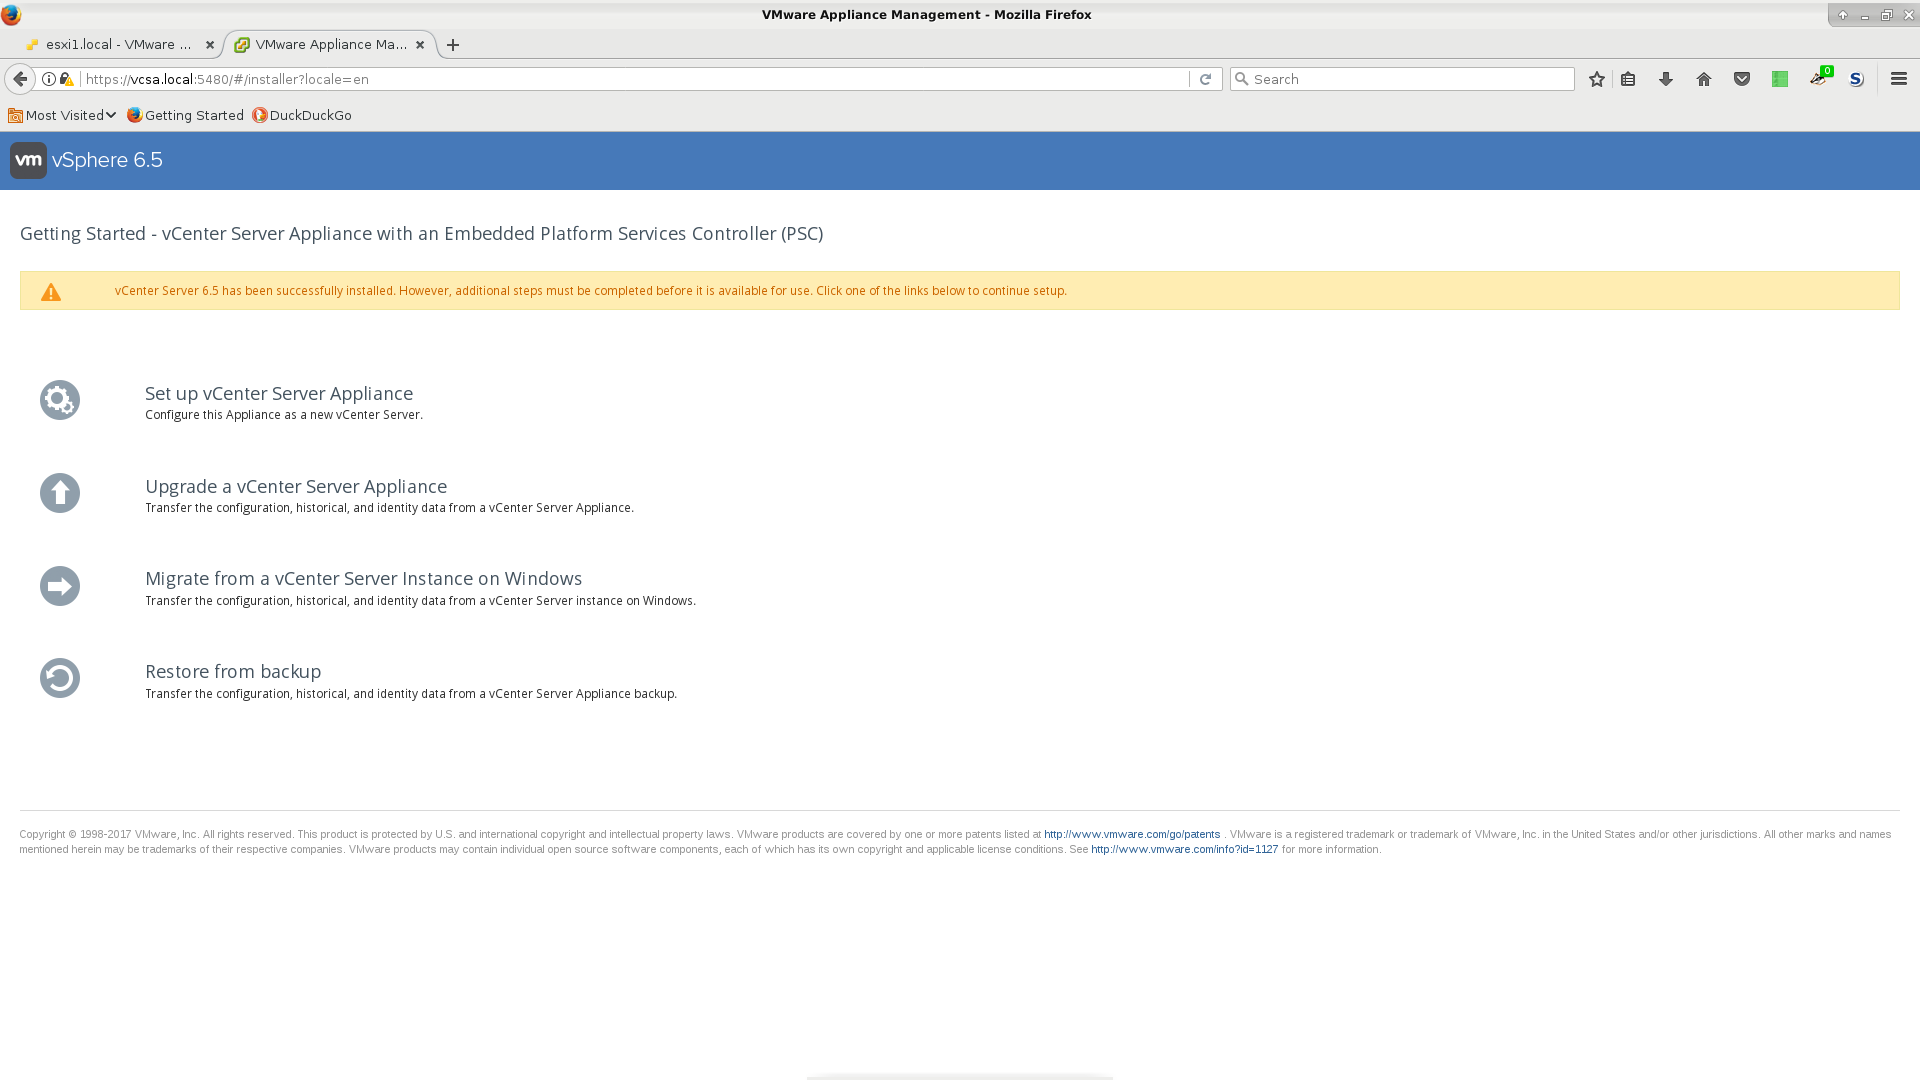
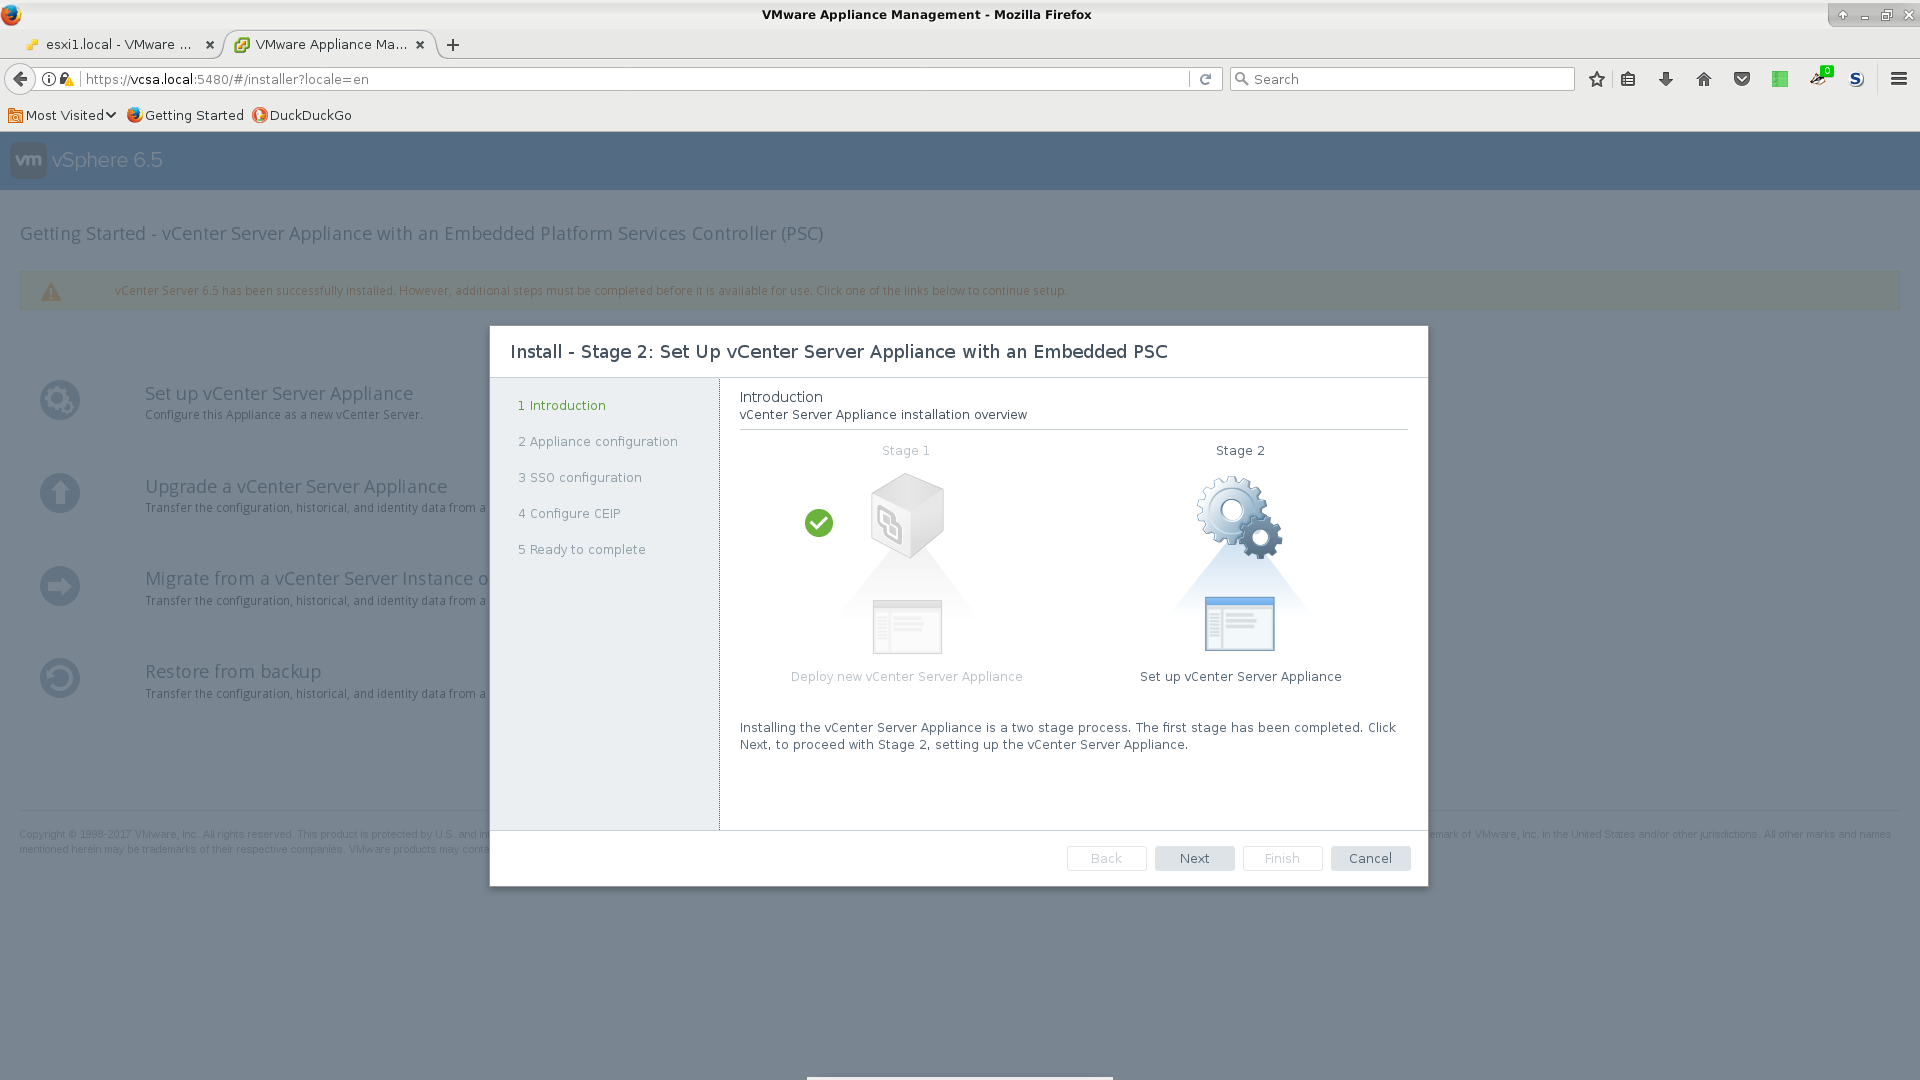
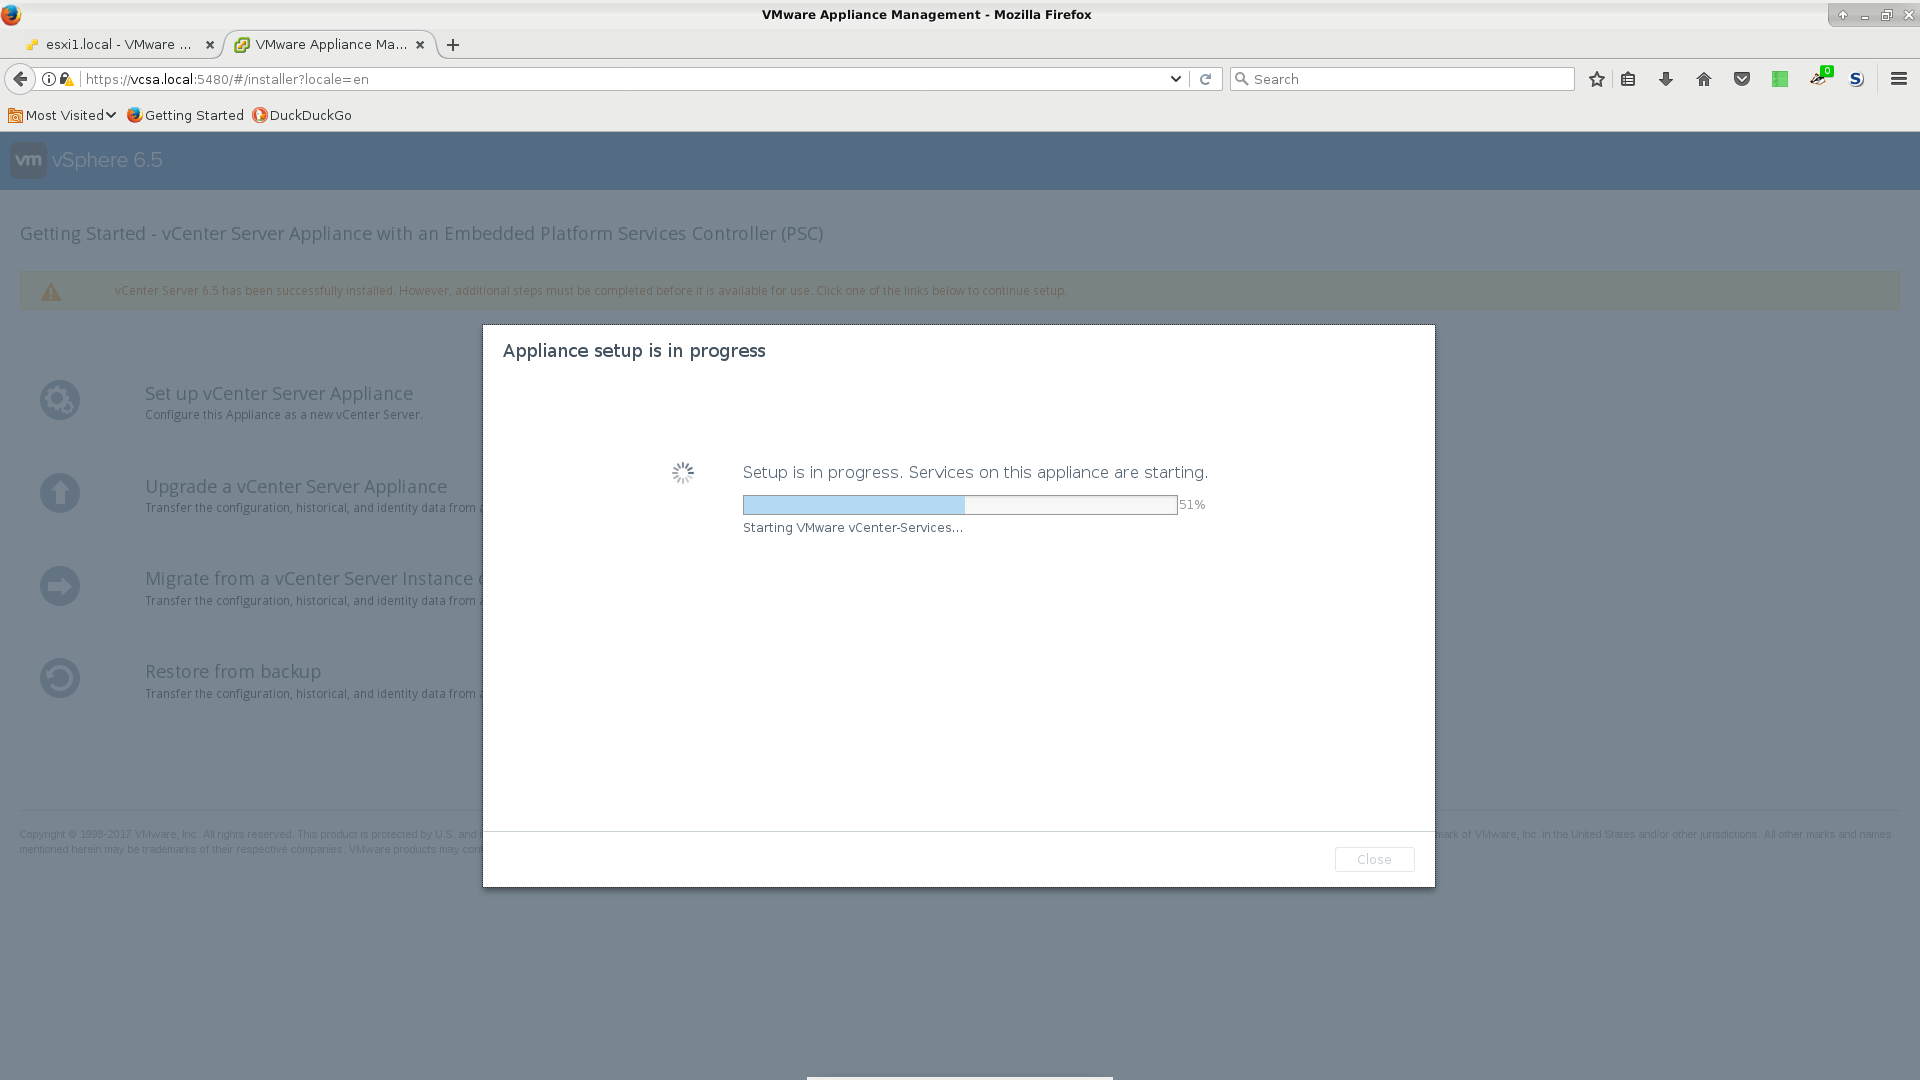
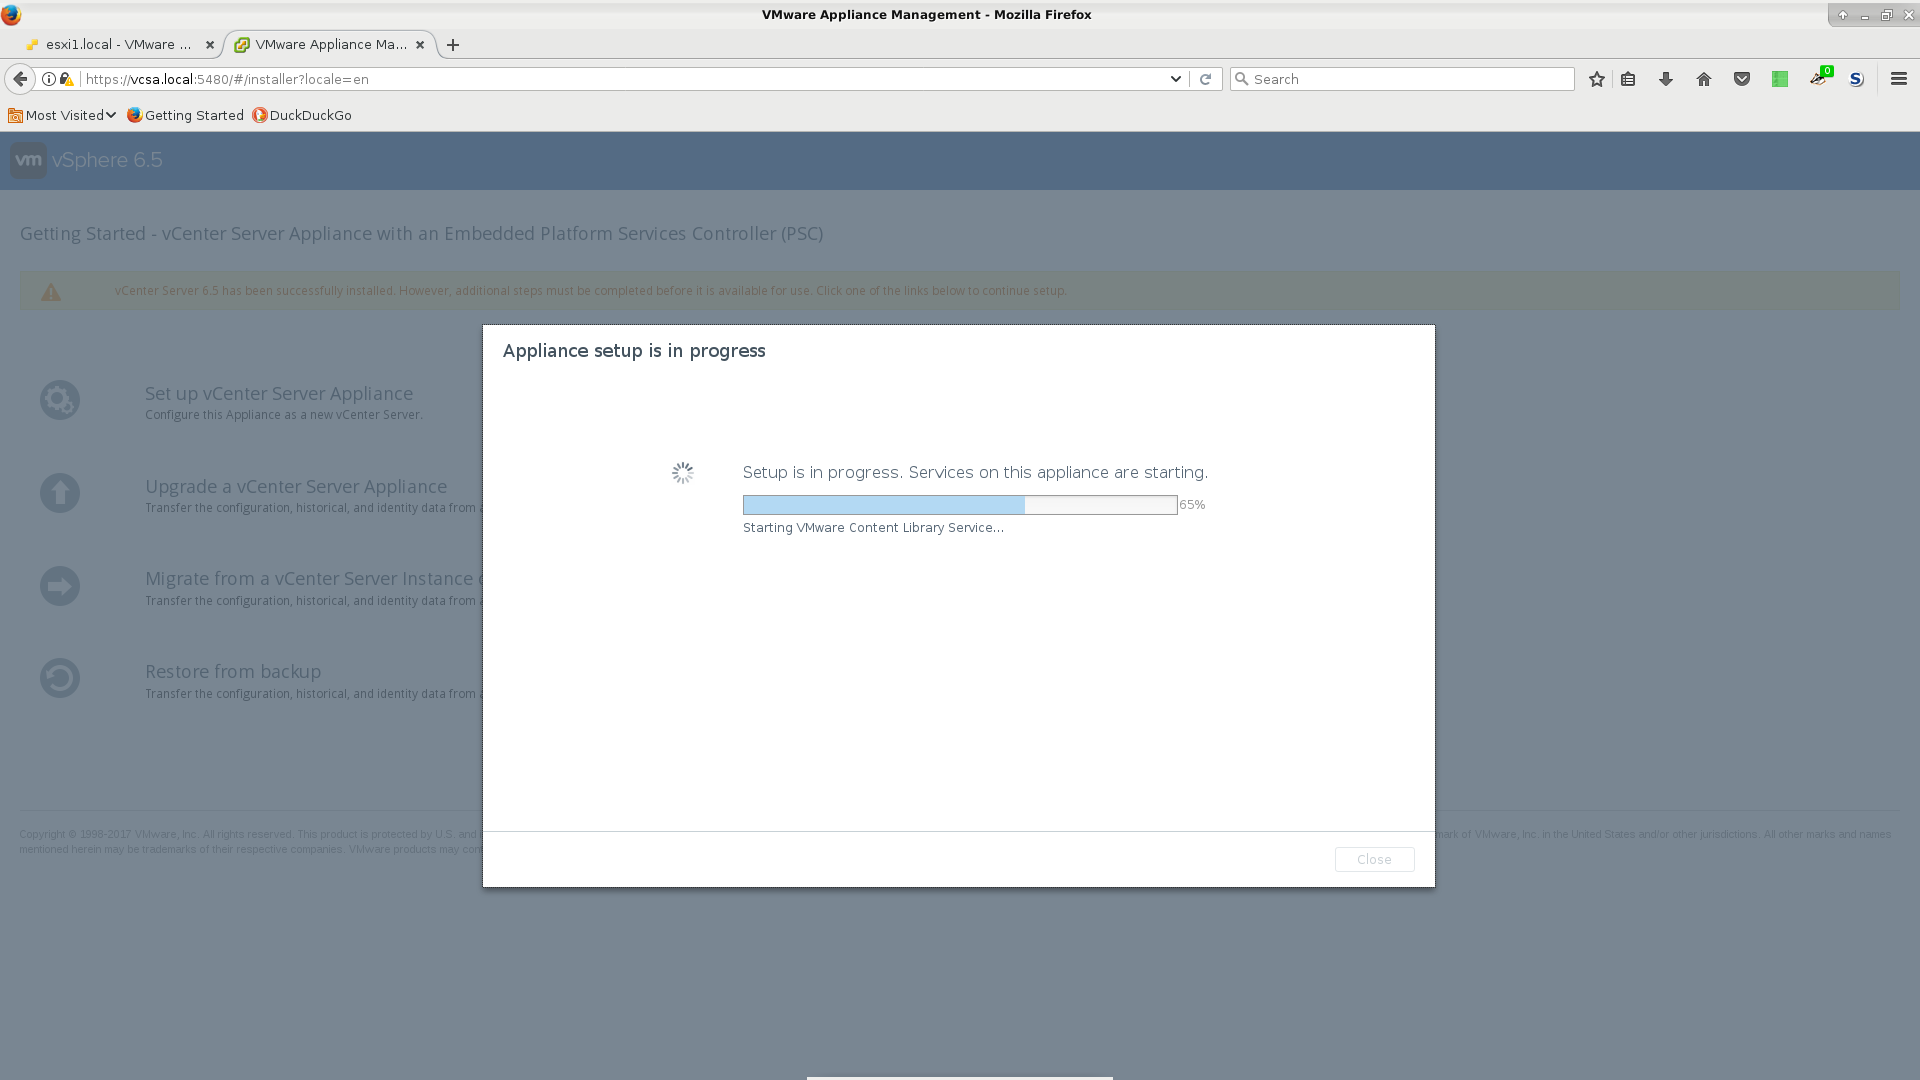
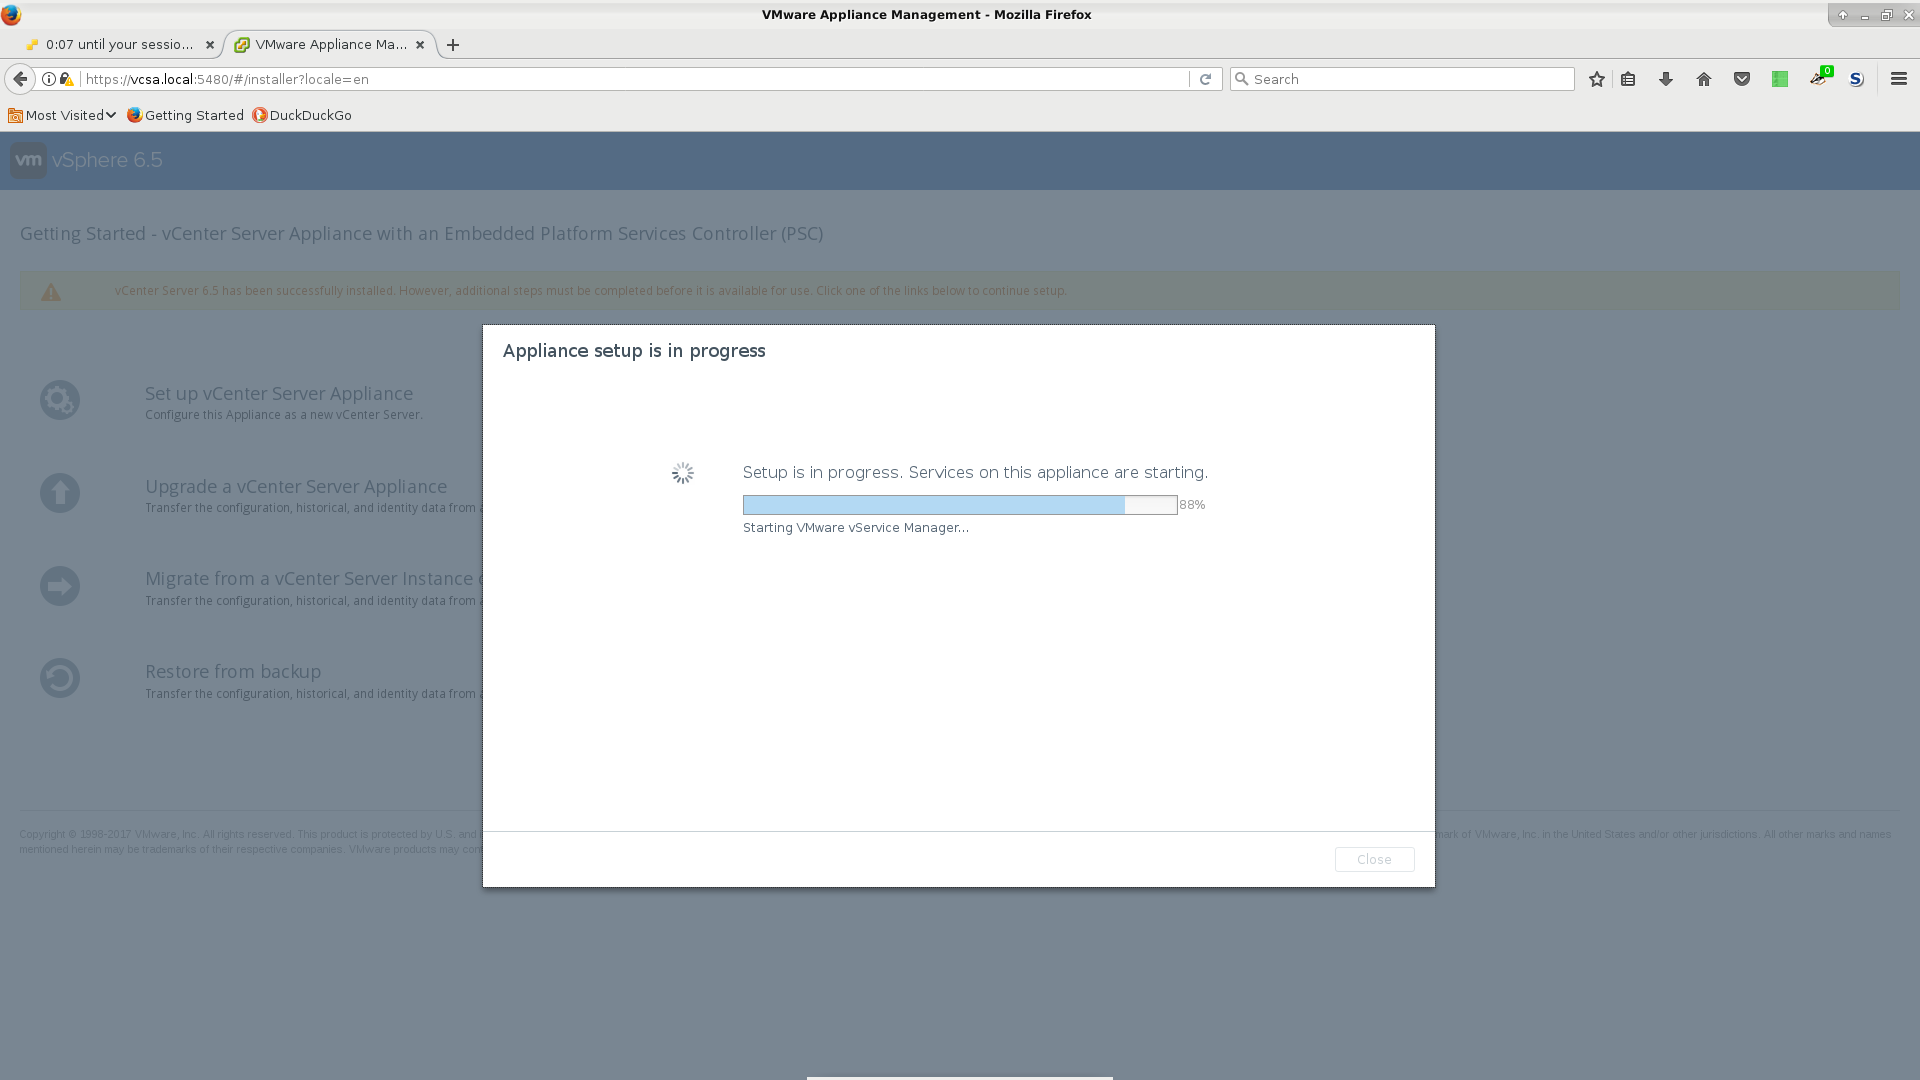
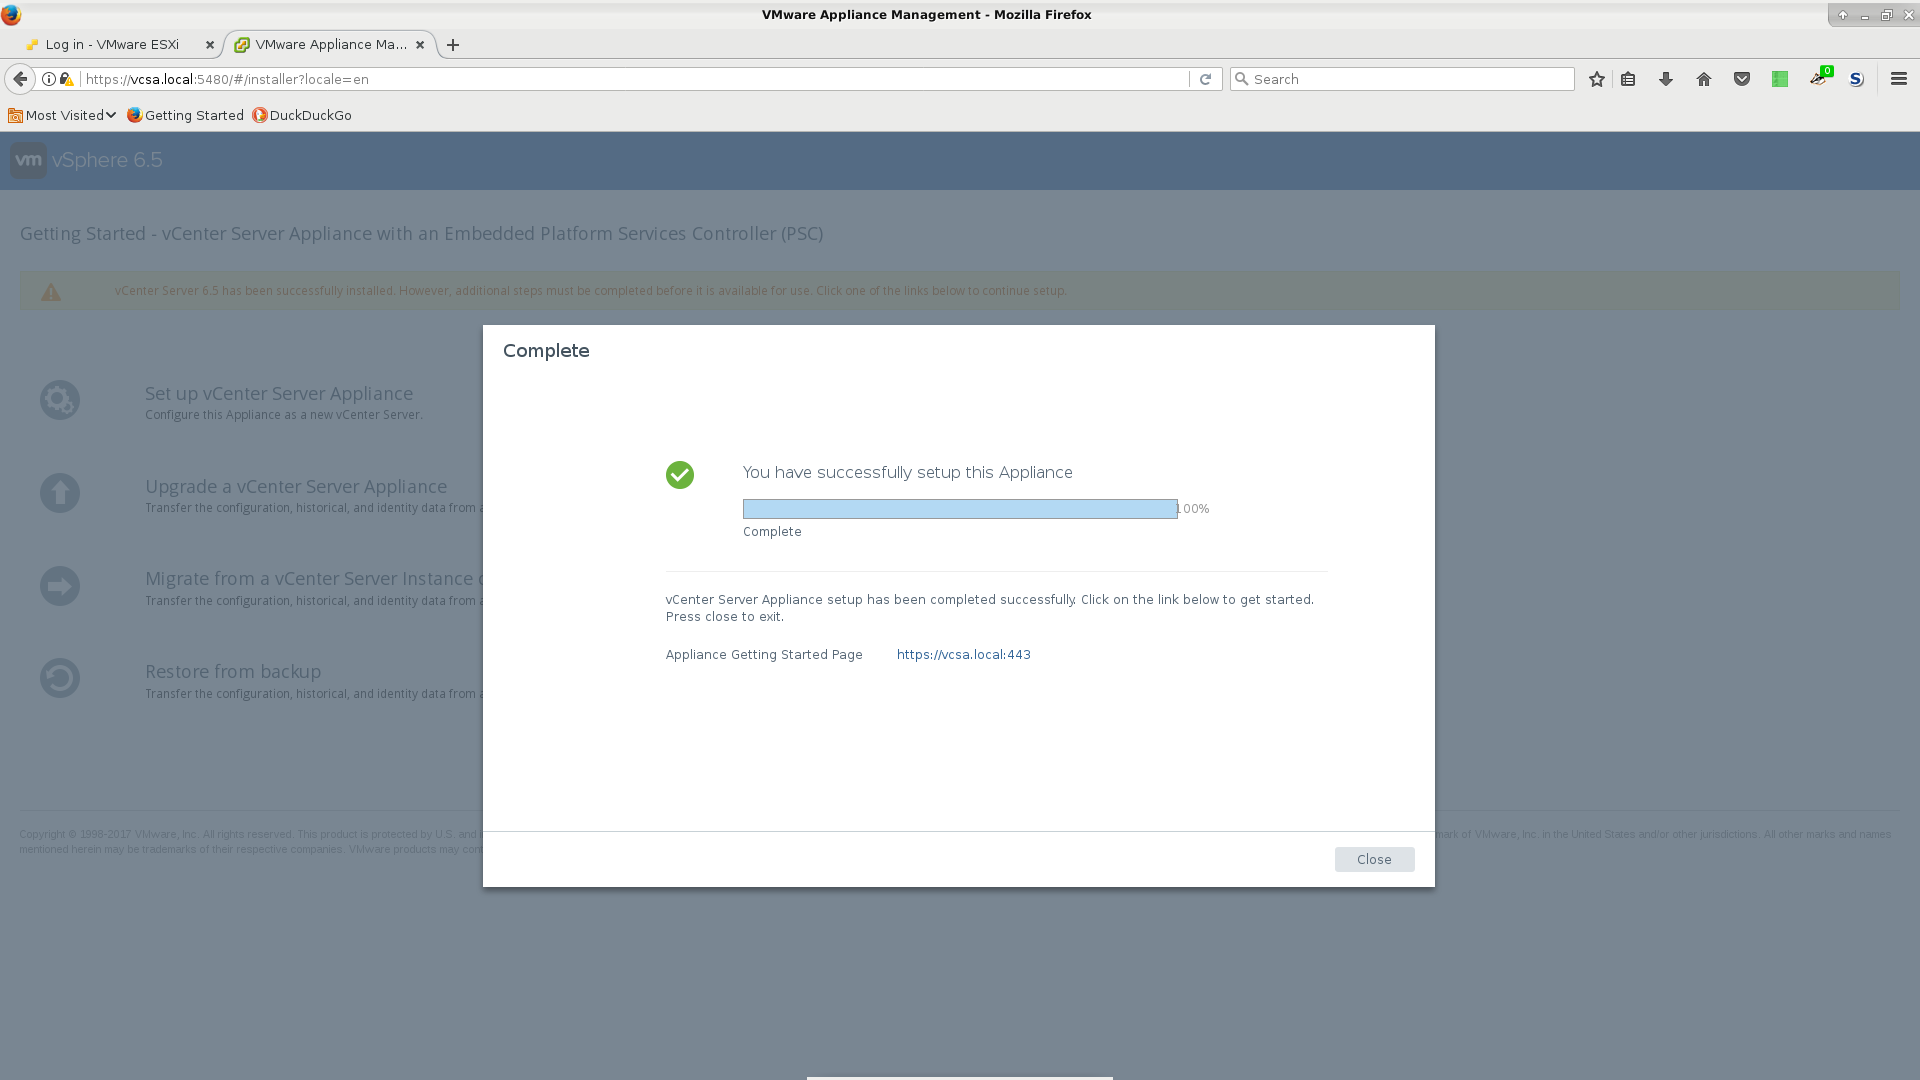
- Yet more installation screens. Yes, you thought you were done installing VCSA, but YOU WERE NOT! Follow through the rest of these installation screens to let it kick off yet more scripts. It is important to fill in and remember the Single Sign On (SSO) set up as you will need to enter the 'administrator@some.sso' as your username at the final, real web interface.
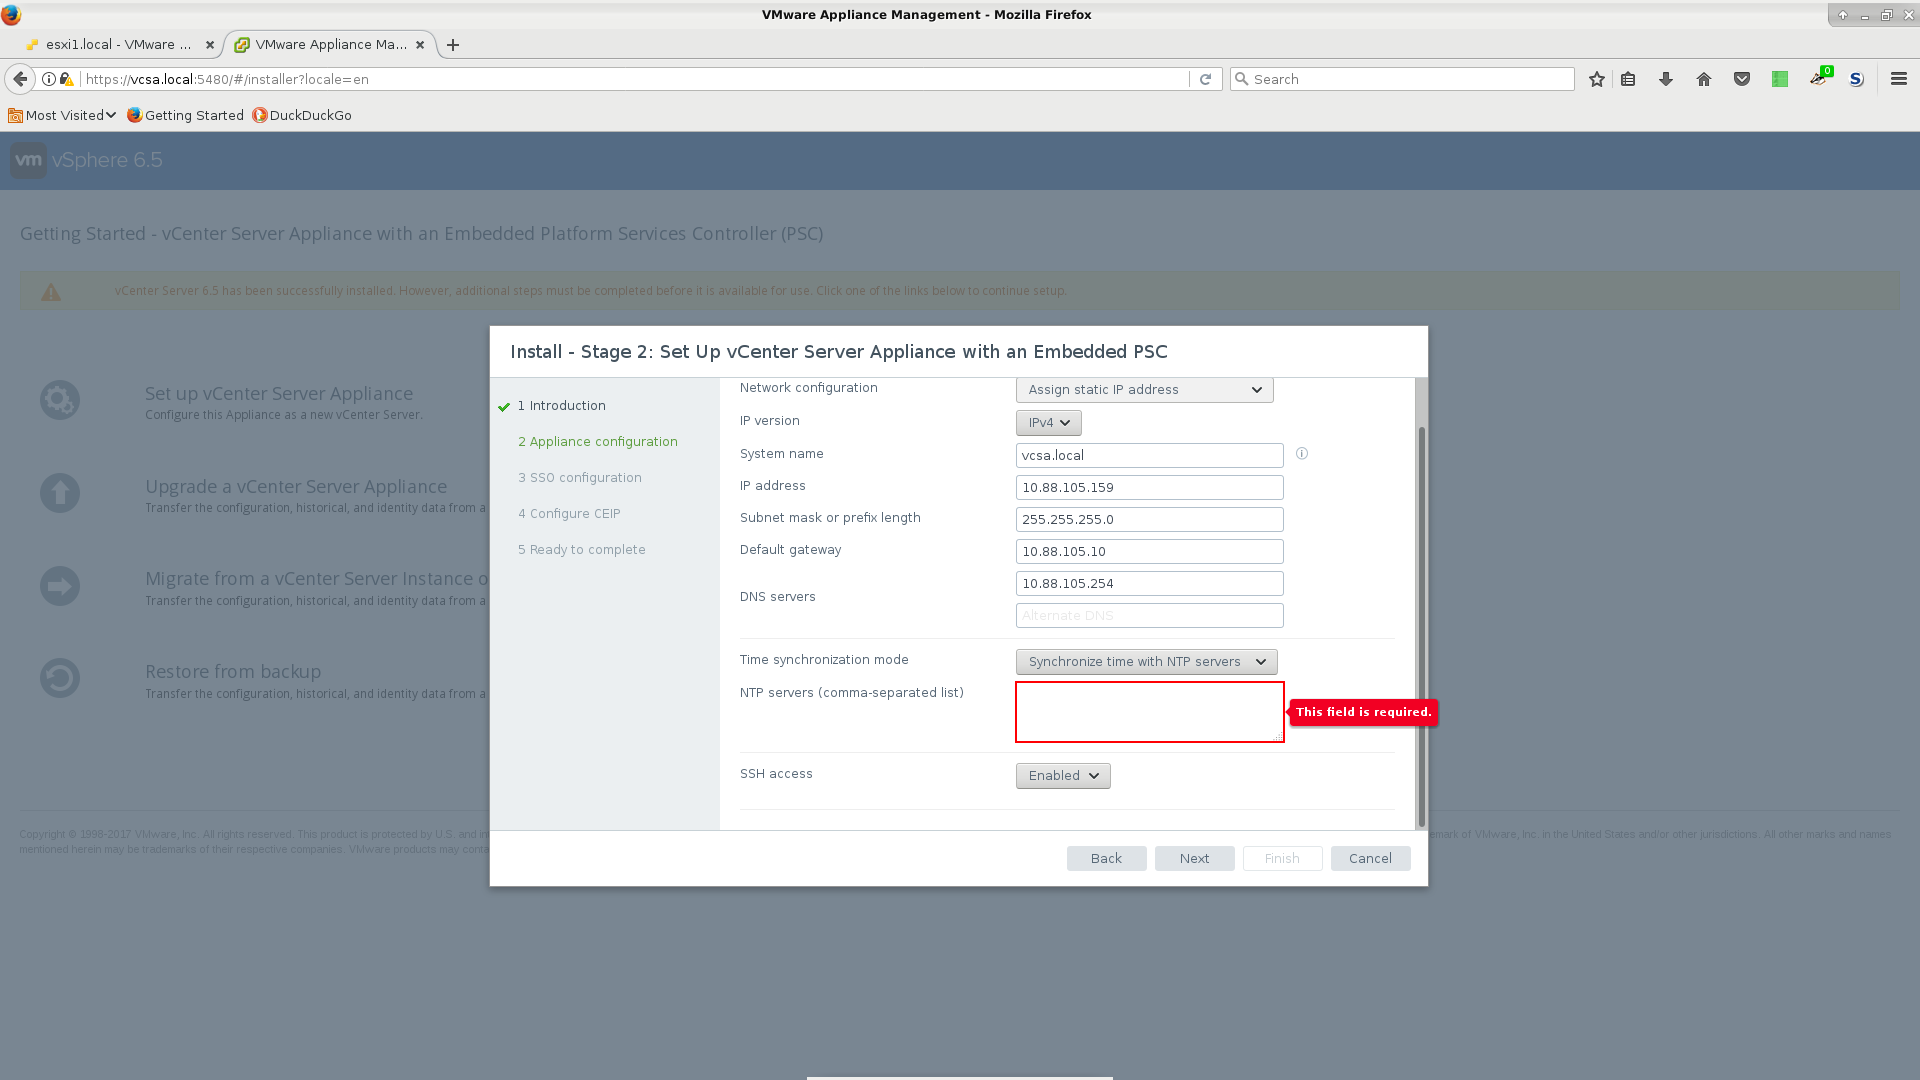
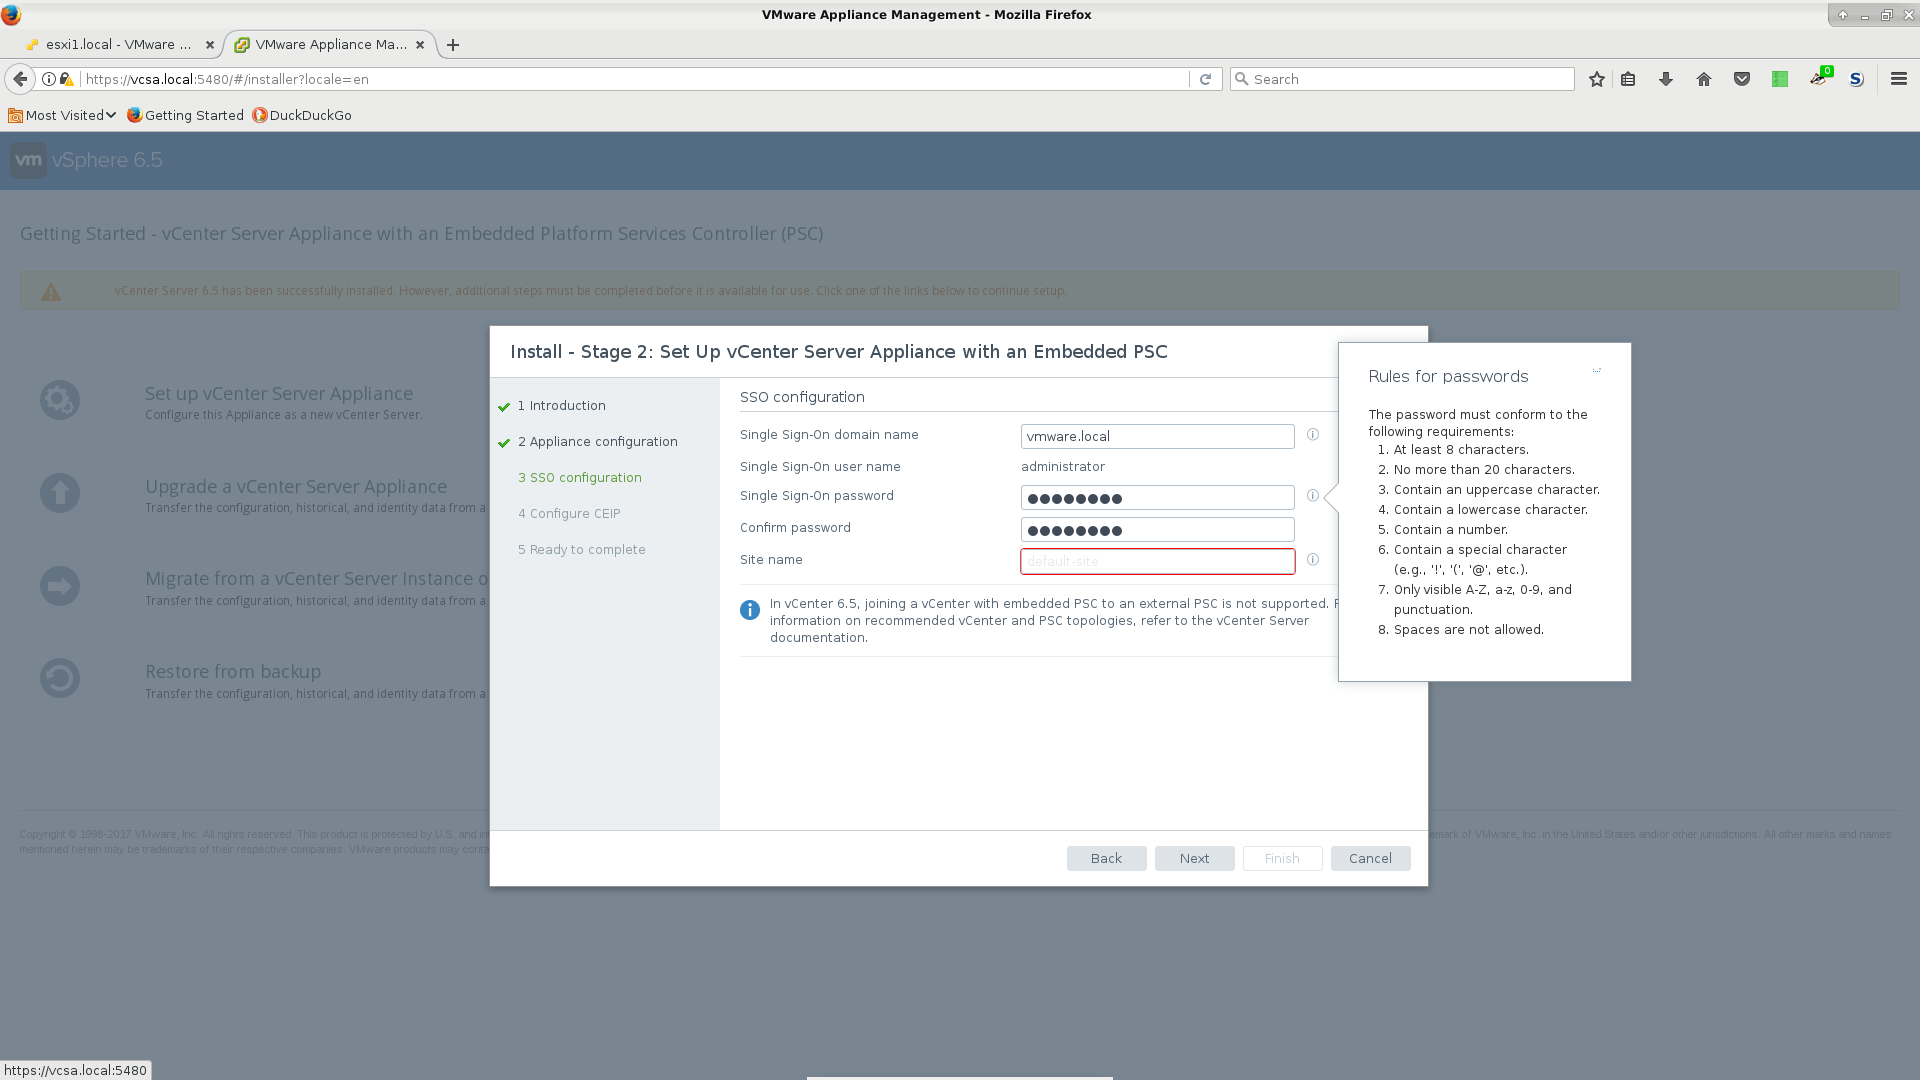
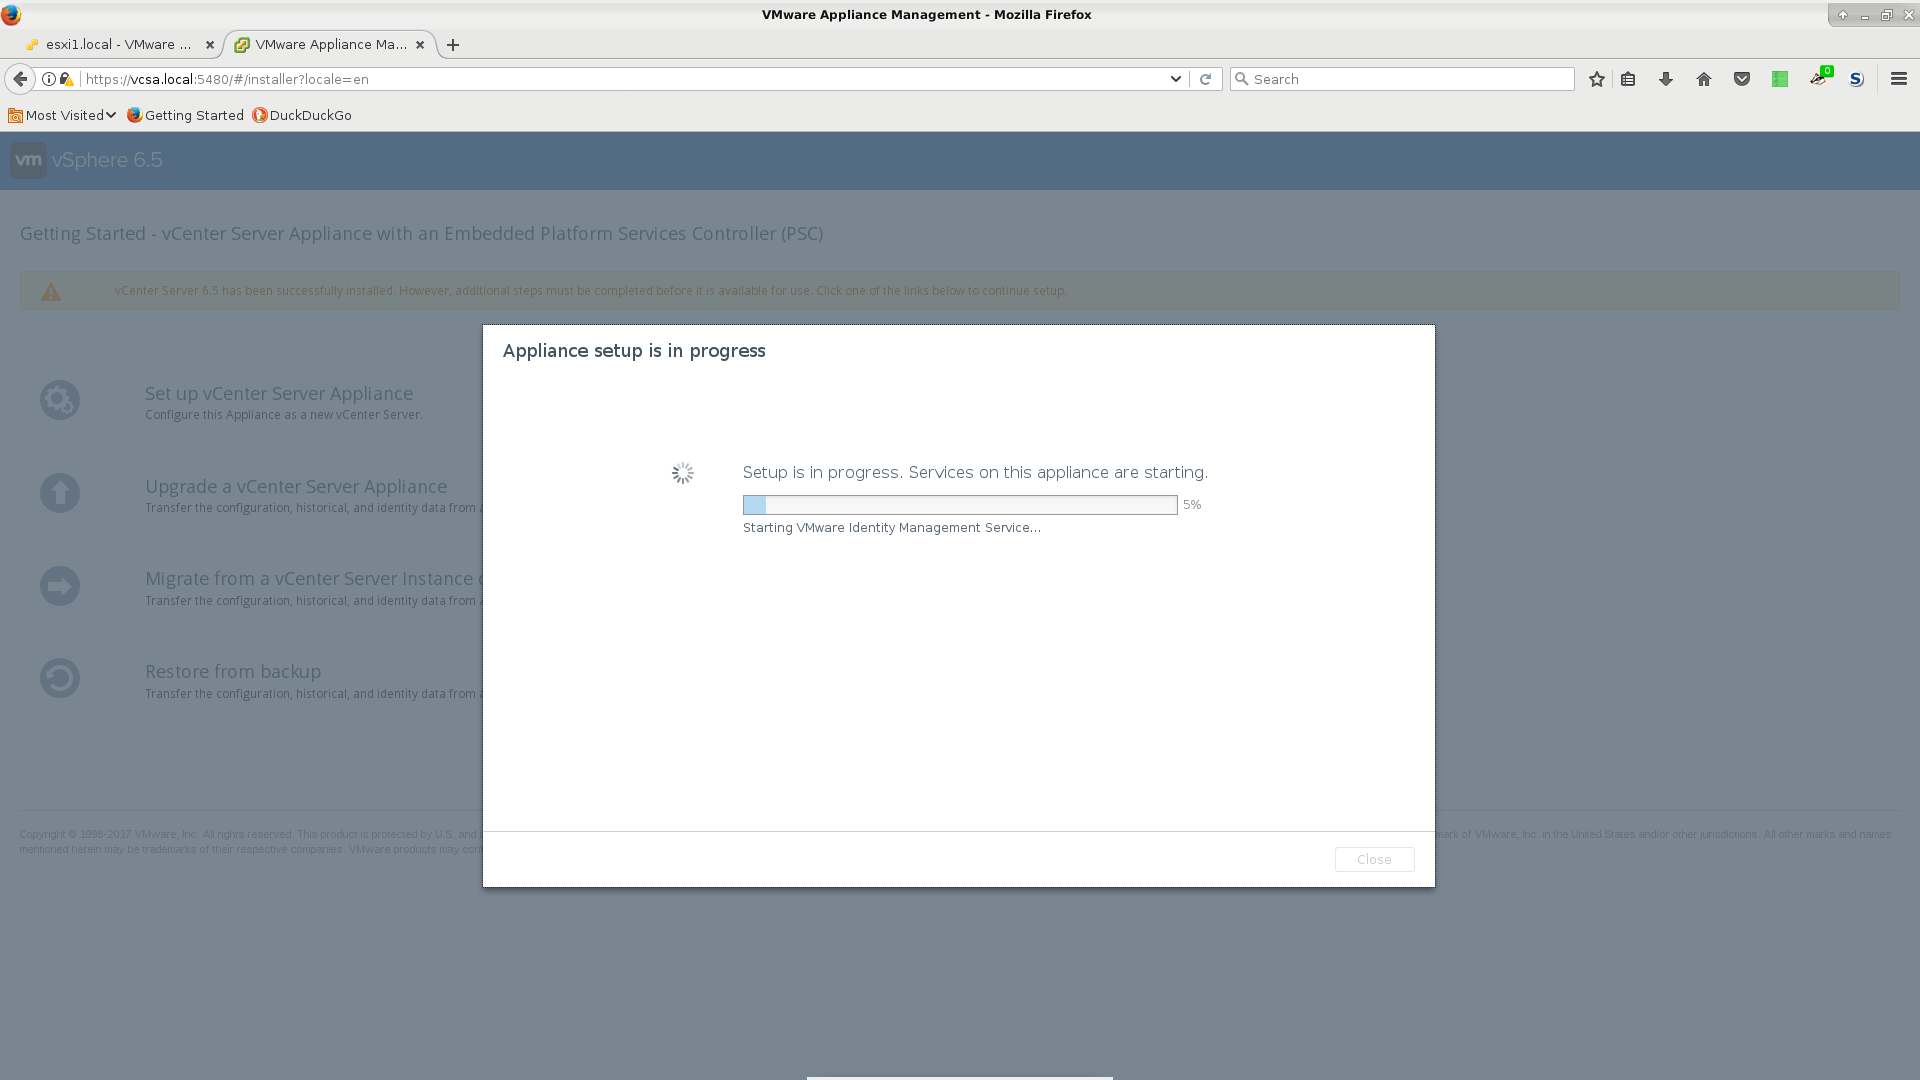
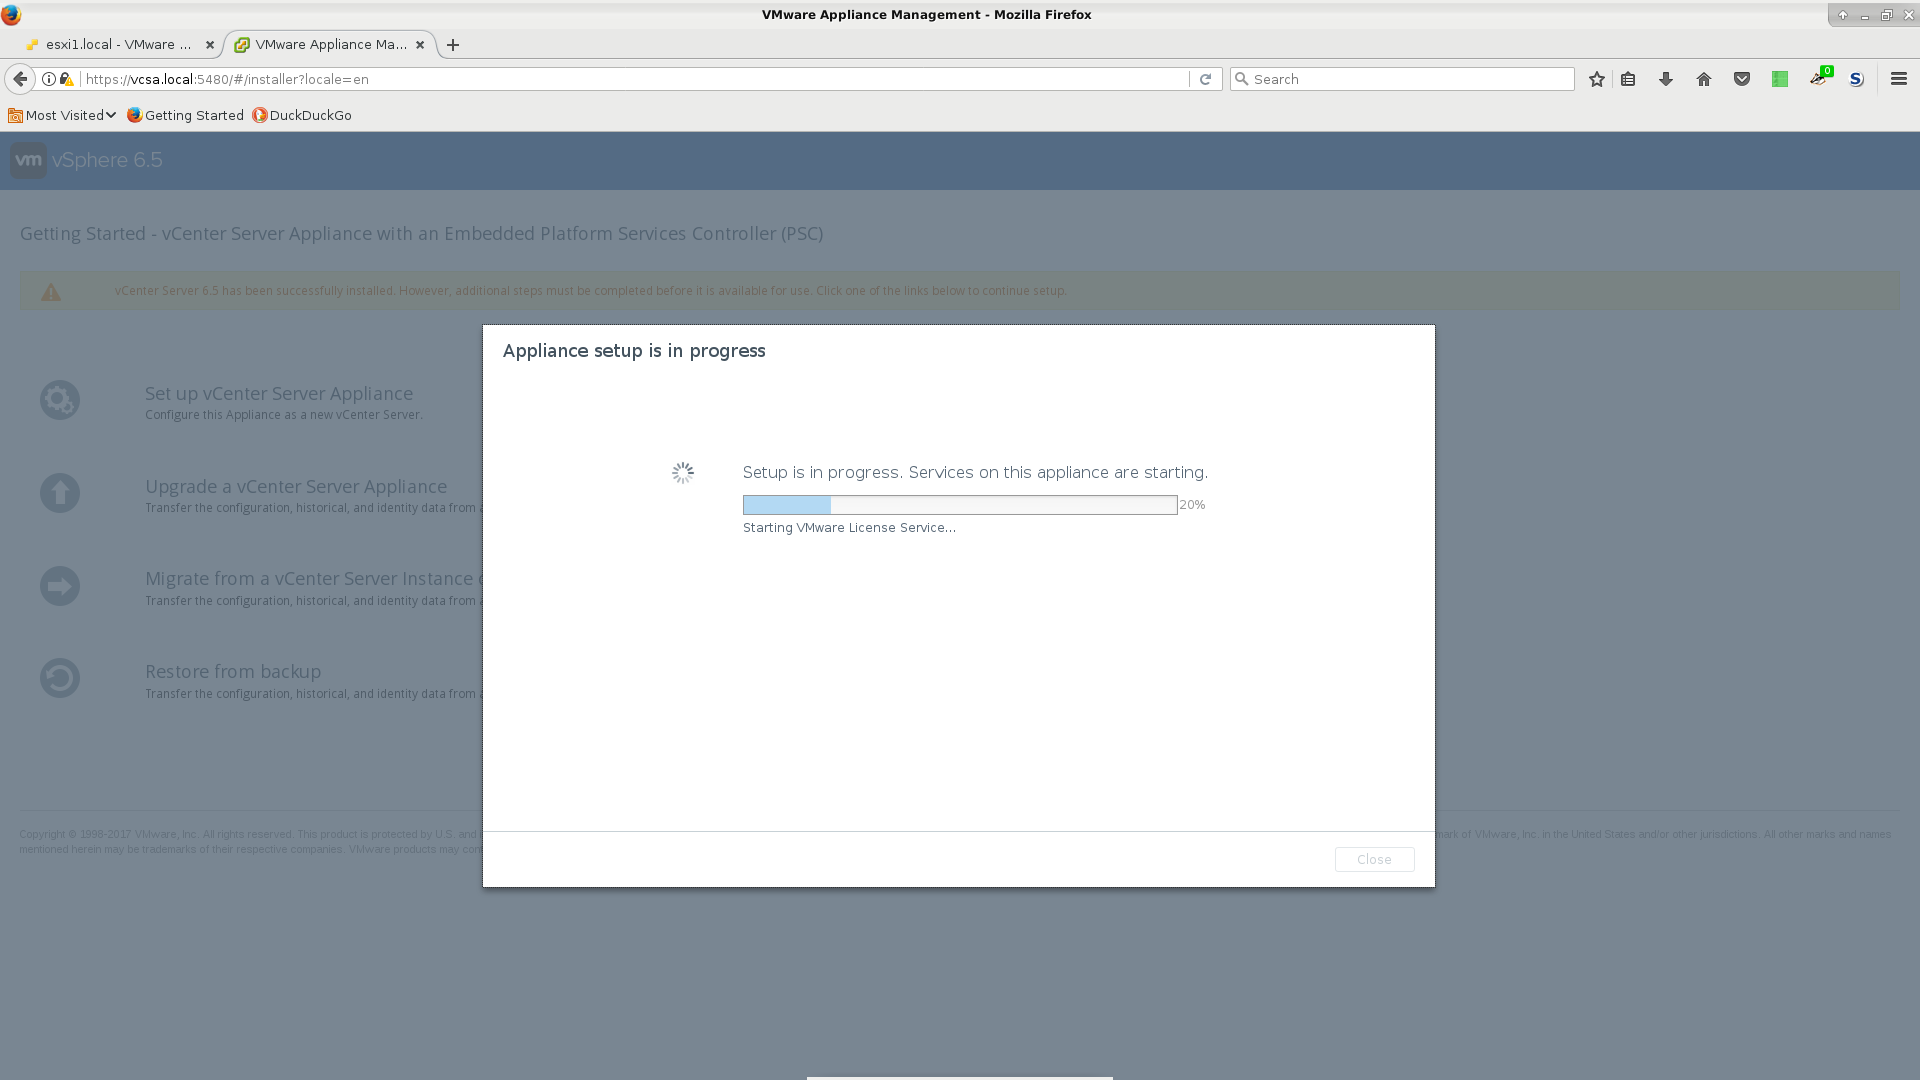
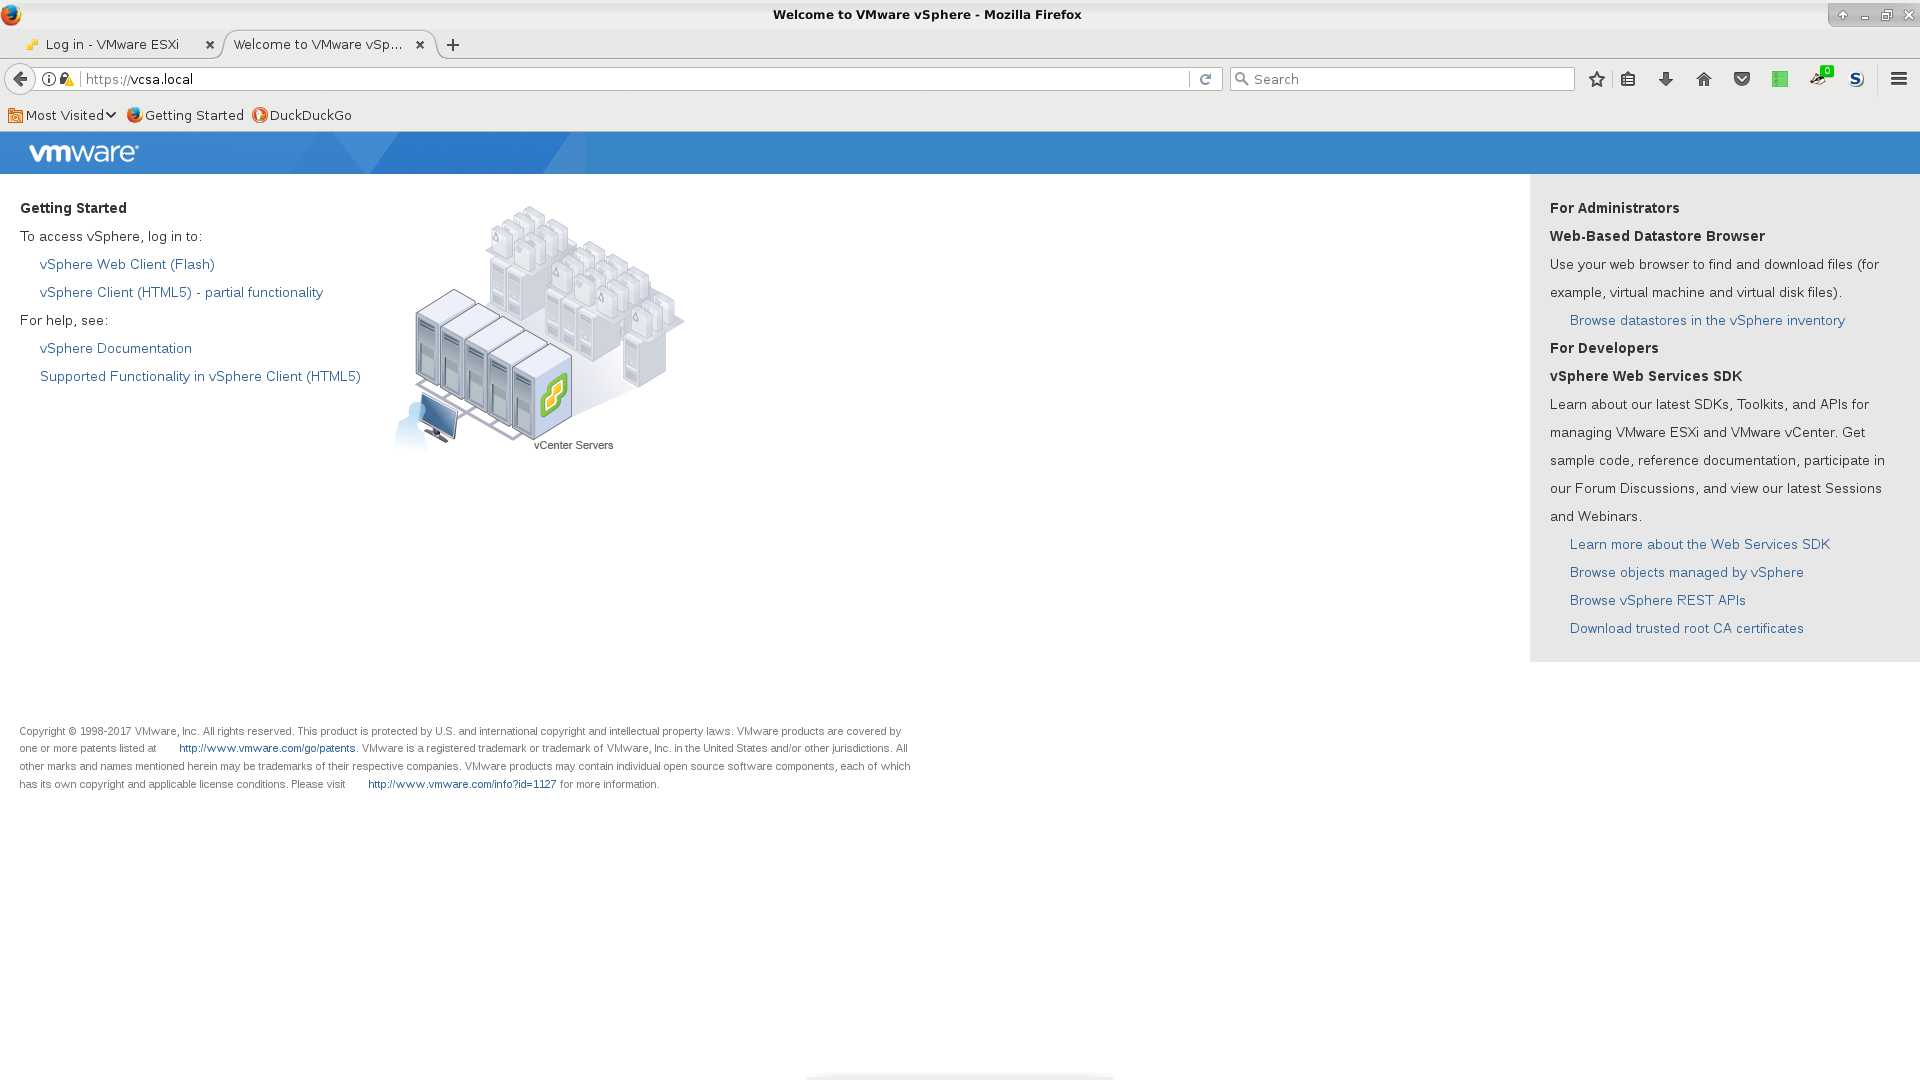
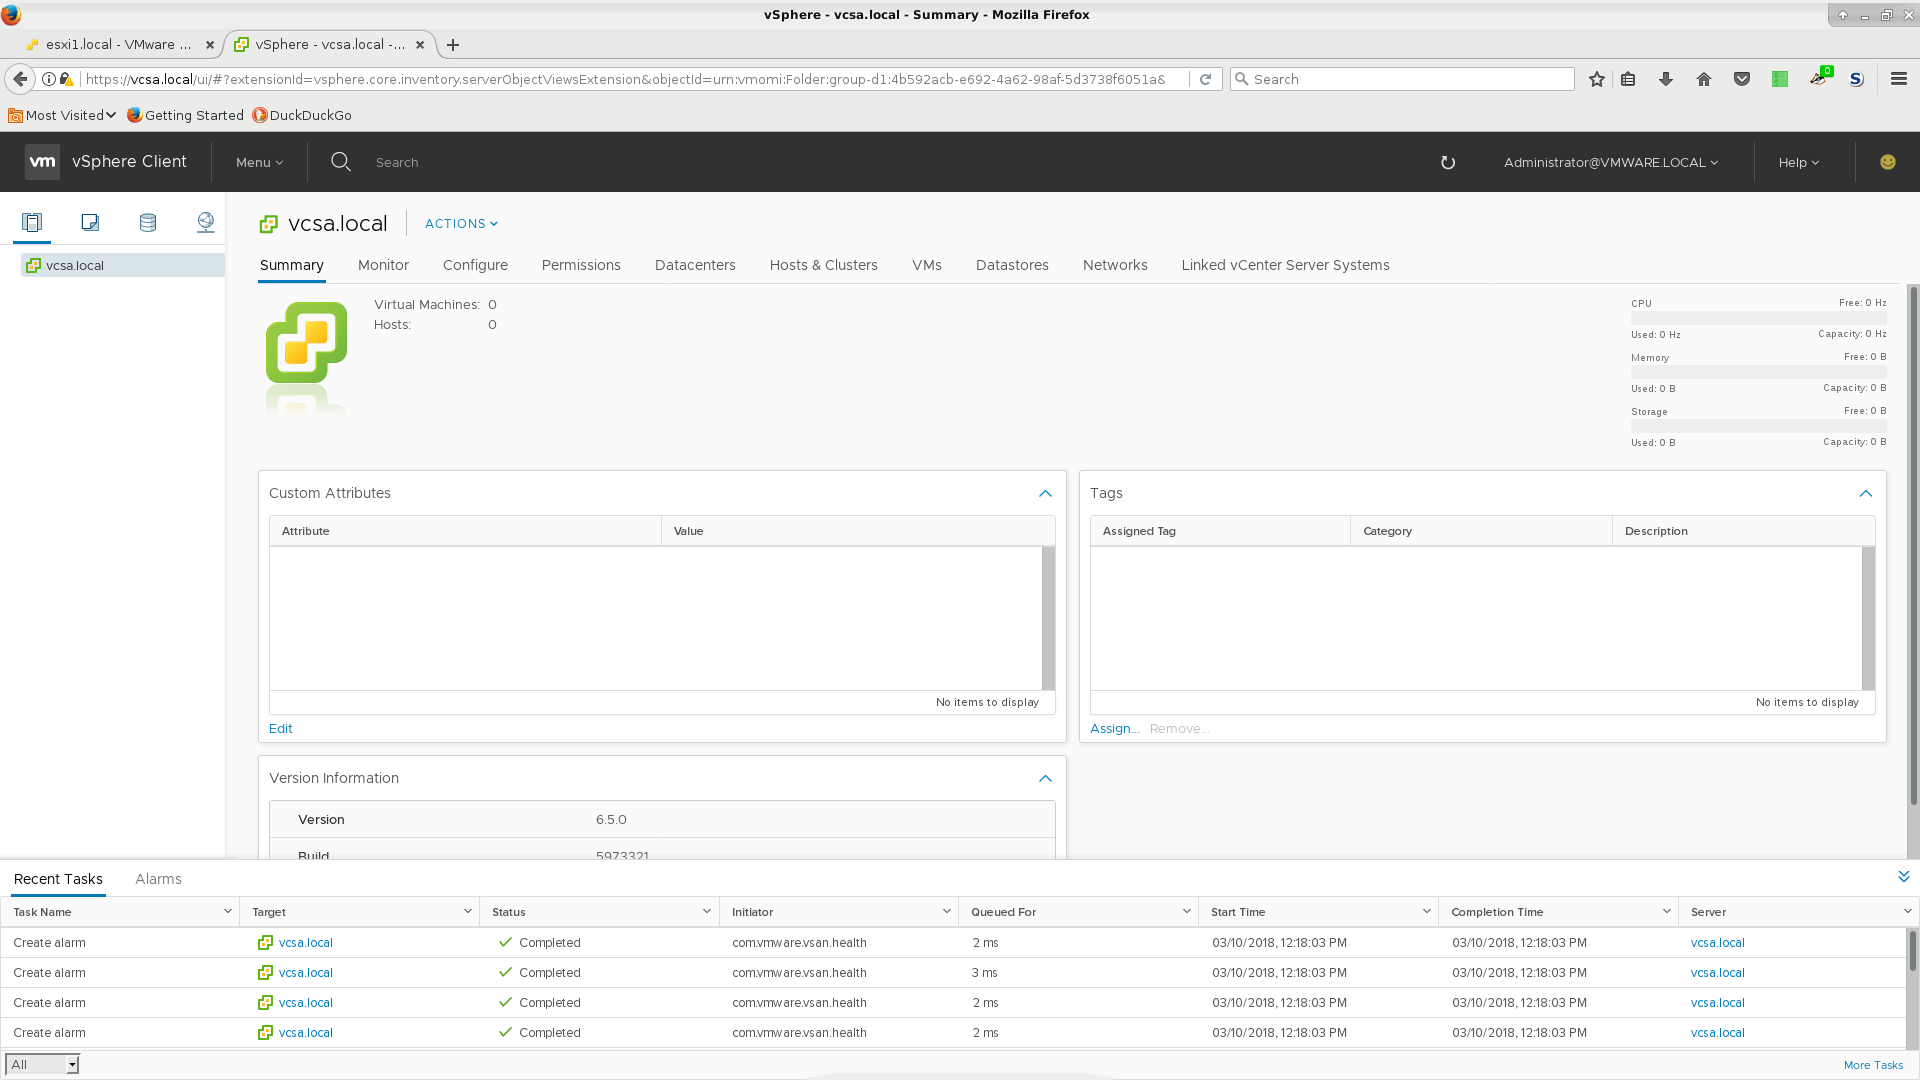
- I found that this entire process of installing VCSA took be about one hour. Most of which is just spent waiting for the darn scripts to run. When it's finally done, you can log in and see all the glory that is vCenter.
Attaching ESXi Hosts to vCenter
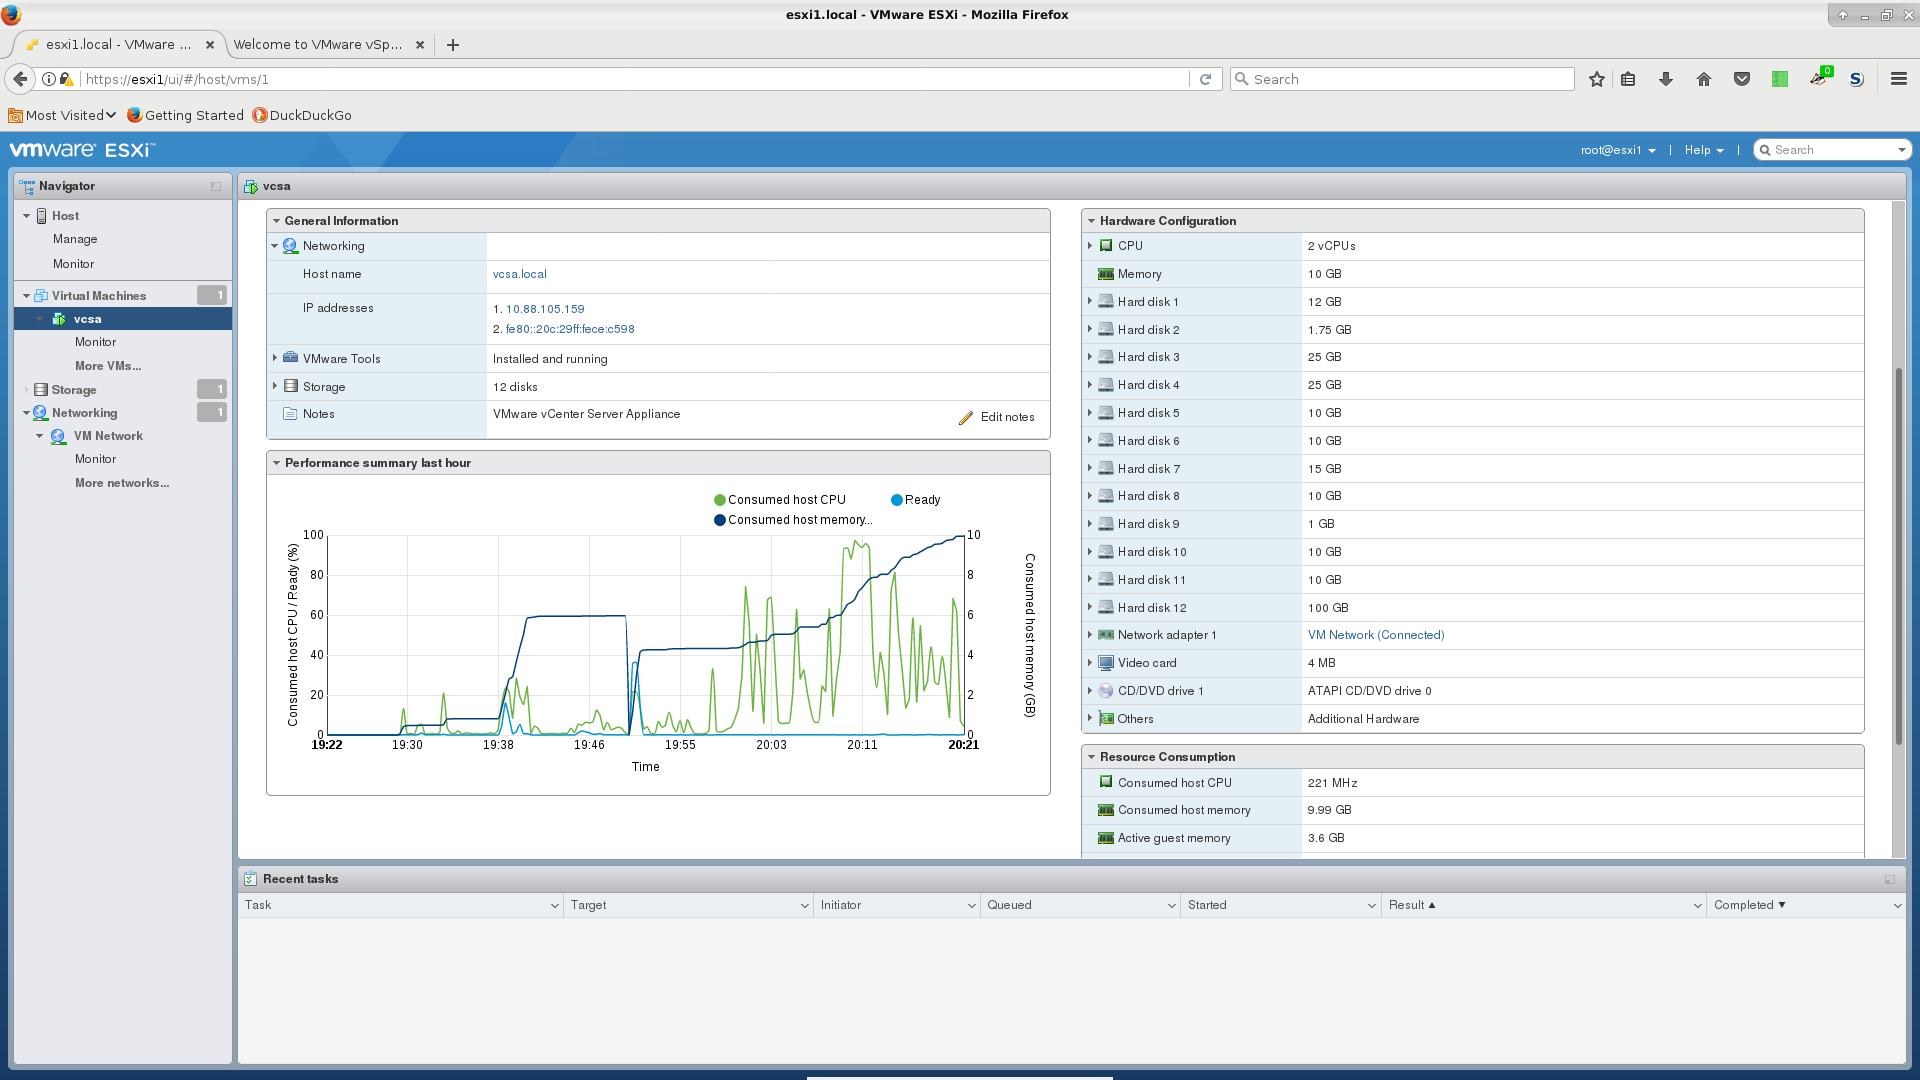
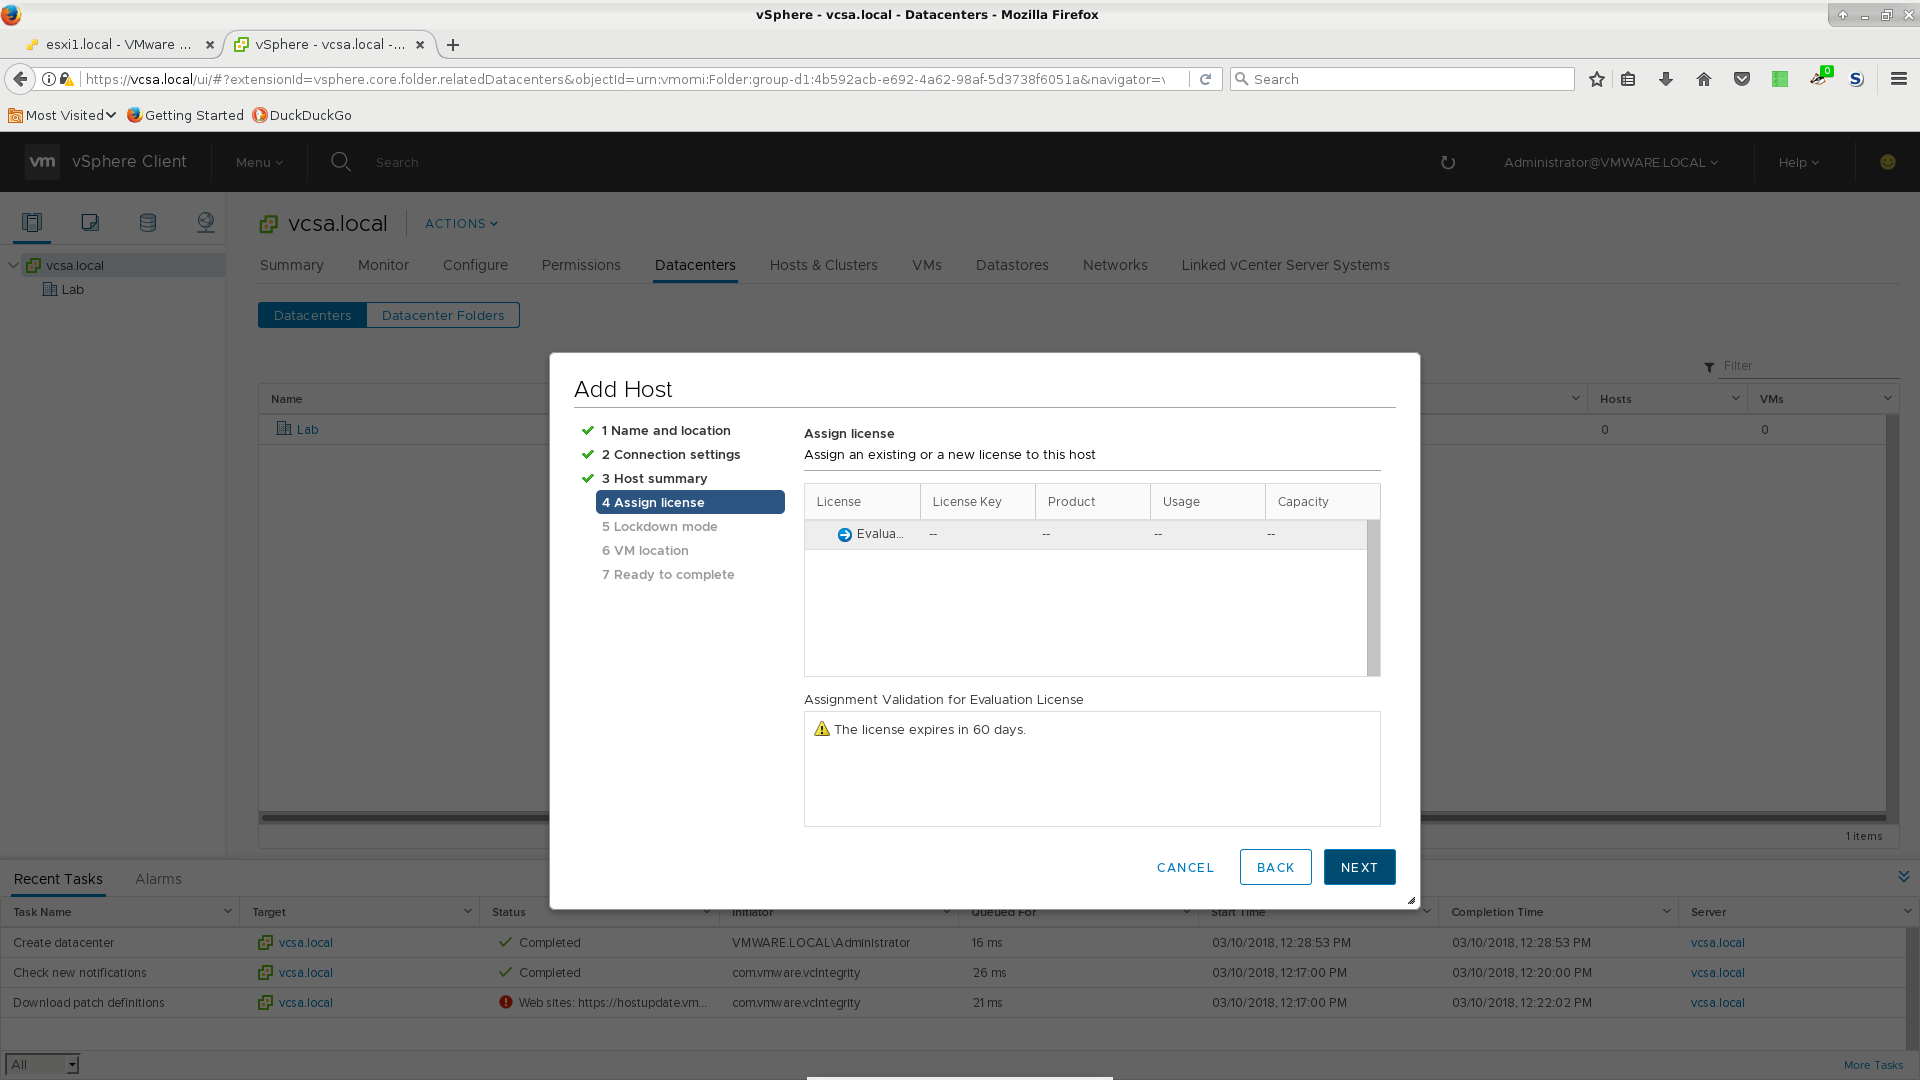
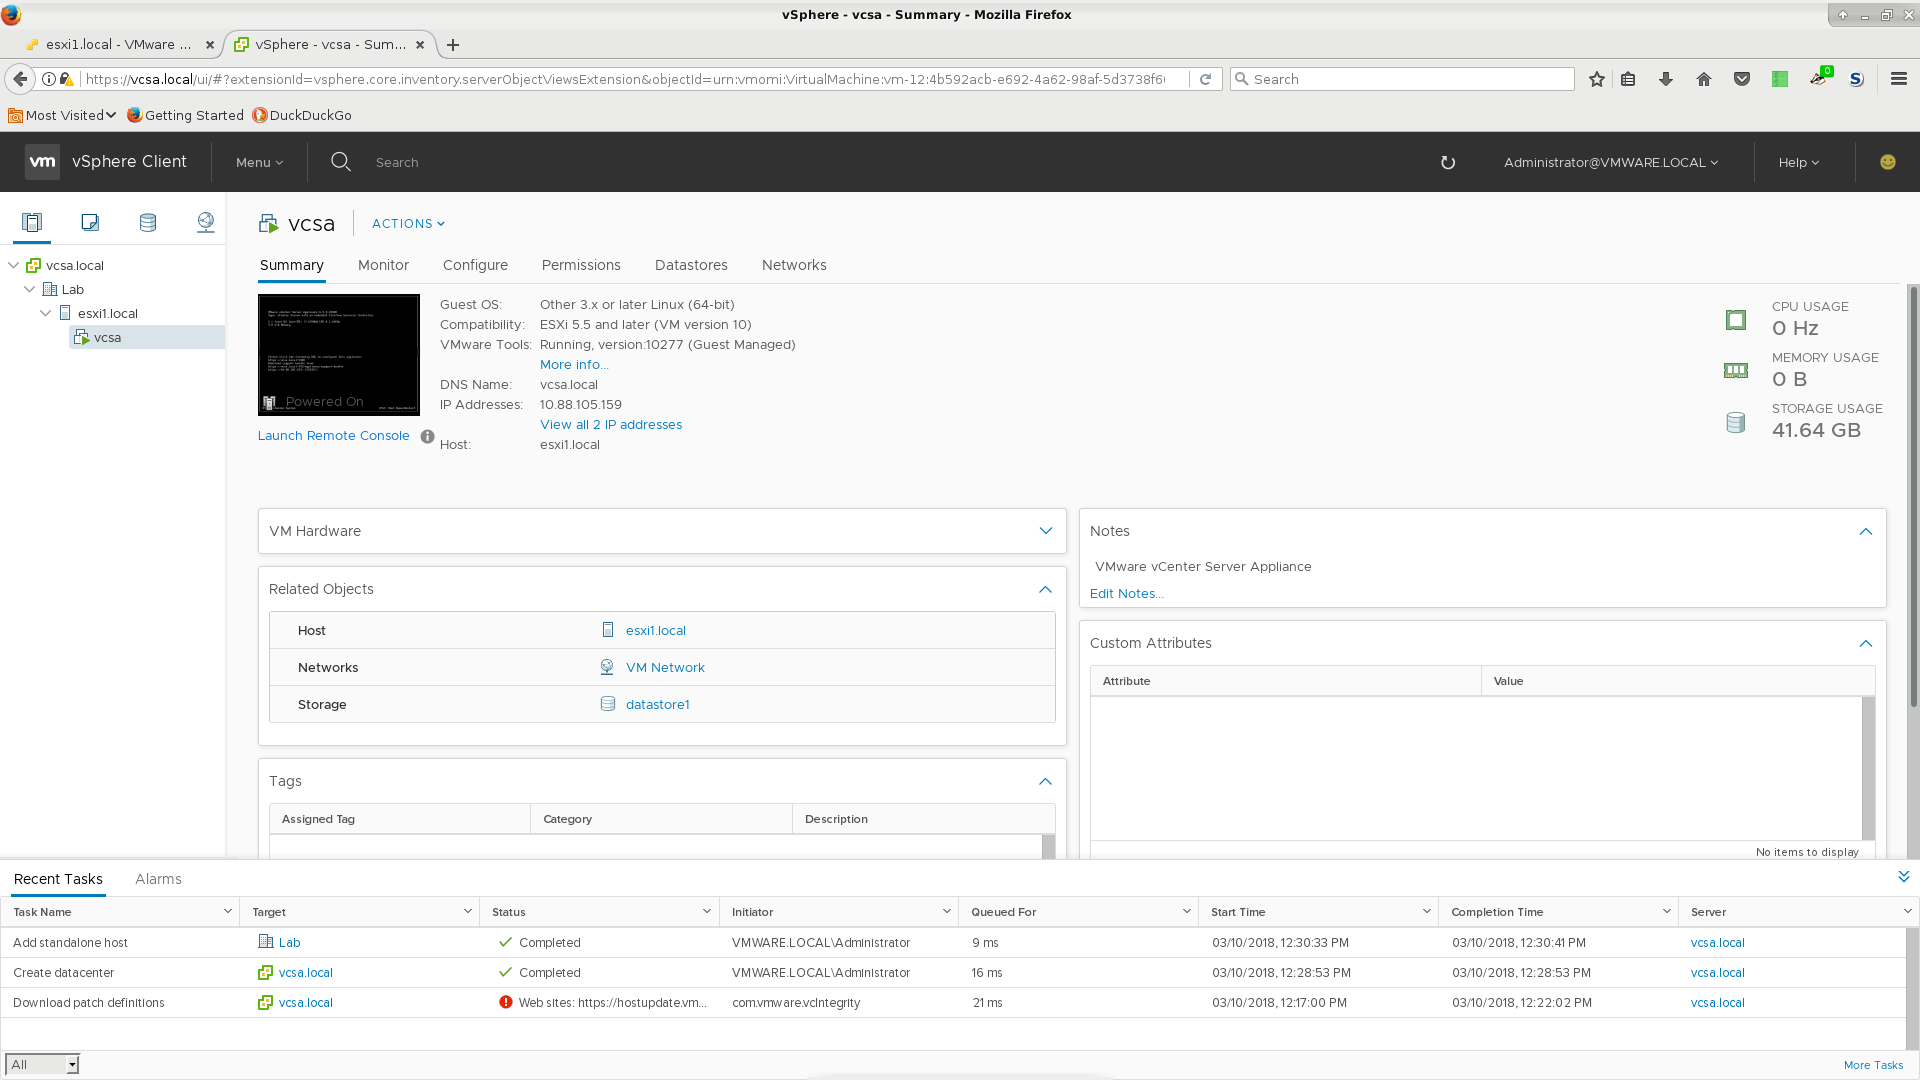
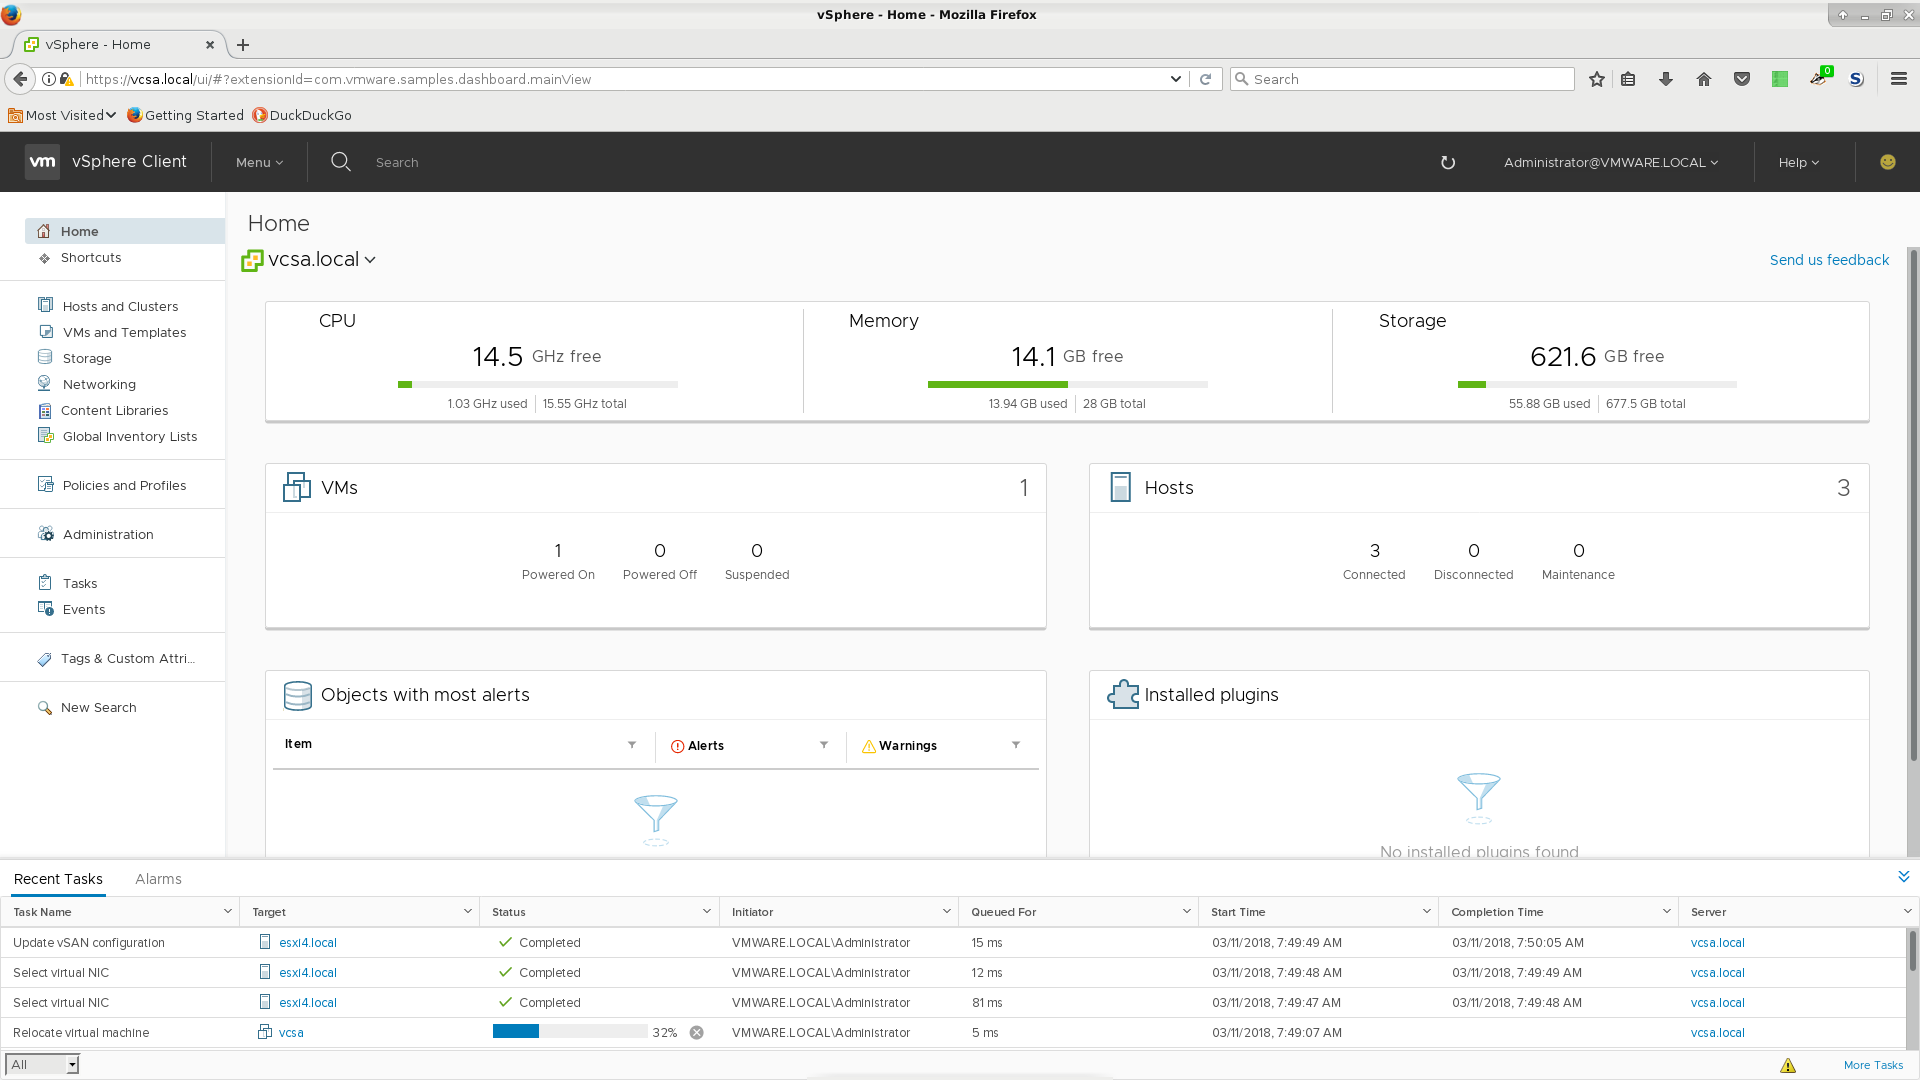
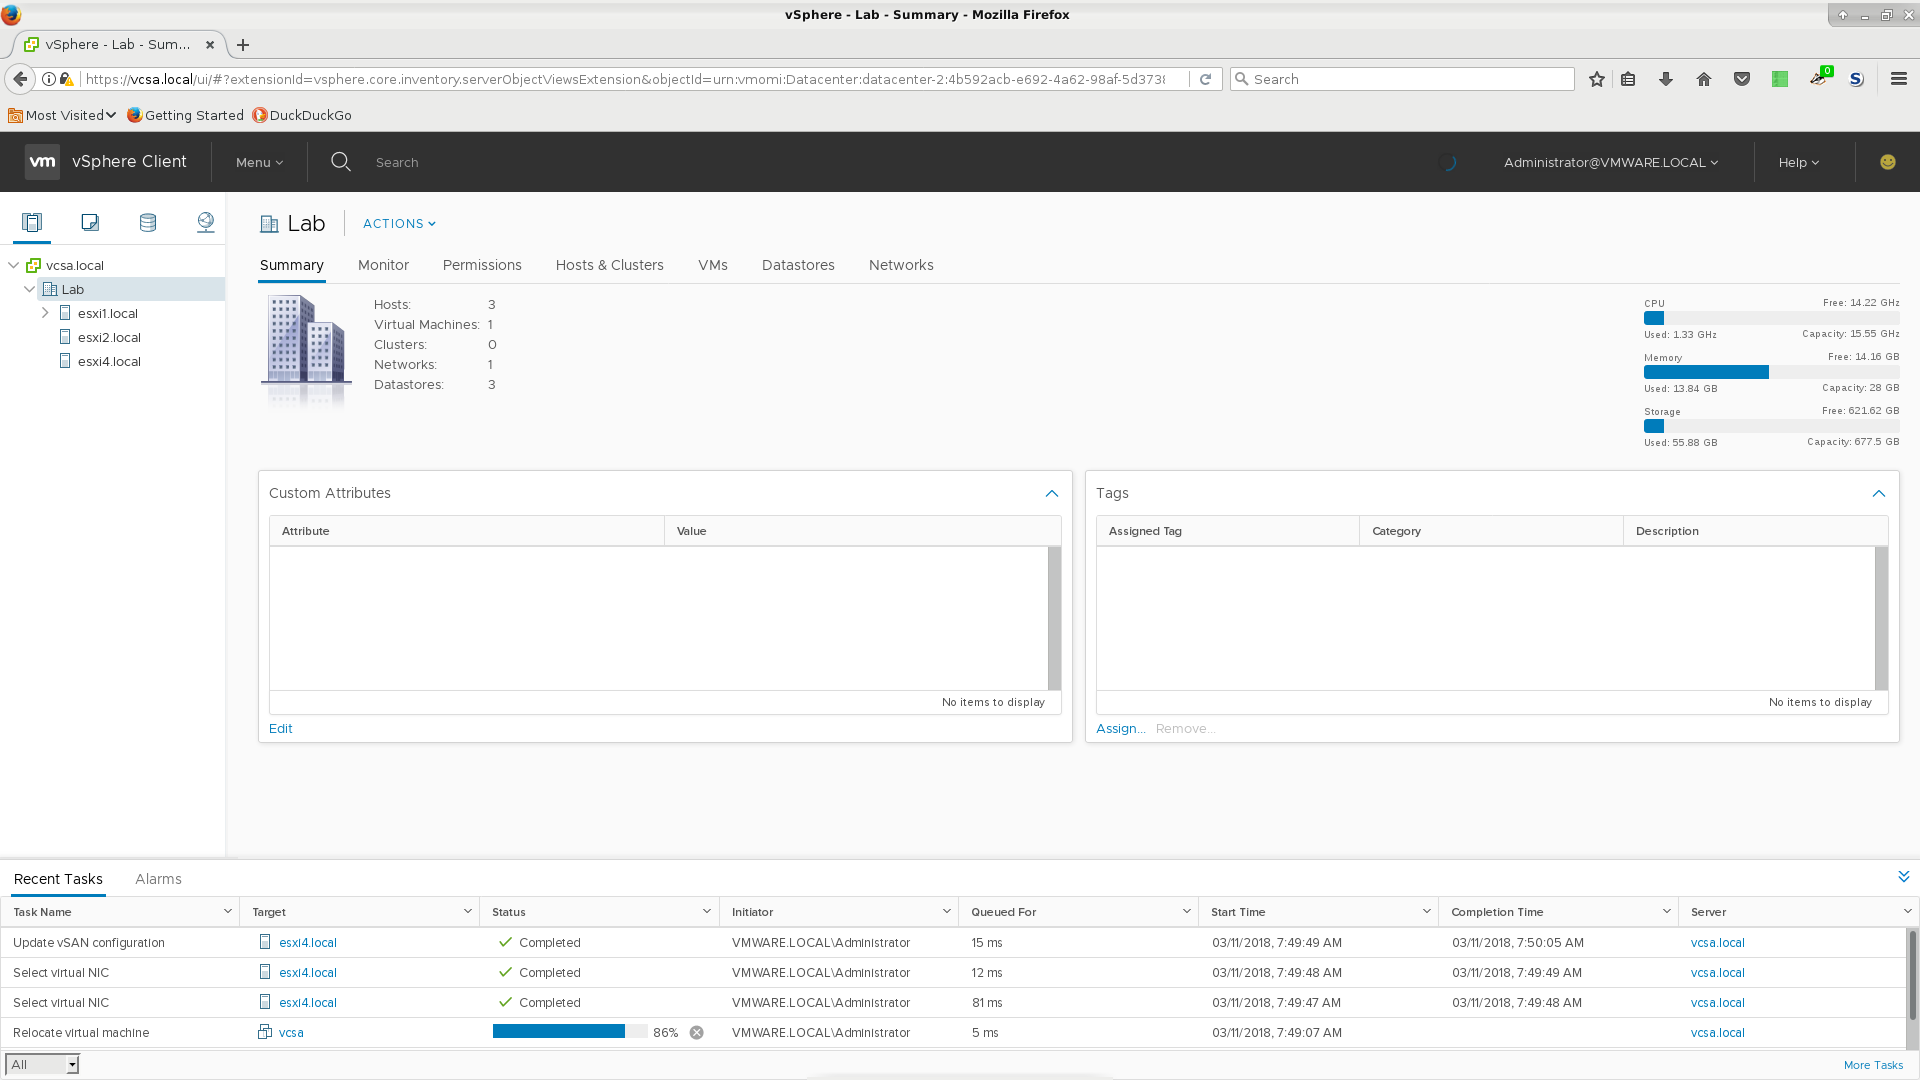
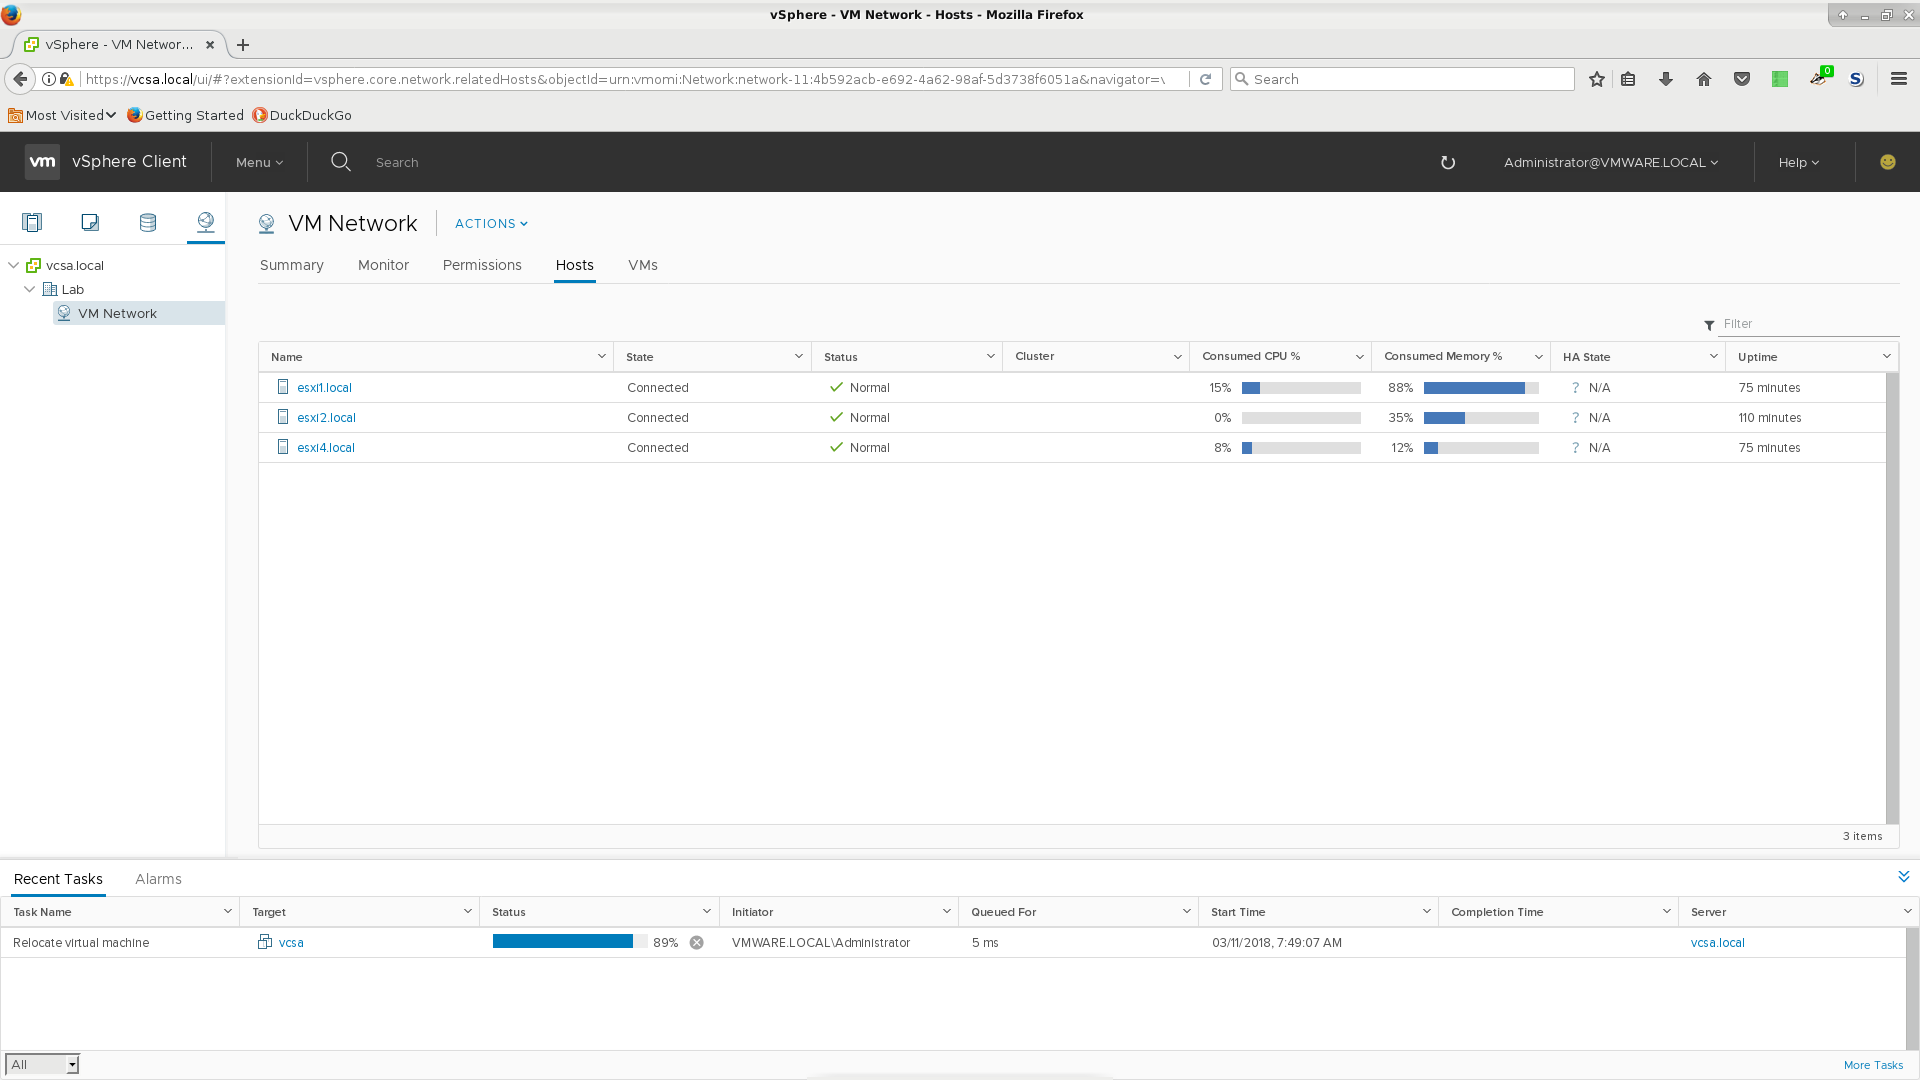
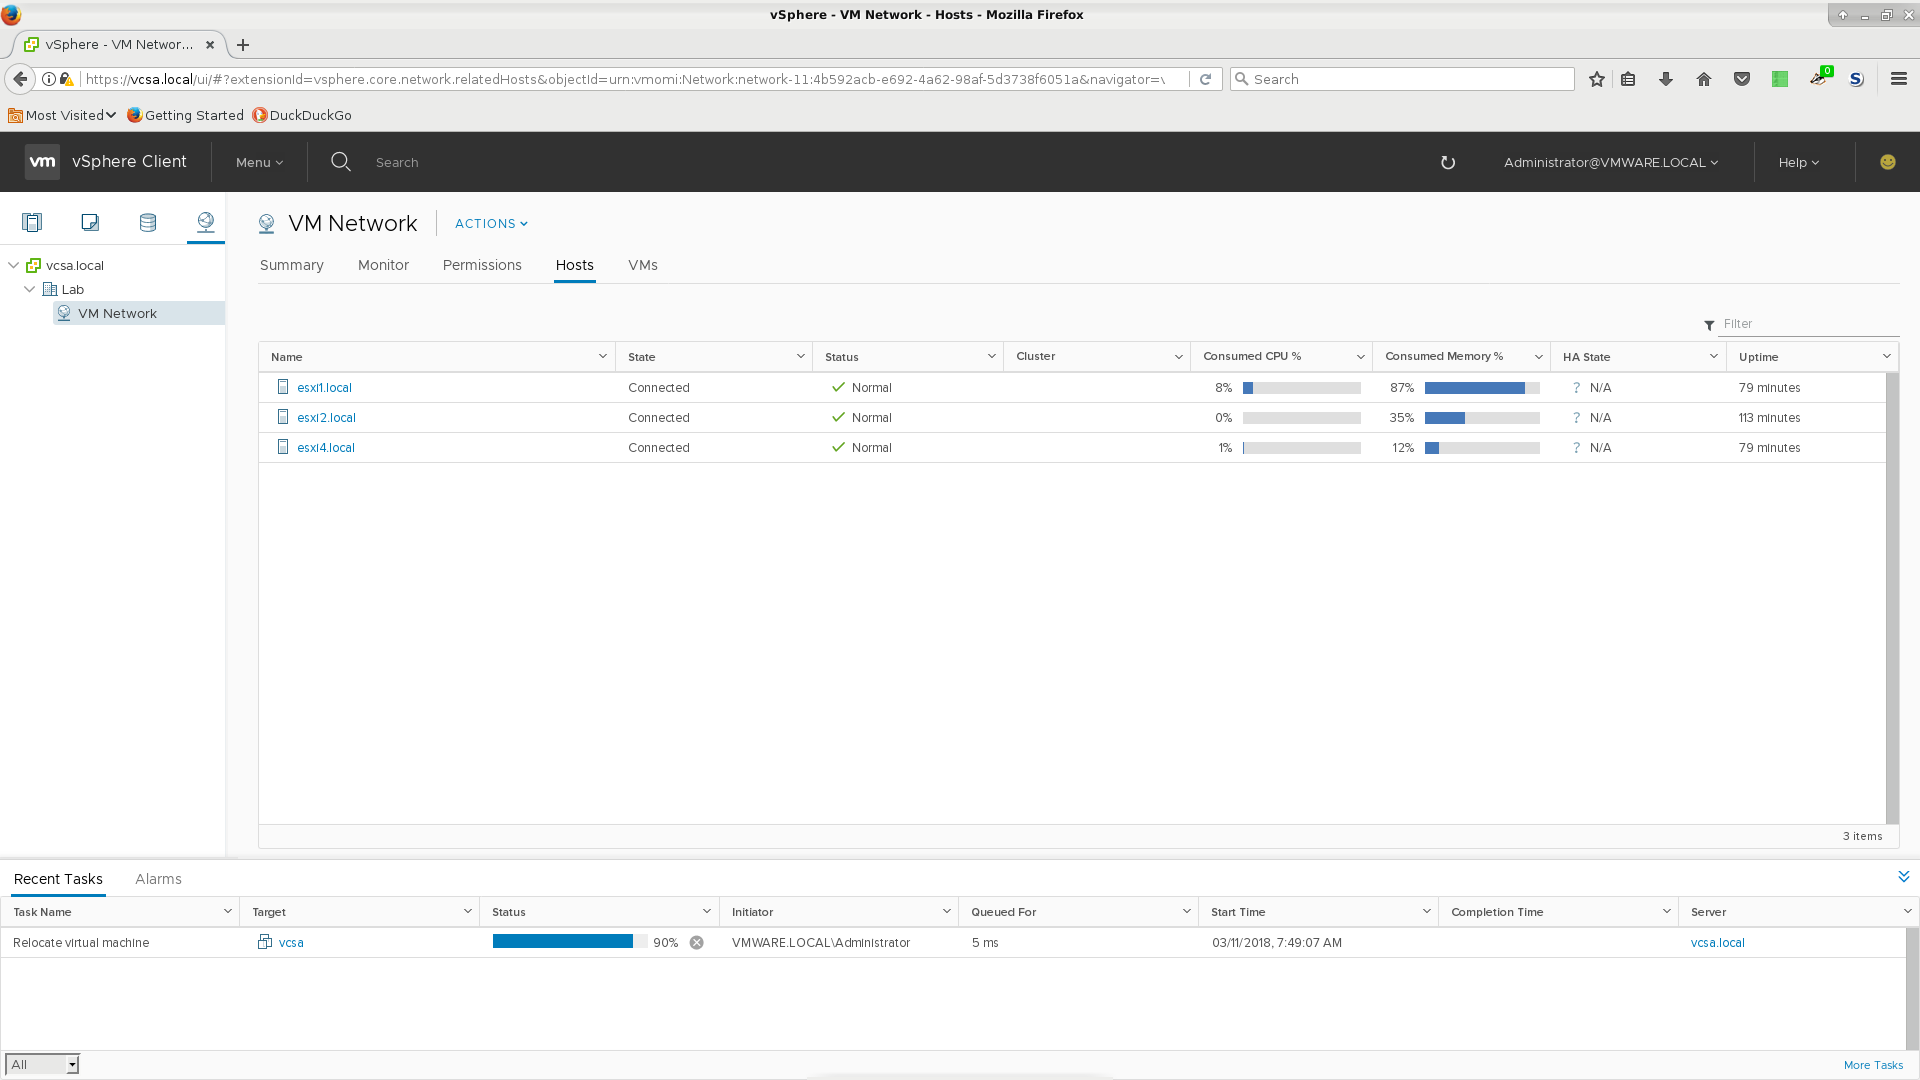
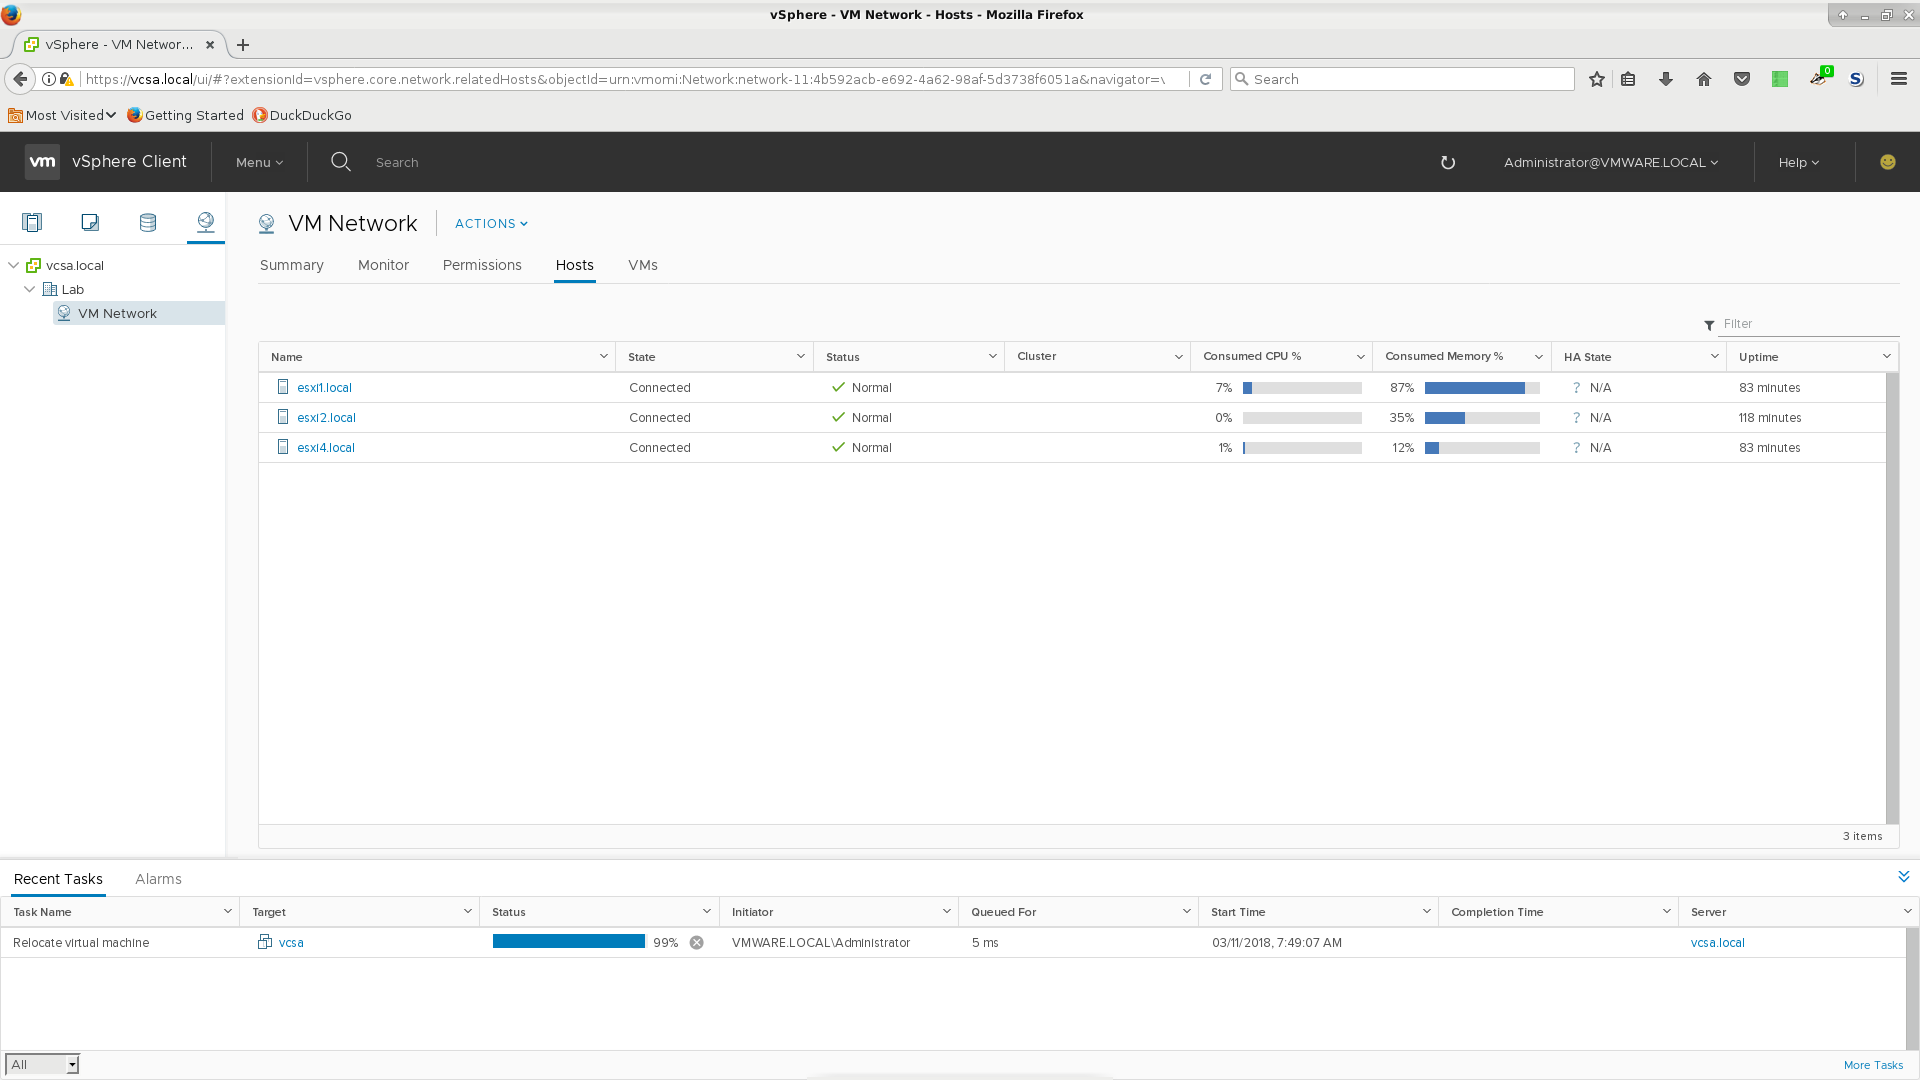
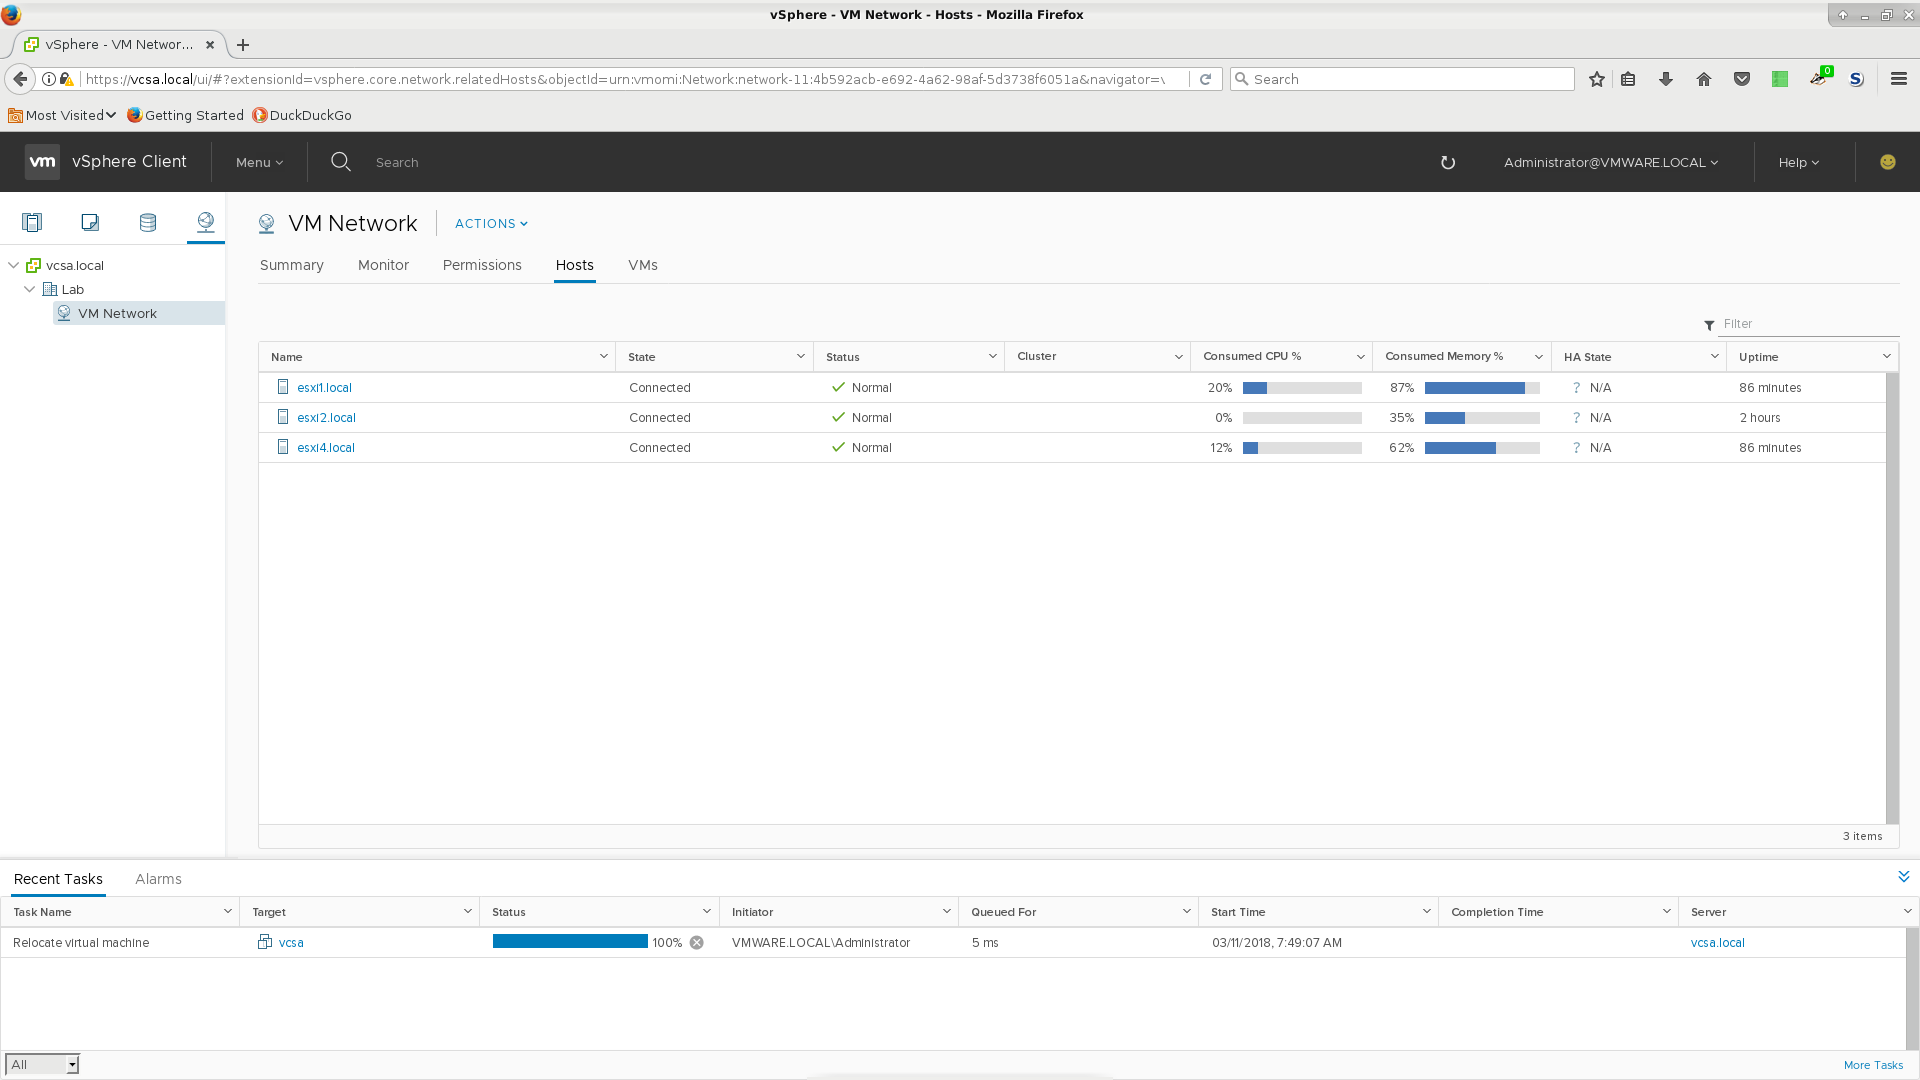
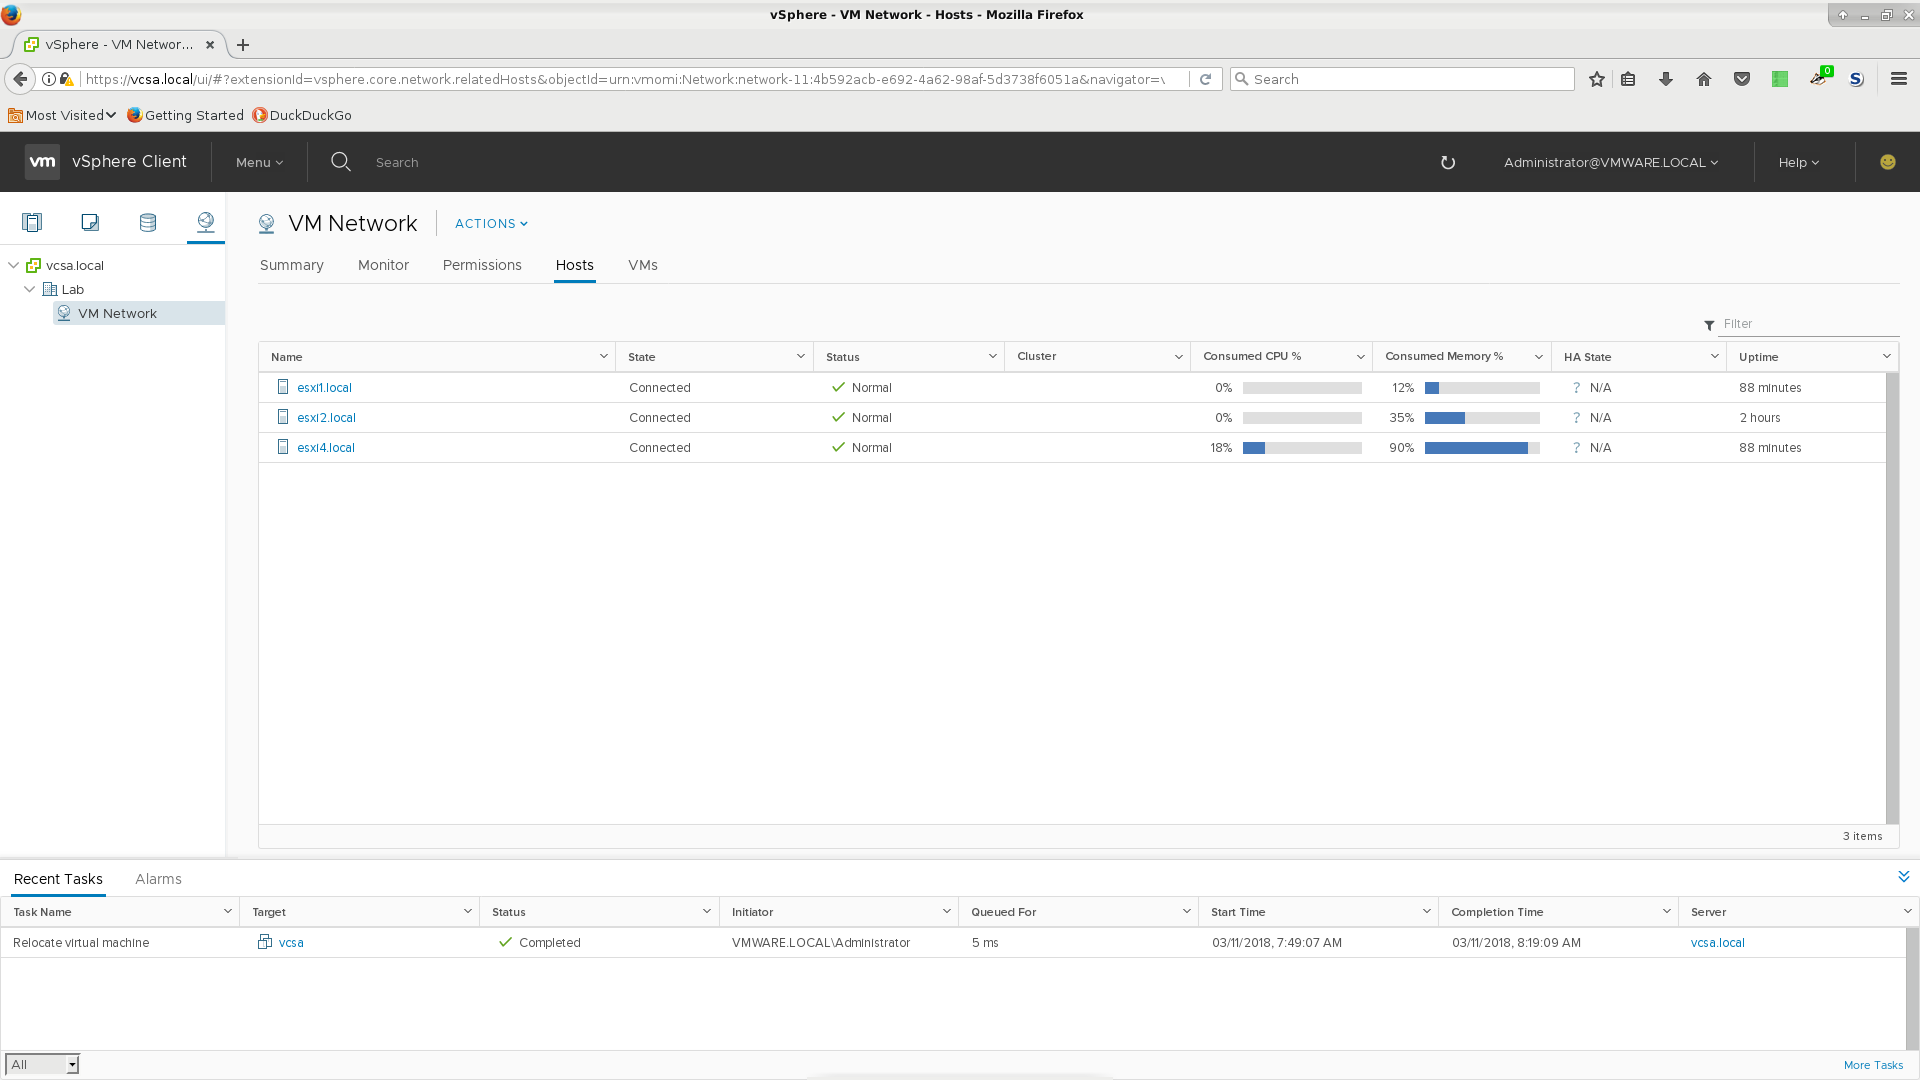
It might seem strange, but you can attach the hosting ESXi instance to vCenter running inside it. It works just fine. Furthermore, after I attached all four ESXi instances, I then performed a migration while vCenter was running from esxi1 to esxi4.
It took a really long time, however, the VM kept running throughout the process! Thats the primary benefit I've seen to using vCenter and managing a larger pool of ESXi hosts. In addition, you won't need to manually log in to however many ESXi you have, just to the single vCenter instance when managing your VMware cloud. Also it allows for High Availability and fault tolerance.
Migrating a VM using vMotion
To migrate a VM, you'll use 'vMotion'. You must enable 'vMotion' on the sending and receiving ESXi hosts. Then it's simply a matter of right-clicking and choosing to migrate. You can choose to migrate the storage or just the execution. In this example both storage and execution were migrated. You can see how at the very end the actual execution was migrated such that the running VM was not disrupted.
Making a new VM
There's a nice interface on ESXi to help you create new VMs. I however, like Qemu and my QS tool and want to use VMs I made there inside of ESXi. It's not that tough...
Make a 'dummy' VM in ESXi. Follow the prompts and make a VM that corresponds with the Linux flavor you actually want. Make sure to choose 'lsilogic' as the storage adapter.
Export that VM and you'll get a VMDK and OVF file on your local machine.
Convert your Qemu storage image from either qcow2 or raw to VMDK. THIS IS IMPORTANT. You must include the following option on the qemu-img convert utility to make the VMDK a streamOptimized flavor of VMDK. ESXi just doesn't like the default that qemu-img spits out.
qemu-img convert -O vmdk /rpool1/vm/deb.raw -o adapter_type=lsilogic,subformat=streamOptimized,compat6 deb.vmdkThe important bit is
-o adapter_type=lsilogic,subformat=streamOptimized,compat6.Update your OVF file to point to this VMDK you just made and make any other modifications you might want.
Use tar to make your OVA and include the OVF before your VMDK.
That's it! You now have a VMware friendly OVA that you can import into ESXi (or Workstation, etc)
Ansible
For extra credit... I have not yet done this. There are modules for ansible that can communicate with your ESXi hosts allowing for automated VM configuration and management.